Module 1: Deploy the backend resources
You can access EC2 Instance or Cloud9 to perform the setup steps.
Setup Steps
This lab requires a terminal shell with Python3 and the AWS Command Line Interface (CLI) installed and configured with admin credentials.
To set up the environment for an EC2 Instance:
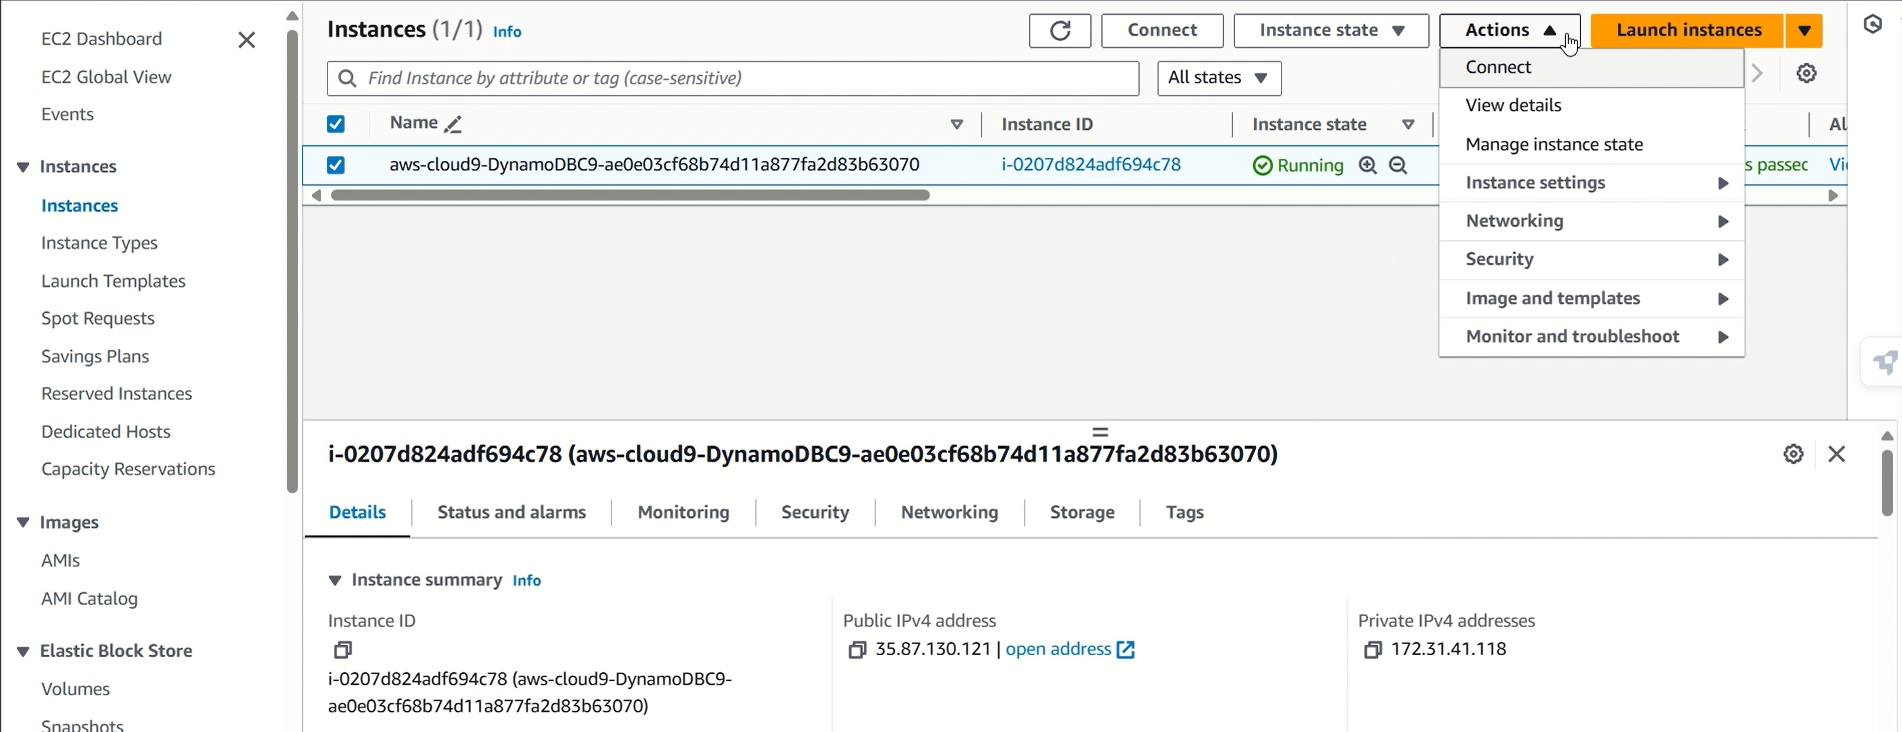
- Access EC2
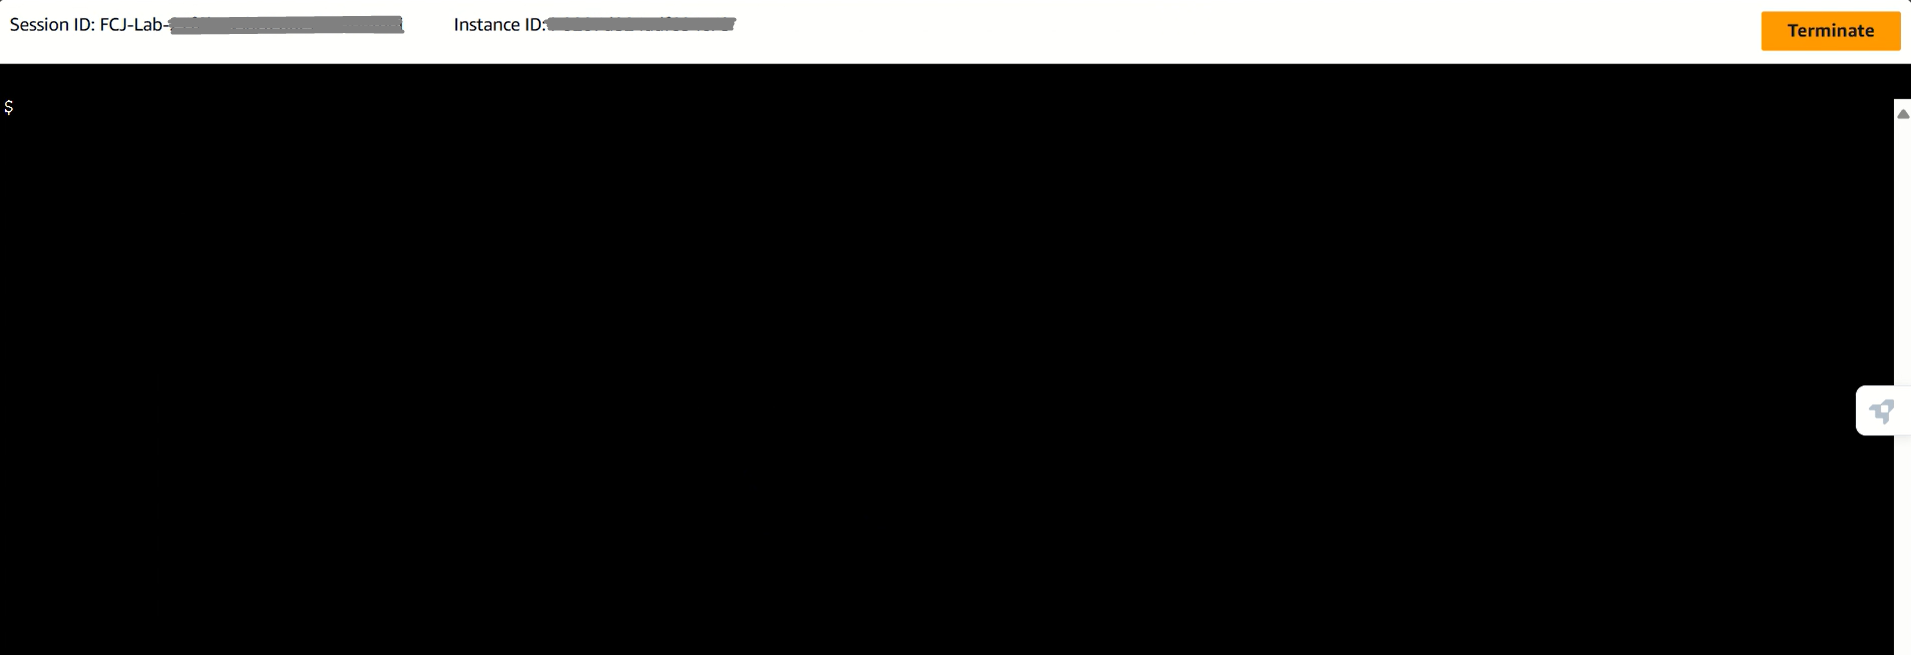
- Select the Instance and connect using the session manager
To set up your AWS Cloud9 development environment:
-
Choose Services at the top of the page, and then choose Cloud9 under Developer Tools.
-
There will be an environment ready to use under My environments.
-
Click on Open under Cloud9 IDE, and your IDE should open with a welcome note.
You should now see your AWS Cloud9 environment. You need to be familiar with the three areas of the AWS Cloud9 console shown in the following screenshot:

-
File explorer: On the left side of the IDE, the file explorer shows a list of the files in your directory.
-
File editor: On the upper right area of the IDE, the file editor is where you view and edit files that you’ve selected in the file explorer.
-
Terminal: On the lower right area of the IDE, this is where you run commands to execute code samples.
Verify Environment
- Run
aws sts get-caller-identityto verify the AWS CLI is functioning - Run
python3 --versionto verify that python3 is installed - Your Cloud9 environment is already configured with boto3, but for this lab we will also need AWS Chalice.
Runsudo python3 -m pip install chaliceto install AWS Chalice .
You may see a couple of WARNING lines near the bottom of the command output, these are safely ignored.
- Run
curl -O https://amazon-dynamodb-labs.com/assets/global-serverless.zip - Run
unzip global-serverless.zip && cd global-serverless - To see what application resources we will be deploying you can open the app.py file by navigating to “global-serverless/app.py” in the file explorer. This code defines Lambda function and API Gateway routes.
Deploy a new DynamoDB table
- In your terminal, run:
aws dynamodb create-table \
  --region us-west-2 \
  --table-name global-serverless \
  --attribute-definitions \
    AttributeName=PK,AttributeType=S \
    AttributeName=SK,AttributeType=S \
  --key-schema \
    AttributeName=PK,KeyType=HASH \
    AttributeName=SK,KeyType=RANGE \
  --billing-mode PAY_PER_REQUEST \
  --query '{"New Table ":TableDescription.TableArn,
            "Status    ":TableDescription.TableStatus }'
- Wait a moment for the table to be created.
Check to see when the table status changes from CREATING to ACTIVE by running this command:
aws dynamodb describe-table \
  --table-name global-serverless \
  --region us-west-2 \
  --query '{TableStatus: Table.TableStatus}'
3.Our table is in us-west-2 (Oregon). Let’s make it a Global Table by requesting a replica in eu-west-1 (Europe/Dublin).
Run this command to create a new replica in the eu-west-1 (Europe/Dublin) region:
aws dynamodb update-table --table-name global-serverless --region us-west-2 --cli-input-json  \
'{"ReplicaUpdates": [
    {
        "Create": {"RegionName": "eu-west-1" }
        }
    ]}'
Check to see when the table replica status changes to ACTIVE by running this command:
aws dynamodb describe-table \
  --table-name global-serverless \
  --region us-west-2 \
  --query '{TableStatus: Table.TableStatus,
               Replicas: Table.Replicas}'
- Next, add some data to the table: Writing to a Global Table is done by writing to any of the regional replica tables.
Run this command to load video library items into the table with batch-write-item:
aws dynamodb batch-write-item \
  --region us-west-2 \
  --request-items file://sample-data.json
These items are how the UI will display which videos are available to stream.
- Verify data was written:
aws dynamodb get-item \
  --table-name global-serverless \
  --region us-west-2 \
  --key '{"PK": {"S": "library"}, "SK": {"S": "01"}}'
Deploy the backend API service to the first region
- Run
export AWS_DEFAULT_REGION=us-west-2to instruct Chalice to deploy into us-west-2 for our first region - Run
chalice deployand wait for the infrastructure to be created. Chalice is a Python based serverless framework. - When the script completes, it reports a list of resources deployed. Copy and paste the Rest API URL into a note as you will need it later.
- Copy that REST API URL and paste it into a new browser tab to test it. You should see a JSON response of {ping: “ok”}
- You can type in certain paths to the end of the URL. Add the word scan so that the URL now ends with
/api/scanYou should see a JSON response representing the results of a table scan.
[
Web Application
A single-page static web app is provided for you.
- https://amazon-dynamodb-labs.com/static/global-serverless-application/web/index.html
- This app allows you to enter one or more API endpoints, and stores each one as a browser cookie.
- The stored API endpoints will remain in the browser even if the backend were to have problems.
- In this way, the web app could make decisions about routing itself to an alternate API if there are errors or no response from the API being used.
- The web app does not contain any AWS code nor credentials, it simply makes HTTP GET calls to the API for you.
- The app’s web content can be hosted from an S3 bucket, made globally available via Cloudfront, saved locally within Chrome, or converted into a mobile app. For this workshop we assume the user always has access to the web app even if the backend services become unavailable.
Steps:
- Within the web app, press the Add API button.
- Paste in the API URL you created previously and click OK.
- Review the buttons that appear. Click Ping to generate a request to the base level URL. The round trip latency will be displayed. This may be slower than expected do to a Lambda cold start. Click Ping again and check the latency.
- Click the get-item button. This will return the bookmark for user100 watching a show called AshlandValley.
- Click the forward and back buttons. They will generate requests to increment or decrement the bookmark by 1 second.
You now have a test harness where you can perform reads and writes to a DynamoDB record via the custom API.
Deploy the service stack to the second region, Ireland
- Run
export AWS_DEFAULT_REGION=eu-west-1to instruct Chalice to deploy into eu-west-1 for our second region. - Run
chalice deployand wait for the infrastructure to be created in eu-west-1. - When the script completes, it reports a list of resources deployed. Again, copy down the new REST API URL to a note for later use.
- Return to the web app.
- Click Add API again and paste in the new API URL. A second row of buttons appears in an alternate color.
Note: In this workshop you have permissions for Global Tables in us-west-2 and eu-west-1. In your own account you could add any number of replicas in any regions.
Note 2: If you make any changes to the code in app.py, you can push the updates to your Lambda function
by running chalice deploy again.