Scheduled Backup
You must create at least one vault before creating a backup plan or starting a backup job.
- In the AWS Management Console, navigate to Services -> AWS Backup. Click on Create Backup vault under Backup vaults.
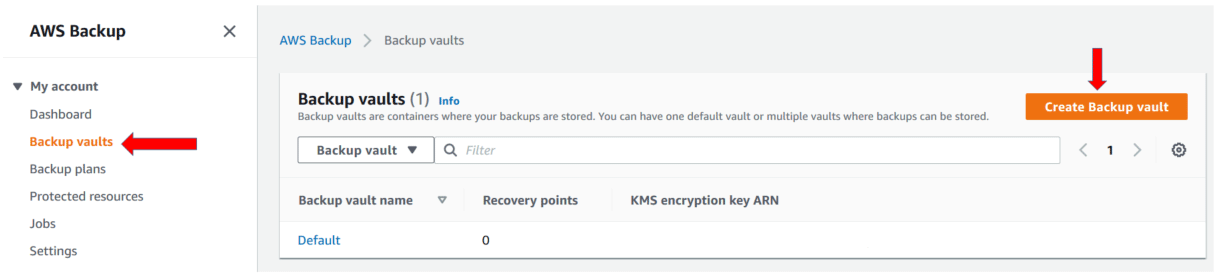
- Provide Backup vault name of your choice. AWS KMS encryption master key. By default, AWS Backup creates a master key with the alias aws/backup for you. You can choose that key or choose any other key in your account. Click on Create Backup vault

You can see Backup vault is created successfully

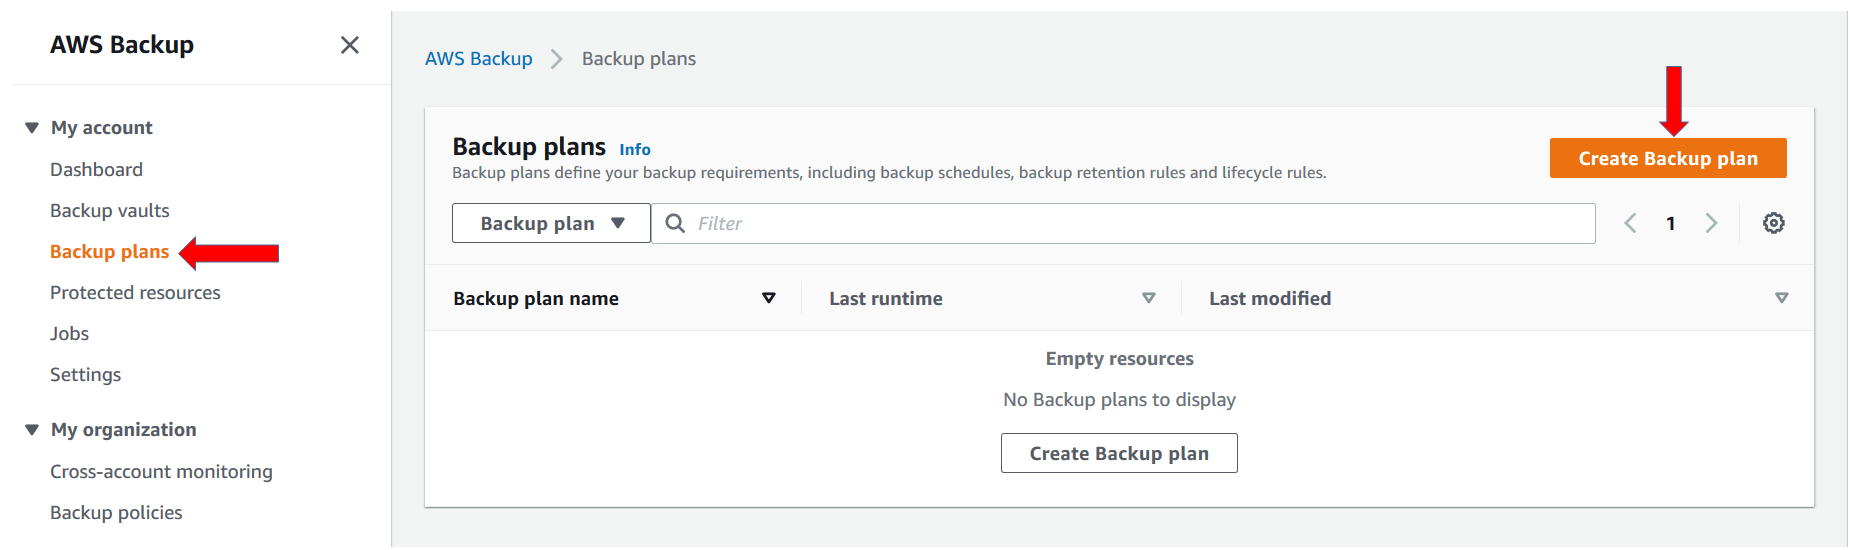
Now, we need to create backup plan.
- Click on Create Backup plan under Backup plans.
- Select Build a new plan. Provide backup plan name and rule name.
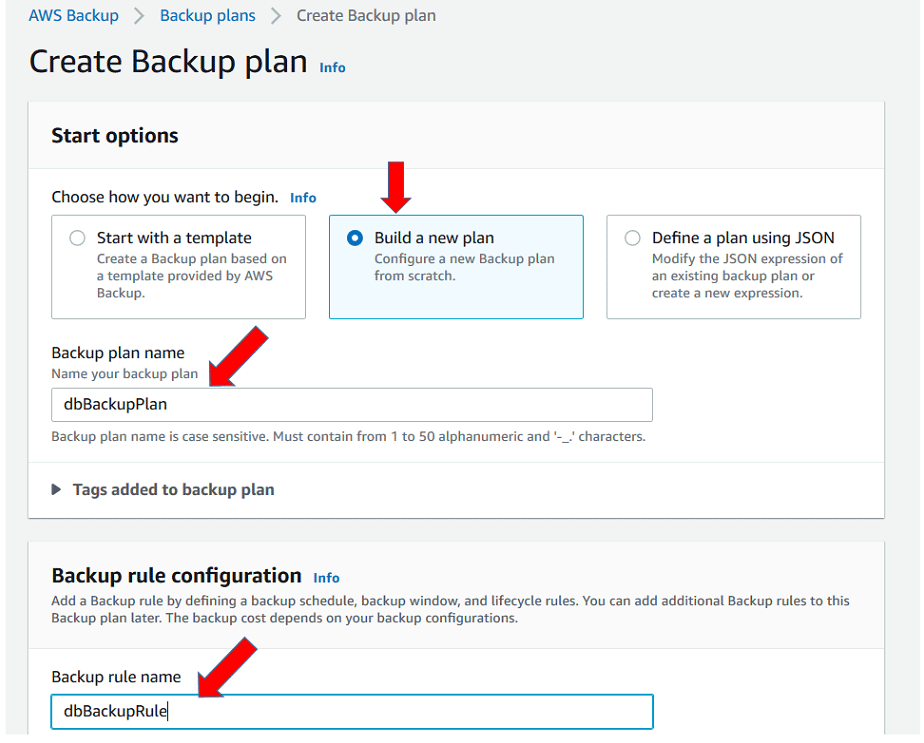
-
Select backup frequency. The backup frequency determines how often a backup is created. Using the console, you can choose a frequency of every 12 hours, daily, weekly, or monthly. Choose a backup window. Backup window consists of the time that the backup window begins and the duration of the window in hours. Backup jobs are started within this window. I am configuring backup at 6 PM UTC start within 1 hour and completes within 4 hours.
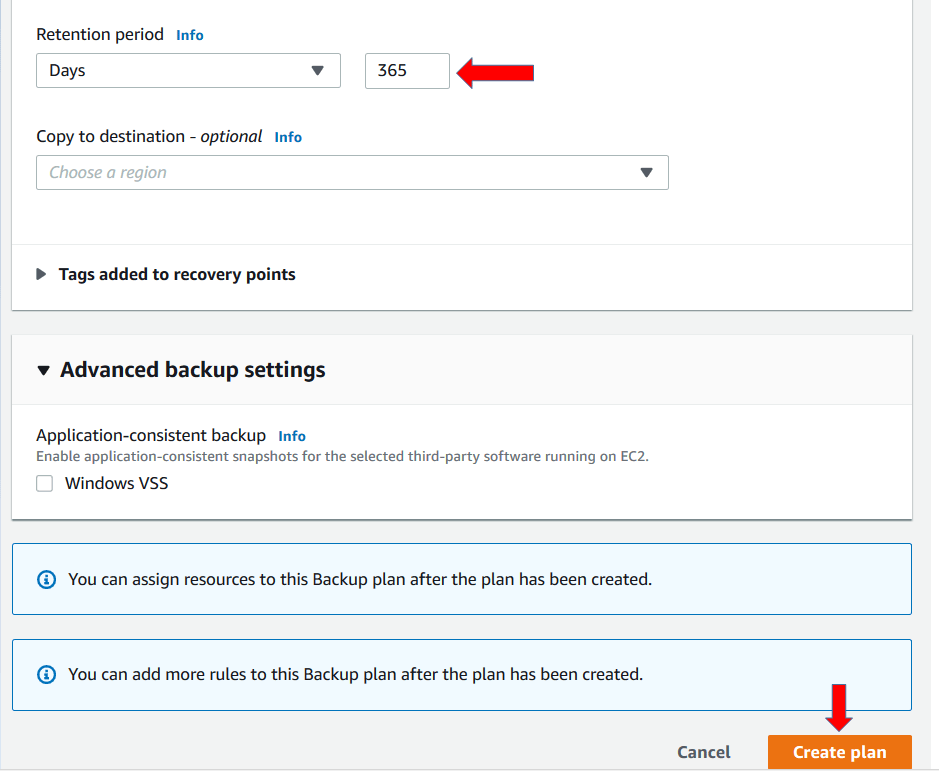
Further, select lifecycle. The lifecycle defines when a backup is transitioned to cold storage and when it expires. I am configuring backup to move cold storage after 31 days and expire after 366 days.
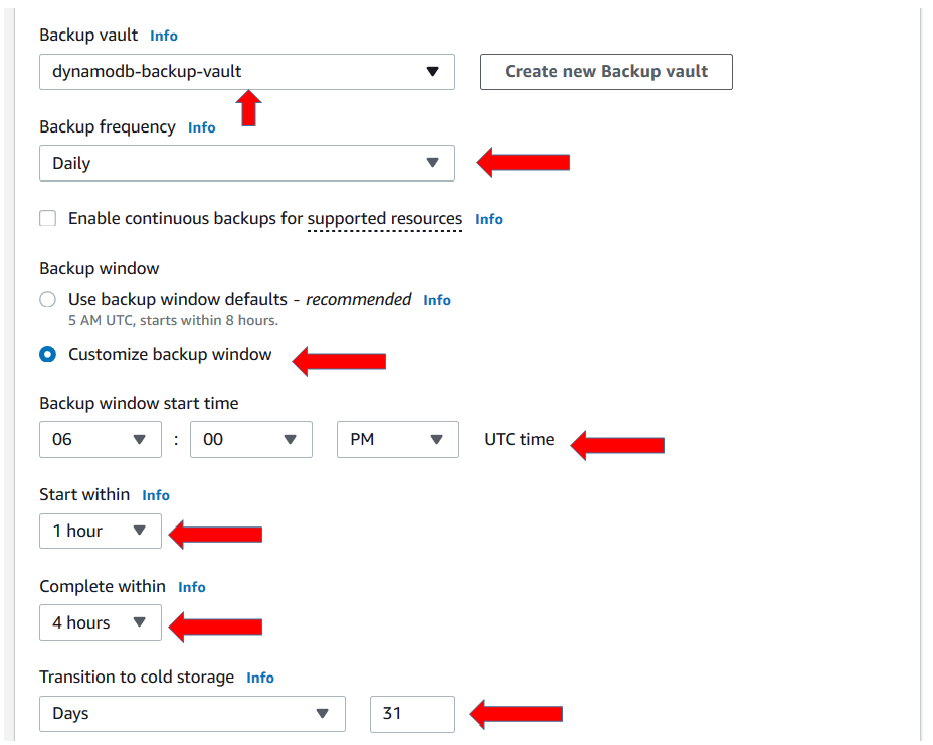
- Select backup vault we created earlier. Click on Create plan.
Note: Backups that are transitioned to cold storage must be stored in cold storage for a minimum of 90 days
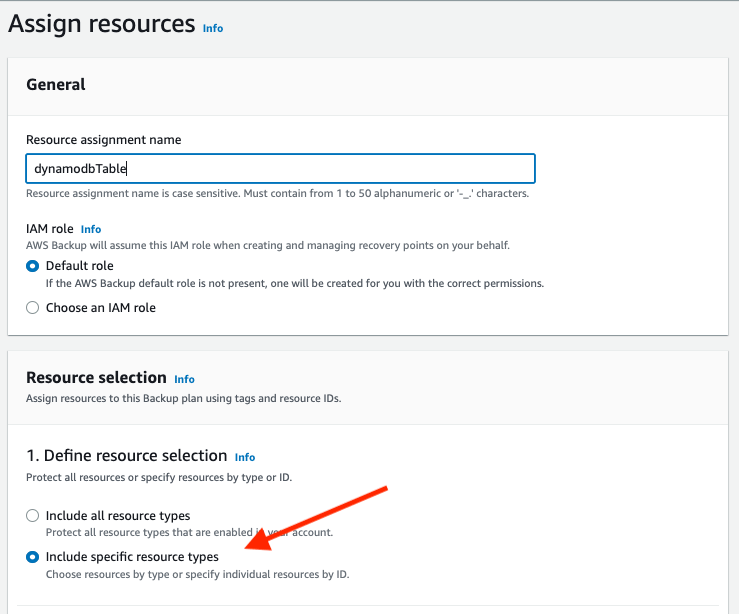
Now assign the resource to backup plan. When you assign a resource to a backup plan, that resource is backed up automatically according to the backup plan.
- Give Resource a assignment name. Choose the default role. Select Include specific resource types under “1. Define resource selection”
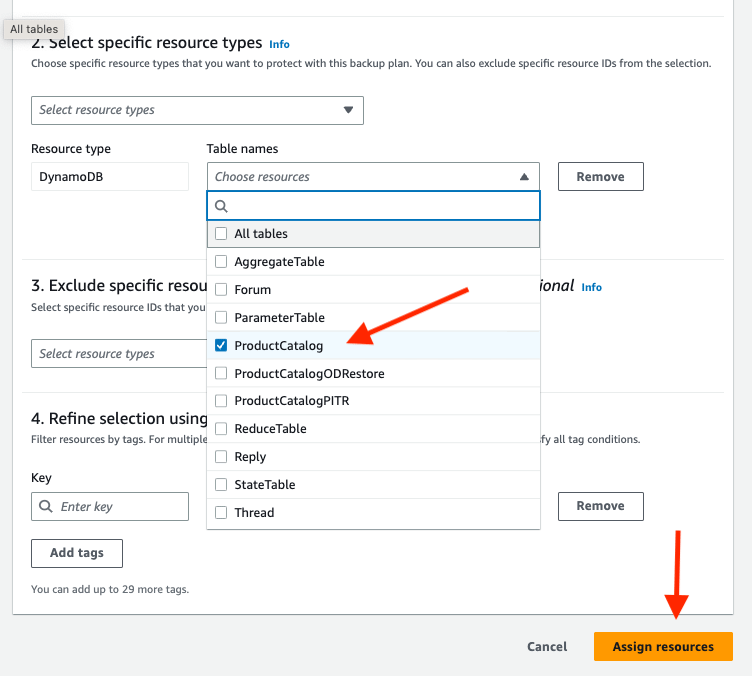
- Under “2. Select specific resource types” select the resource type DynamoDB in the drop down. Click choose resources, uncheck All, and select the ProductCatalog table. Click Assign resources
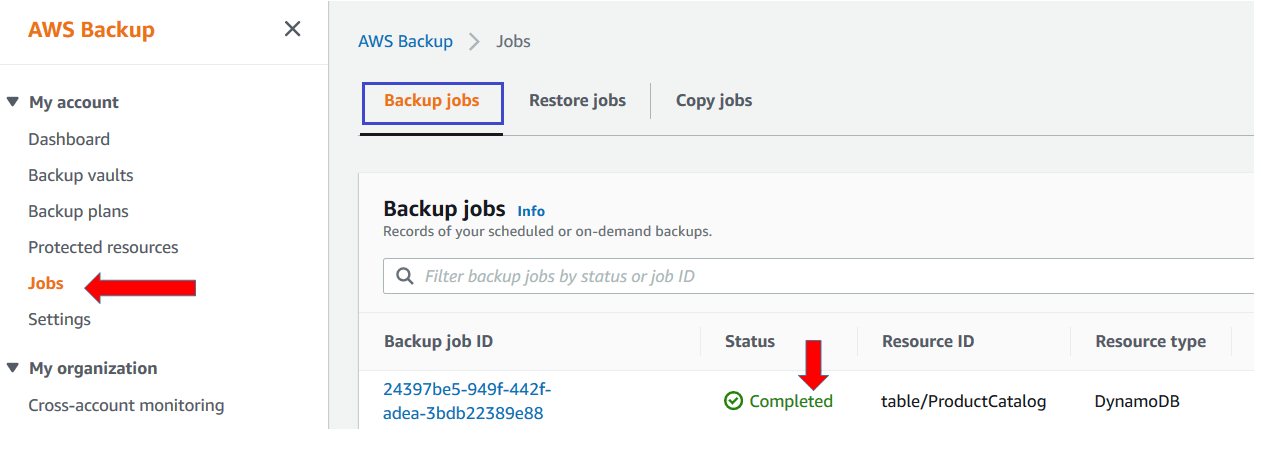
- You can see the status of your backup job under jobs section after your scheduled backup window timeframe. You can see your DynamoDB backup is completed.
Restore a Backup:
After a resource has been backed up at least once, it is considered protected and is available to be restored using AWS Backup. In your account a backup may not yet be available. If this is the case, review the screenshots in lieu of doing this in your own account.
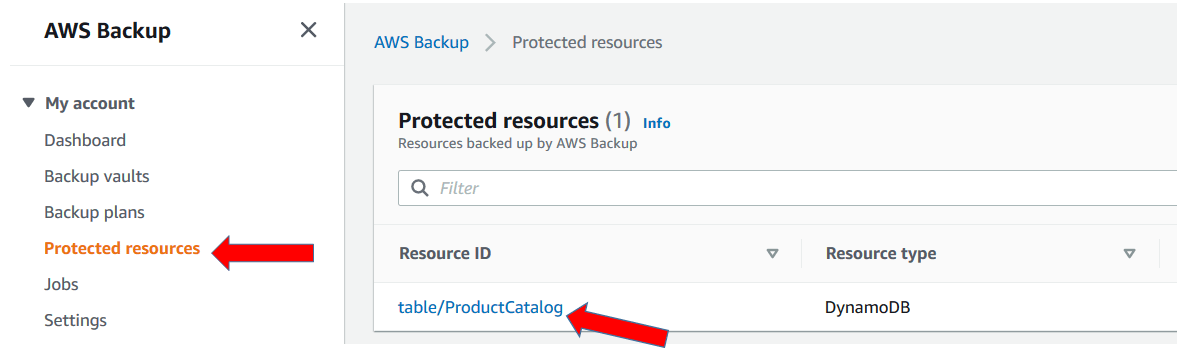
- On the Protected resources page, you can explore details of the resources that are backed up in AWS Backup. Choose our DynamoDB table resource.
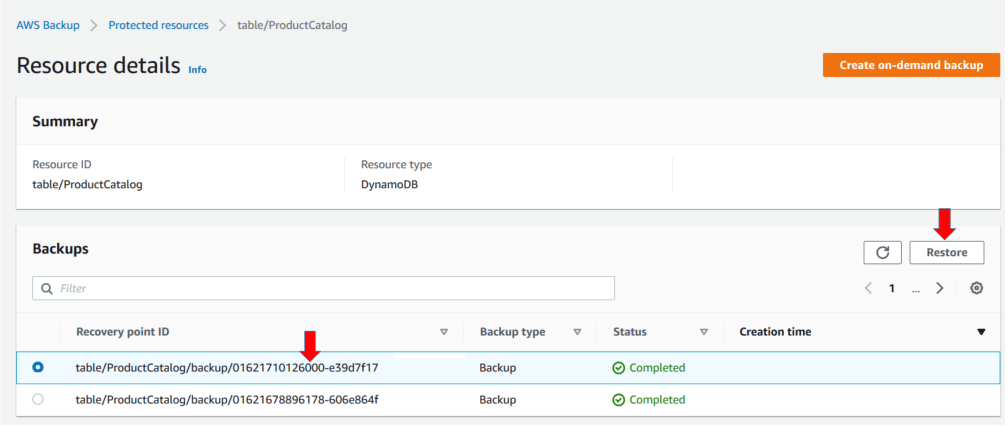
- Choose the recovery point ID of the resource. Click on Restore. Note: If you do not see a recovery point, you can click “Create an on-demand backup” and complete the backup. For the purposes of this lab, you need a completed backup to continue, and you may not want to wait for your backup plan’s scheduled backup.
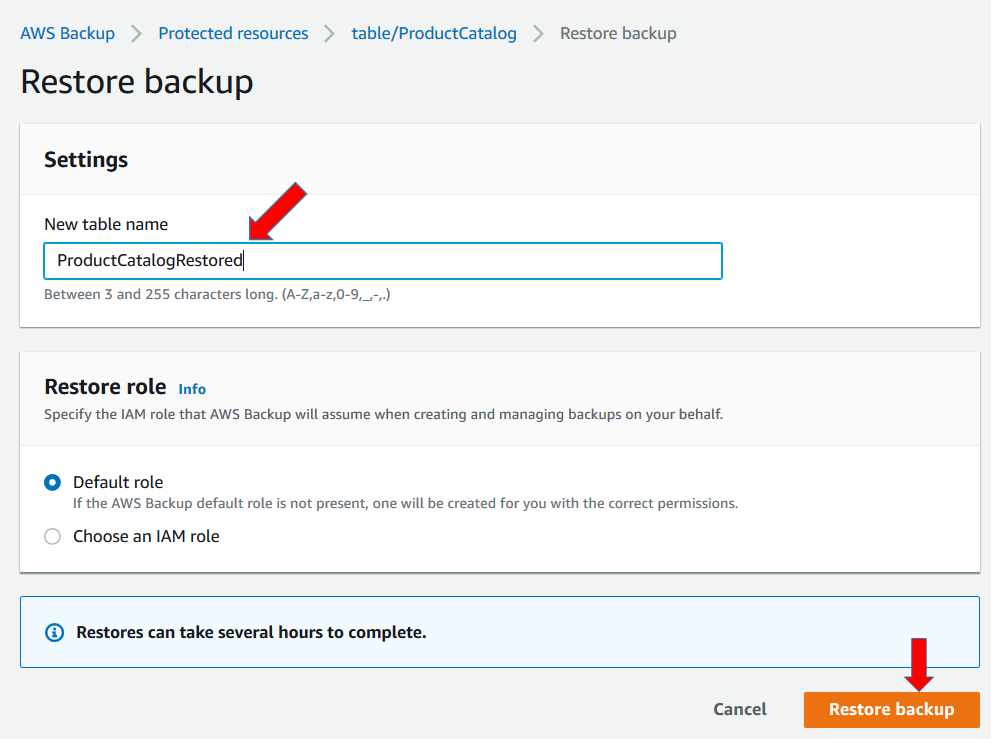
- Provide new DynamoDB table name. Leave all the settings on the defaults and click Restore backup
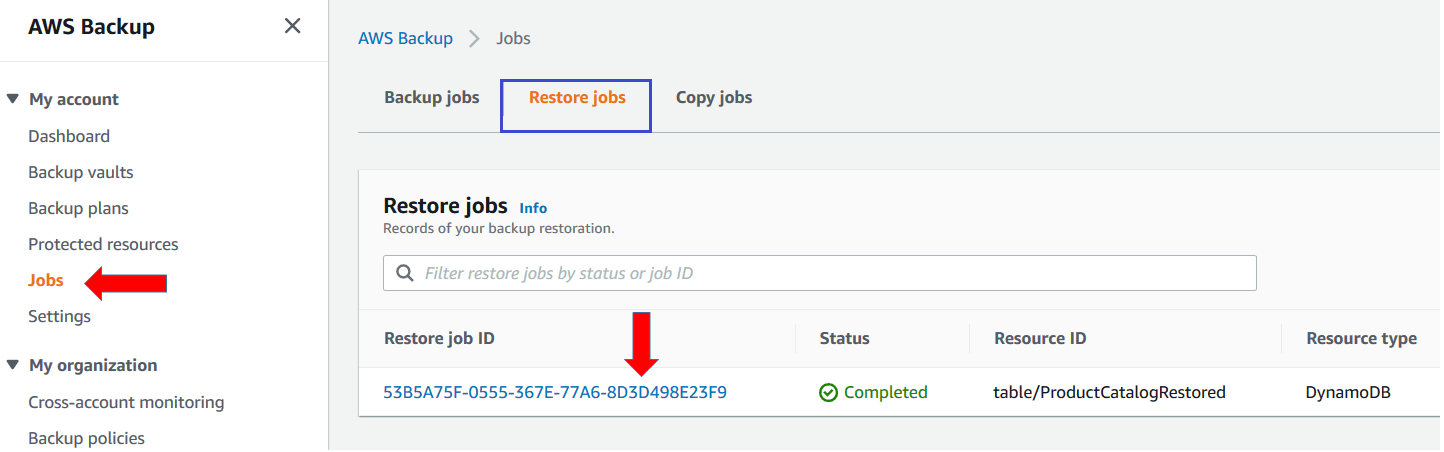
The Restore jobs pane appears. A message at the top of the page provides information about the restore job. You can see job status is running.After some time you can see status changes to completed
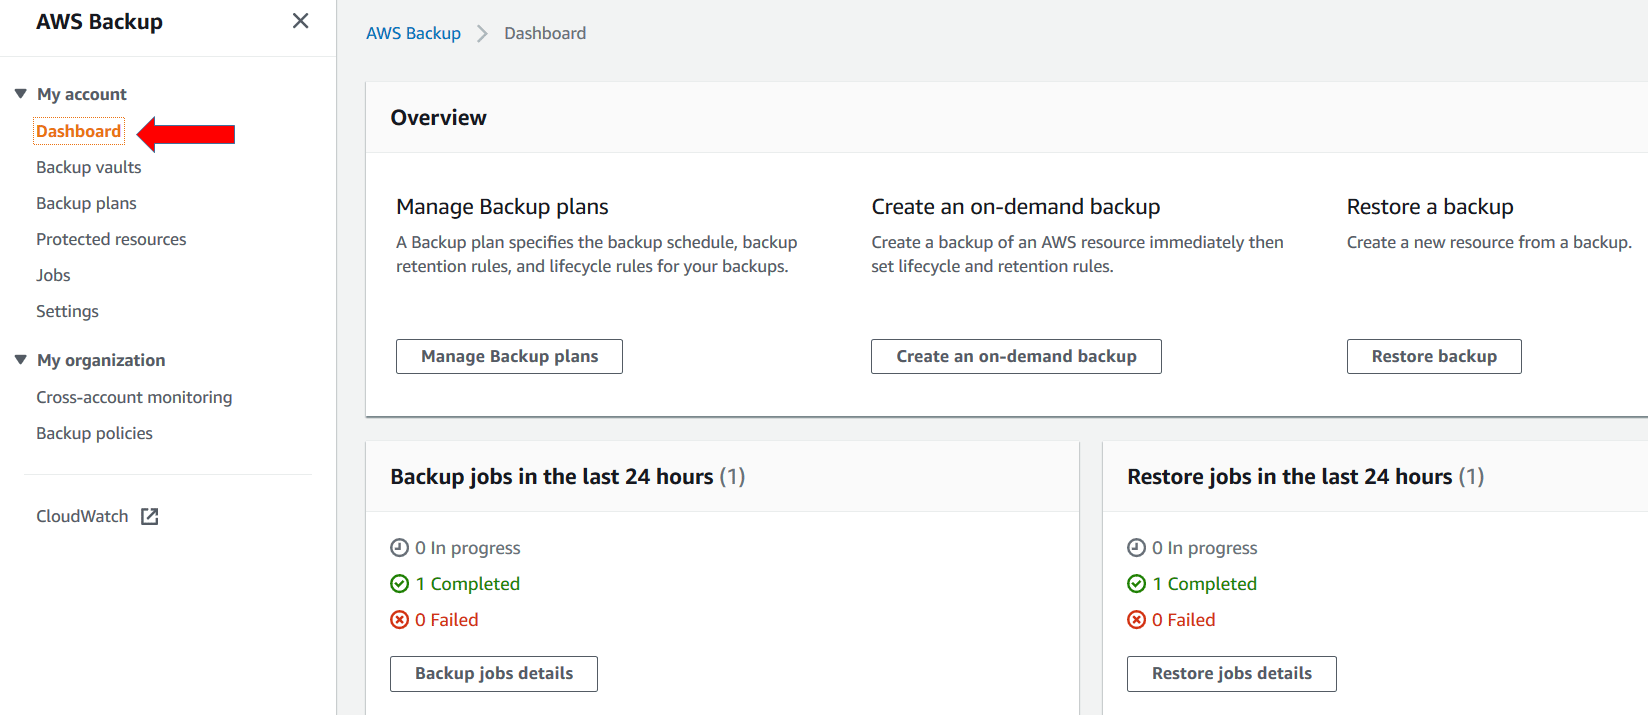
You can also monitor the all backup and restore jobs in central dashboard.
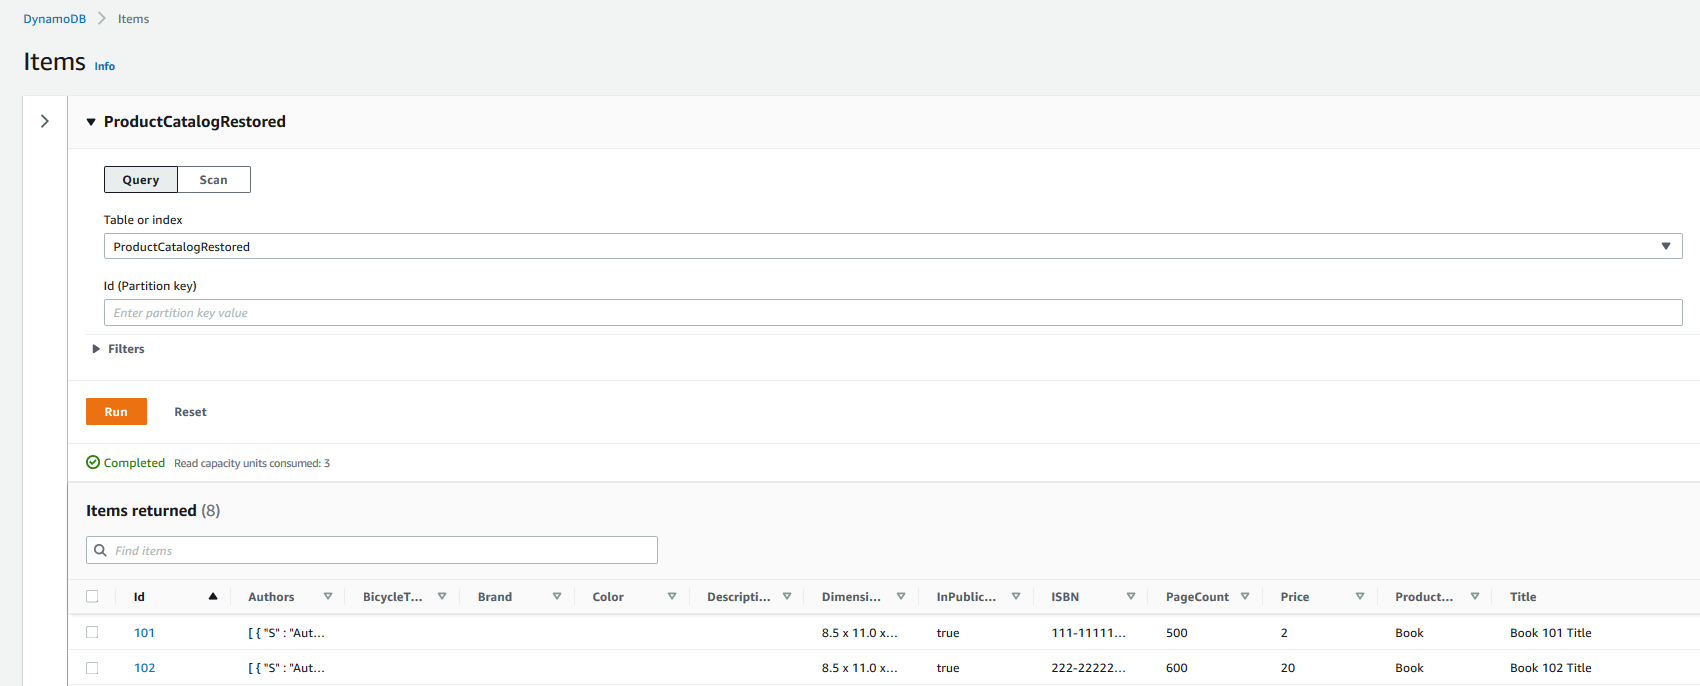
To see the restored table, go to the DynamoDB Console and click on Tables from the side menu.Choose ProductCatalogRestored table. You can see the table is restored along with data.