Prerequisites and Start
Prerequisites
To run this lab, you’ll need an AWS account, and a user identity with access to the following services:
- Amazon DynamoDB
- AWS Cloud9 Environment
You can use your own account, or an account provided through Workshop Studio Event Delivery as part of an AWS organized workshop. Using an account provided by Workshop Studio is the easier path, as you will have full access to all AWS services, and the account will terminate automatically when the event is over.
Account setup
Using an account provided to you by your lab instructor
If you are running this workshop using a link provided to you by your AWS instructor, please use that link and enter the access-code provided to you as part of the workshop. In the lab AWS account, the Cloud9 instance should already be provisioned. Please open the “AWS Cloud9” section of the AWS Management Console in the correct region and look for a lab instance called DynamoDBC9.
Using your own AWS account
If you are using your own AWS account, be sure you have access to create and manage resources in Amazon DynamoDB and AWS Cloud9 environment
After completing the workshop, remember to complete the cleanup section to remove any unnecessary AWS resources.
Launch the CloudFormation stack
During the course of the lab, you will make DynamoDB tables that will incur a cost that could approach tens or hundreds of dollars per day. Ensure you delete the DynamoDB tables using the DynamoDB console, and make sure you delete the CloudFormation stack as soon as the lab is complete
-
Launch the CloudFormation template in US West 2 to deploy the resources in your account:


- Optionally, download the YAML template and launch it your own way
-
Click Next on the first dialog.
-
In the Parameters section, note the Timeout is set to zero. This means the Cloud9 instance will not sleep; you may want to change this manually to a value such as 60 to protect against unexpected charges if you forget to delete the stack at the end.
Leave the WorkshopZIP parameter unchanged and click Next.
-
Scroll to the bottom and click Next, and then review the Template and Parameters. When you are ready to create the stack, scroll to the bottom, check the box acknowledging the creation of IAM resources, and click Create stack.
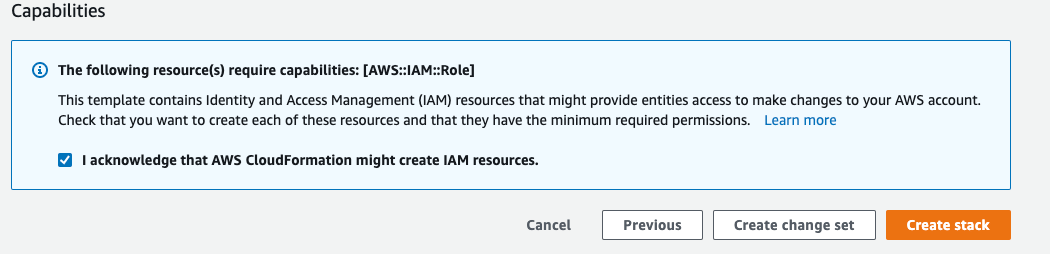 The stack will create a Cloud9 lab instance, a role for the instance, and a role for the AWS Lambda function used later on in the lab. It will use Systems Manager to configure the Cloud9 instance.
 -
After the CloudFormation stack is
CREATE_COMPLETE, continue to the next step. -
Access EC2 to search for the Instance that was created from the stack.

-
Execute “Connect to instance.”
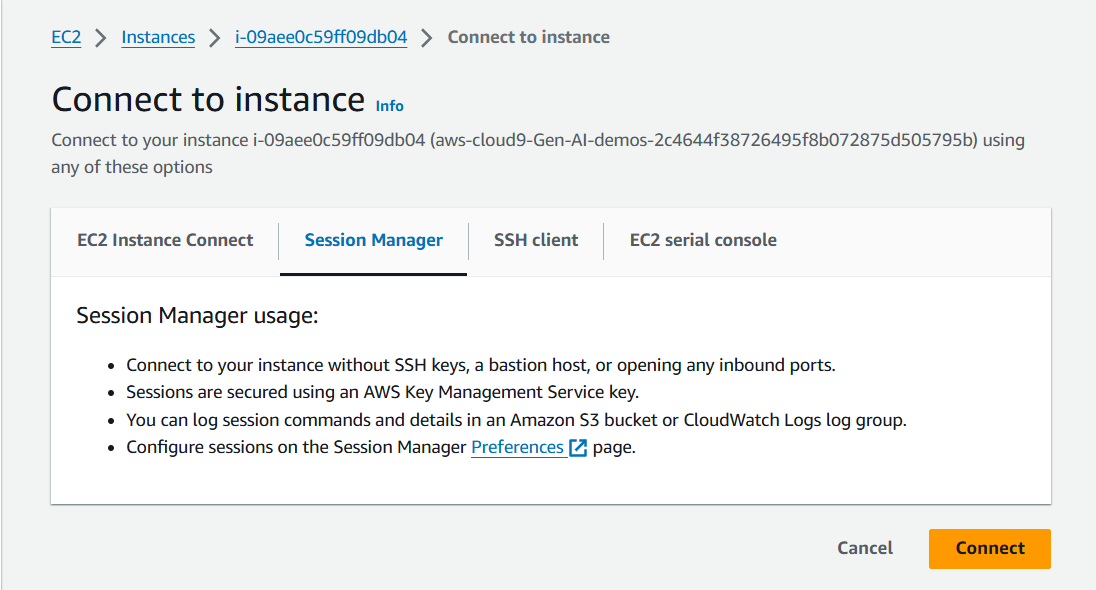
-
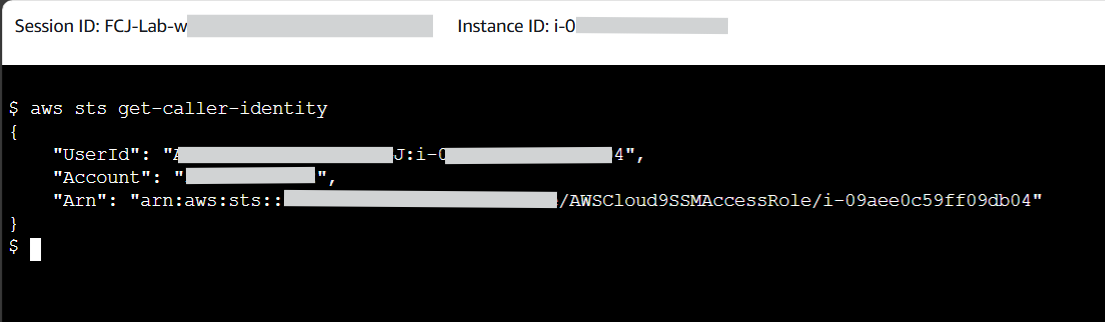
Run the command
aws sts get-caller-identityjust to verify that your AWS credentials have been configured correctly.