Kết nối EC2 instance
Truy cập EC2 Instance qua AWS Systems Manager Console
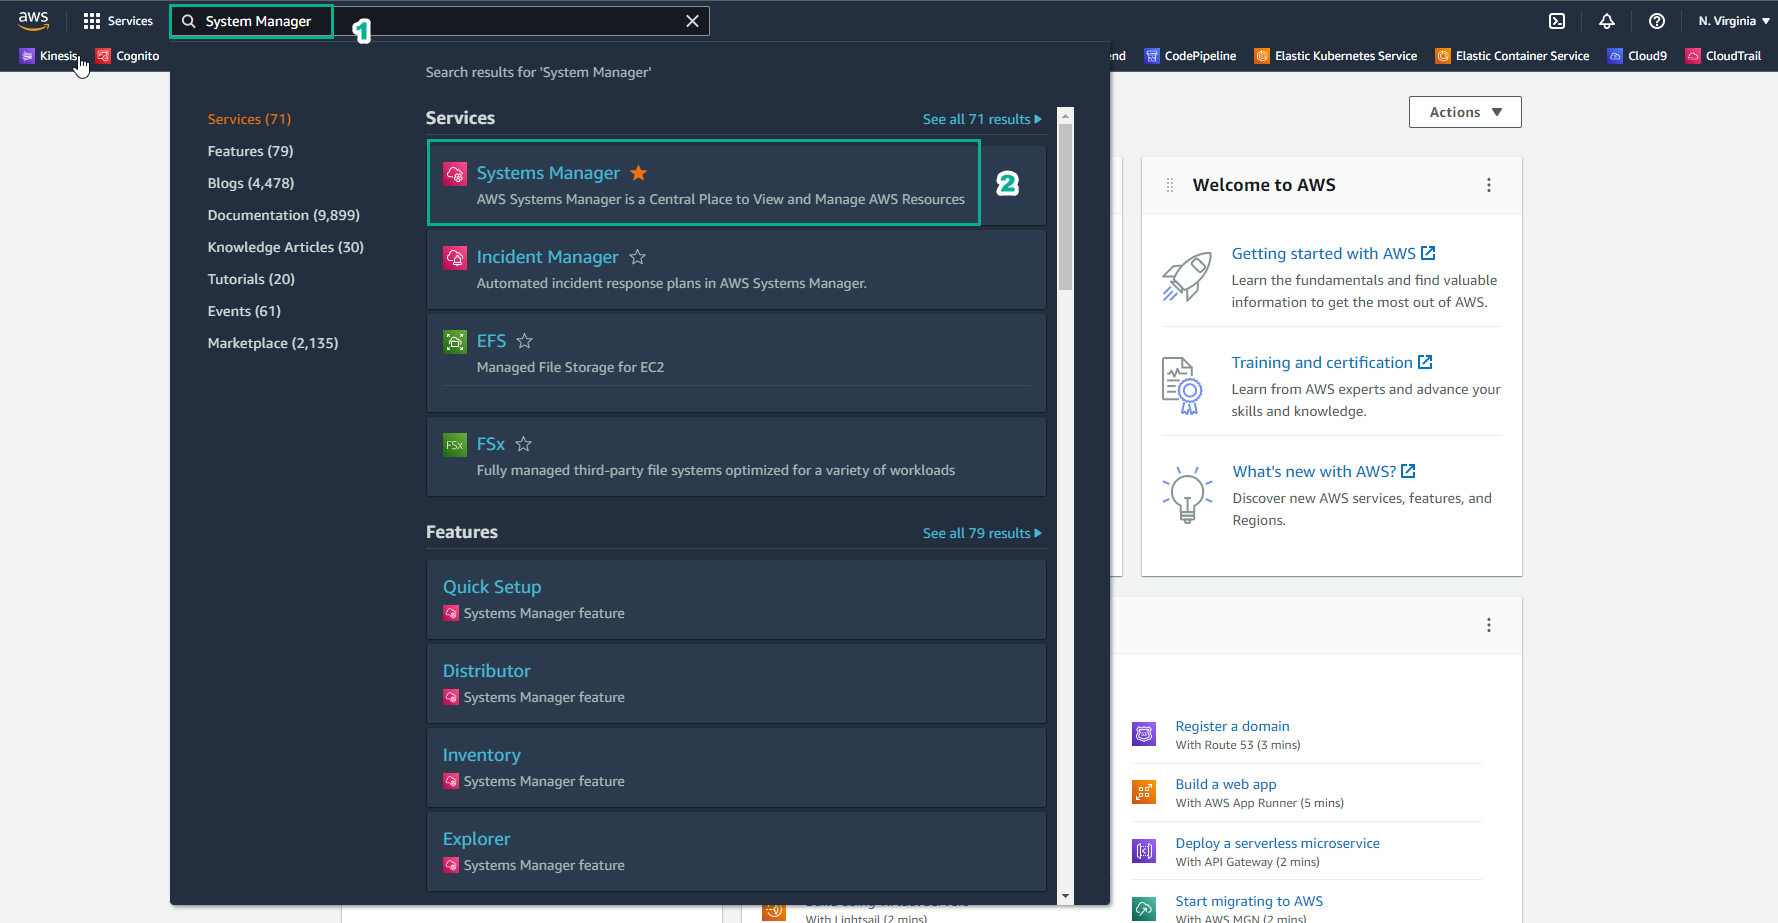
- Truy cập dịch vụ AWS Management Console
- Tìm System Manager
- Chọn System Manager
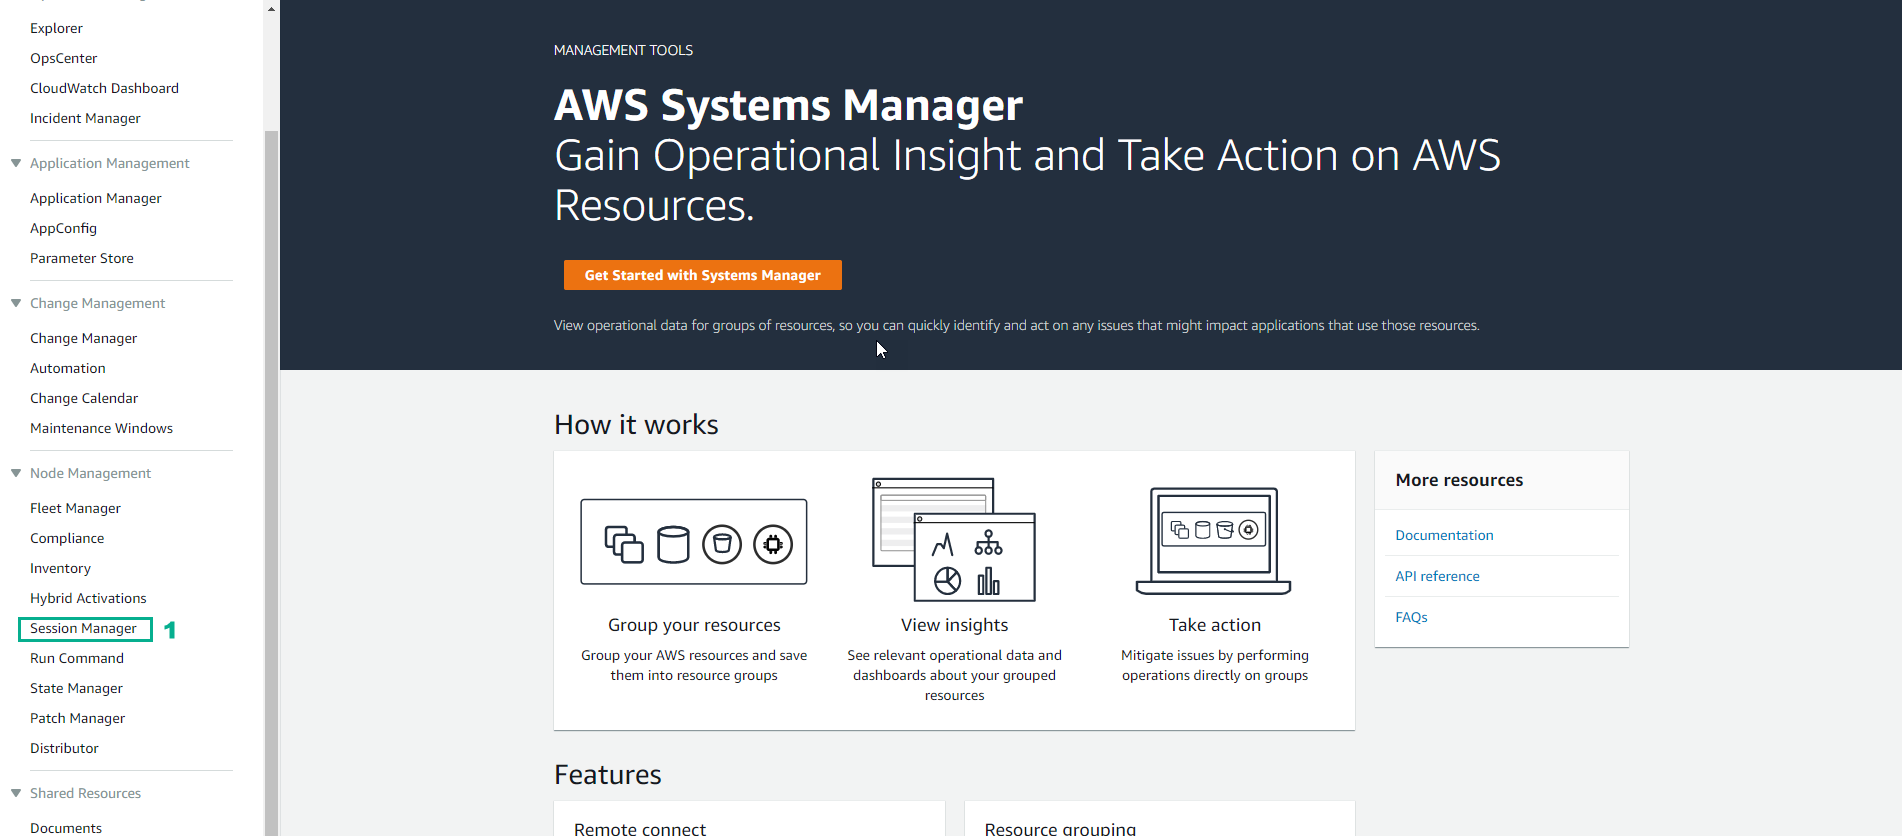
- Trong giao diện System Manager
- Chọn Session Manager
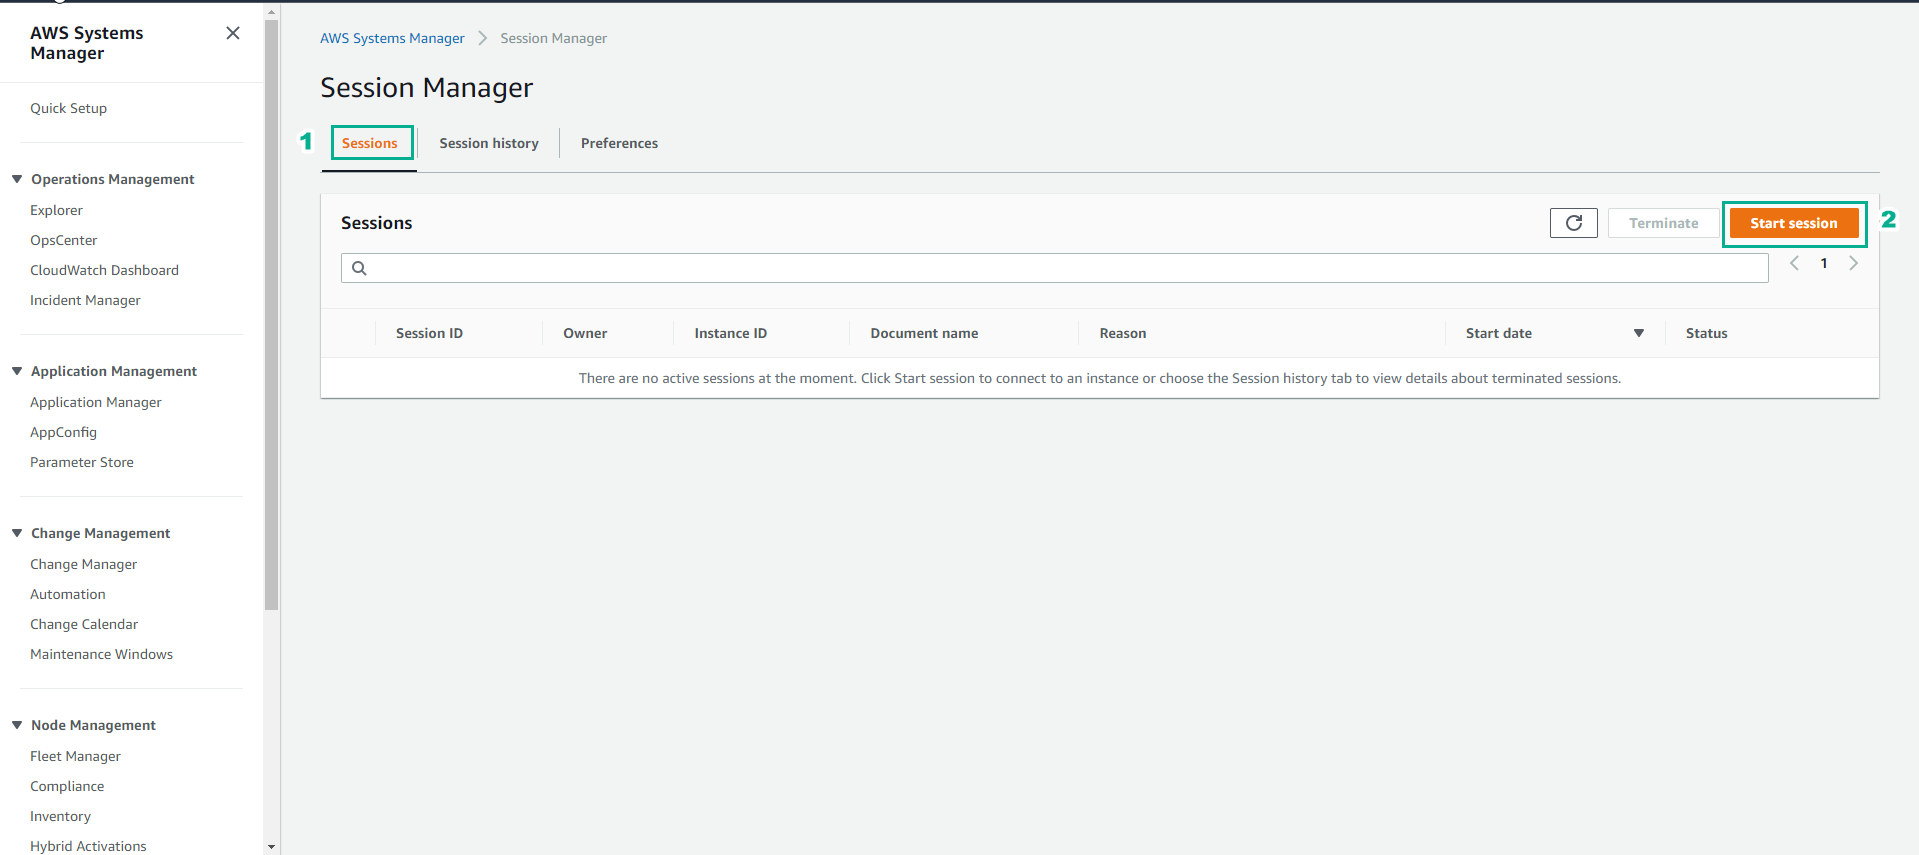
- Trong giao diện Session Manager
- Chọn Sessions
- Chọn Start session
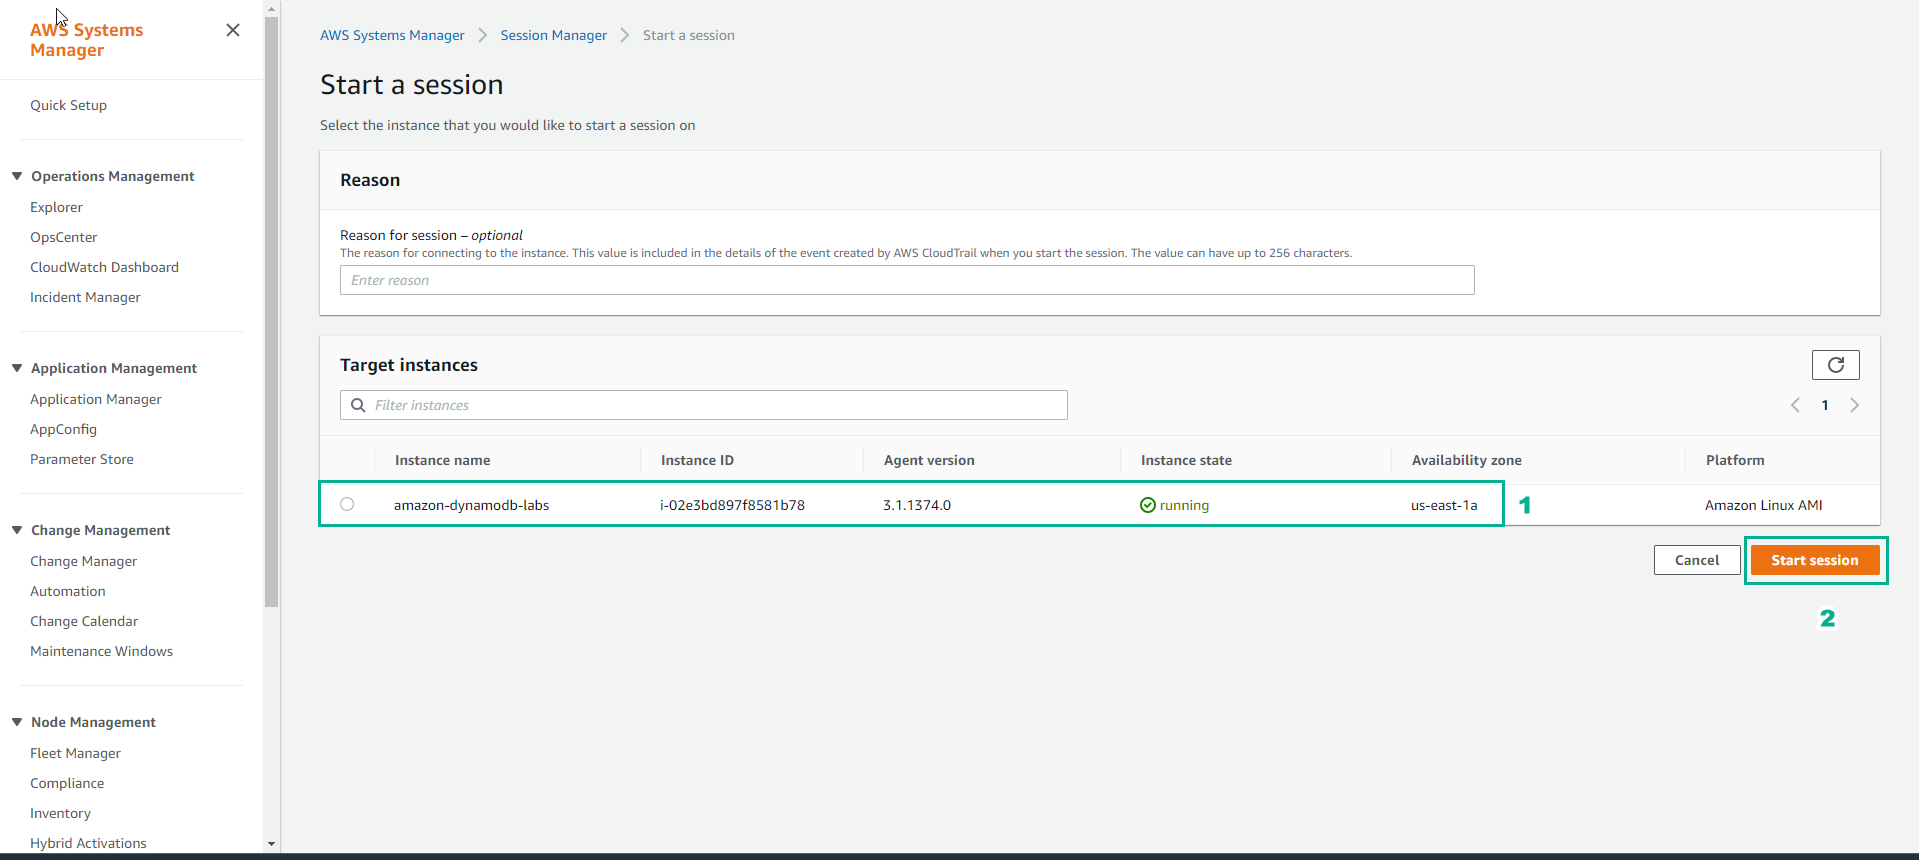
- Trong giao diện Start session
- Chọn amazon-dynamodb-labs
- Chọn Start session để bắt đầu một phiên shell mới.
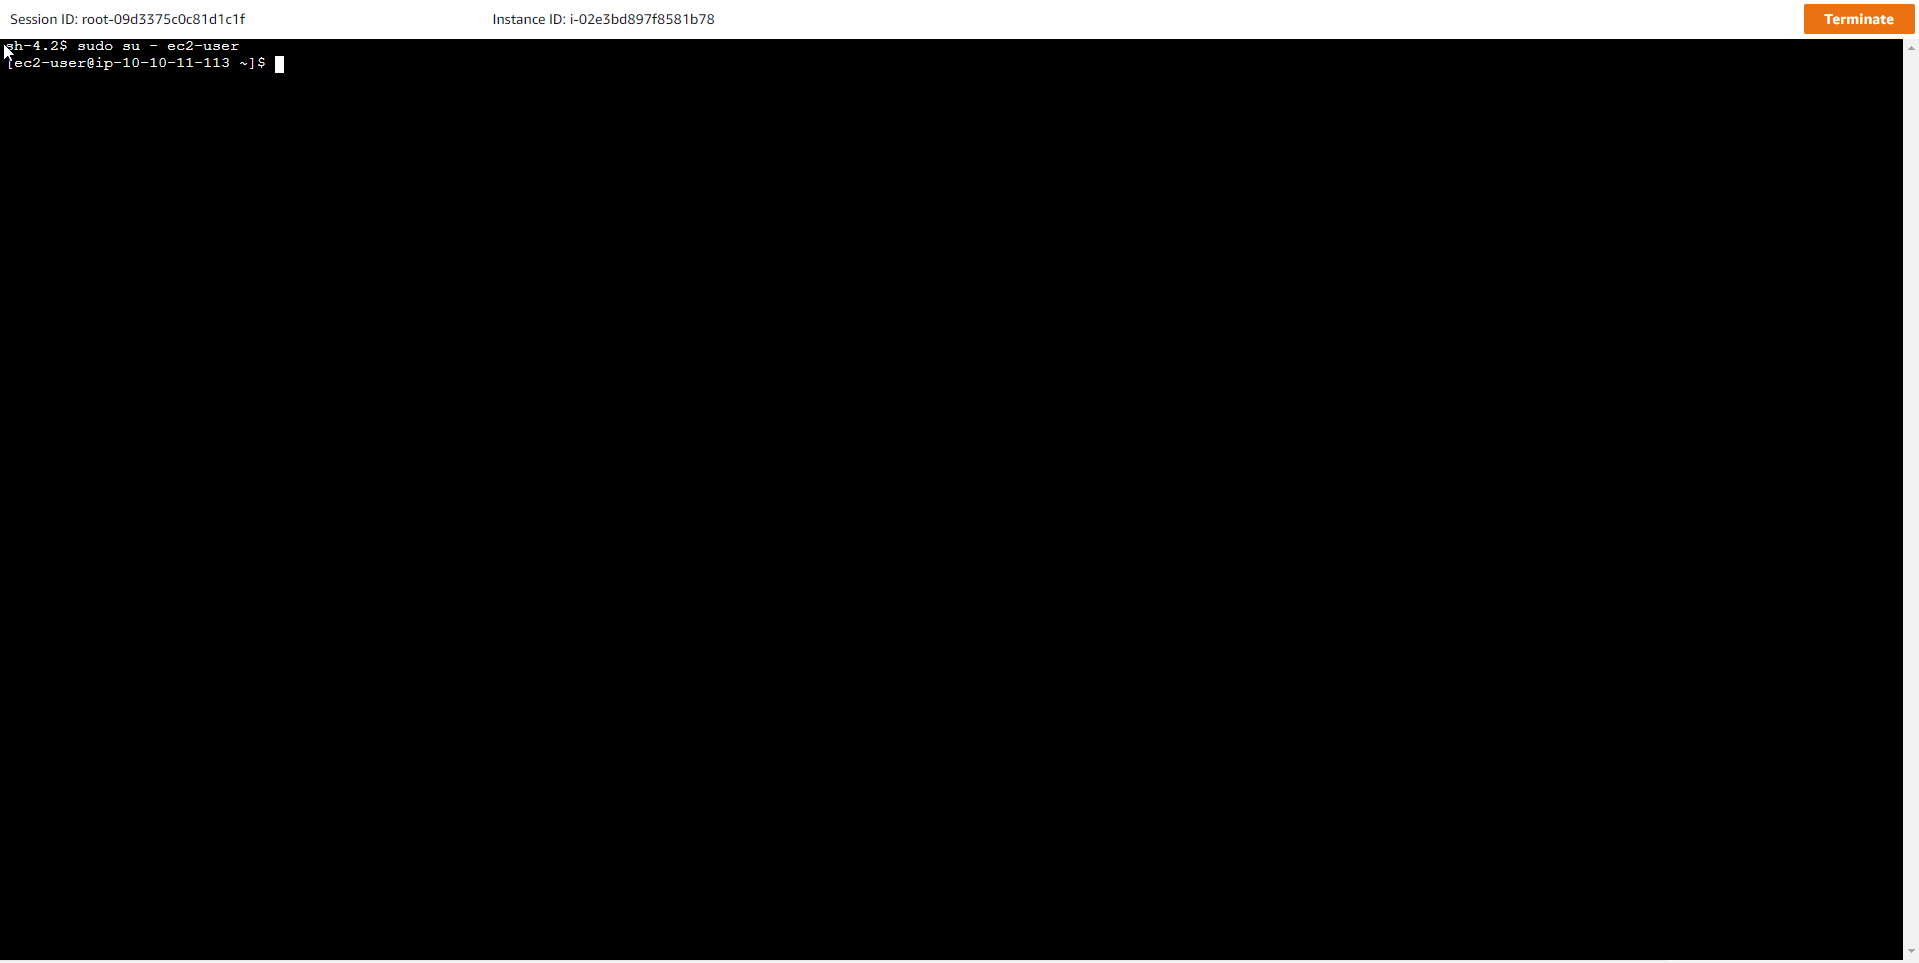
- Kết nối instance thành công

- Ở phiên shell mới, chuyển sang thao tác bằng tài khoản ec2-user sử dụng lệnh
sudo su - ec2-user
- Chạy lệnh
shopt login_shellđể đảm bảo kết quả trả về là login_shell on

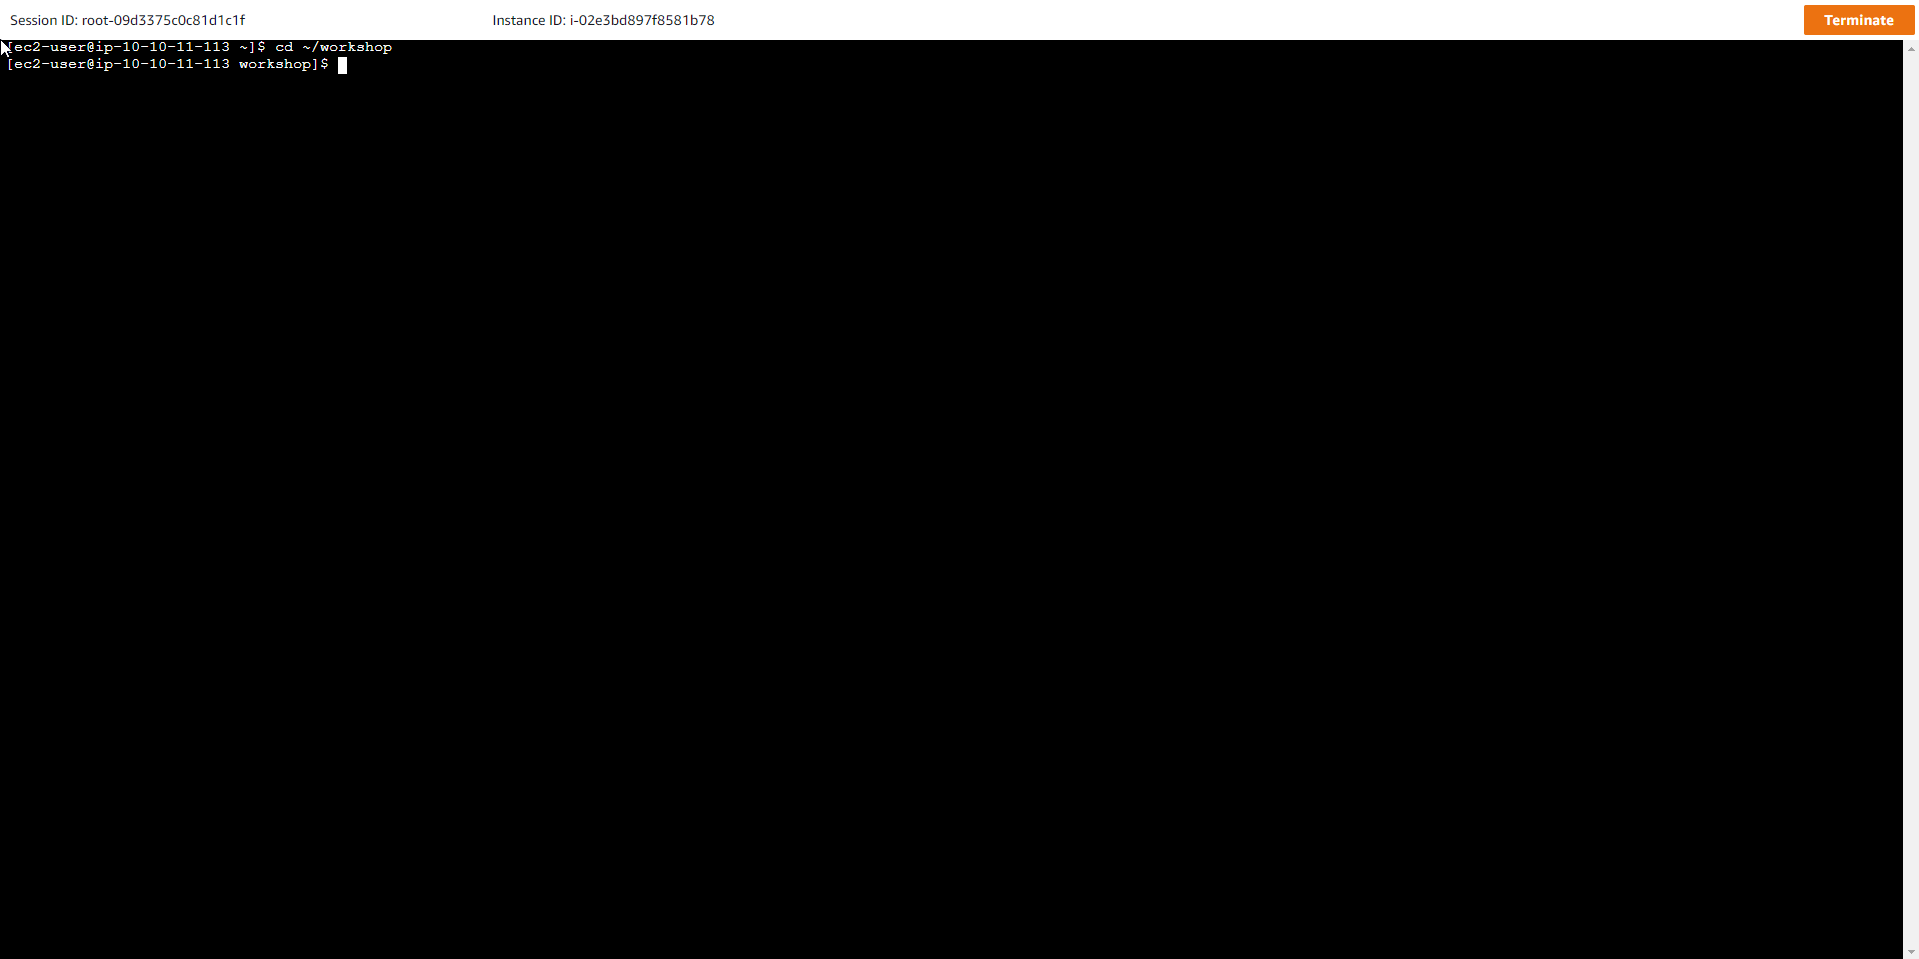
- Sau đó chuyển sang thao tác trên thư mục của workshop bằng lệnh
cd ~/workshop
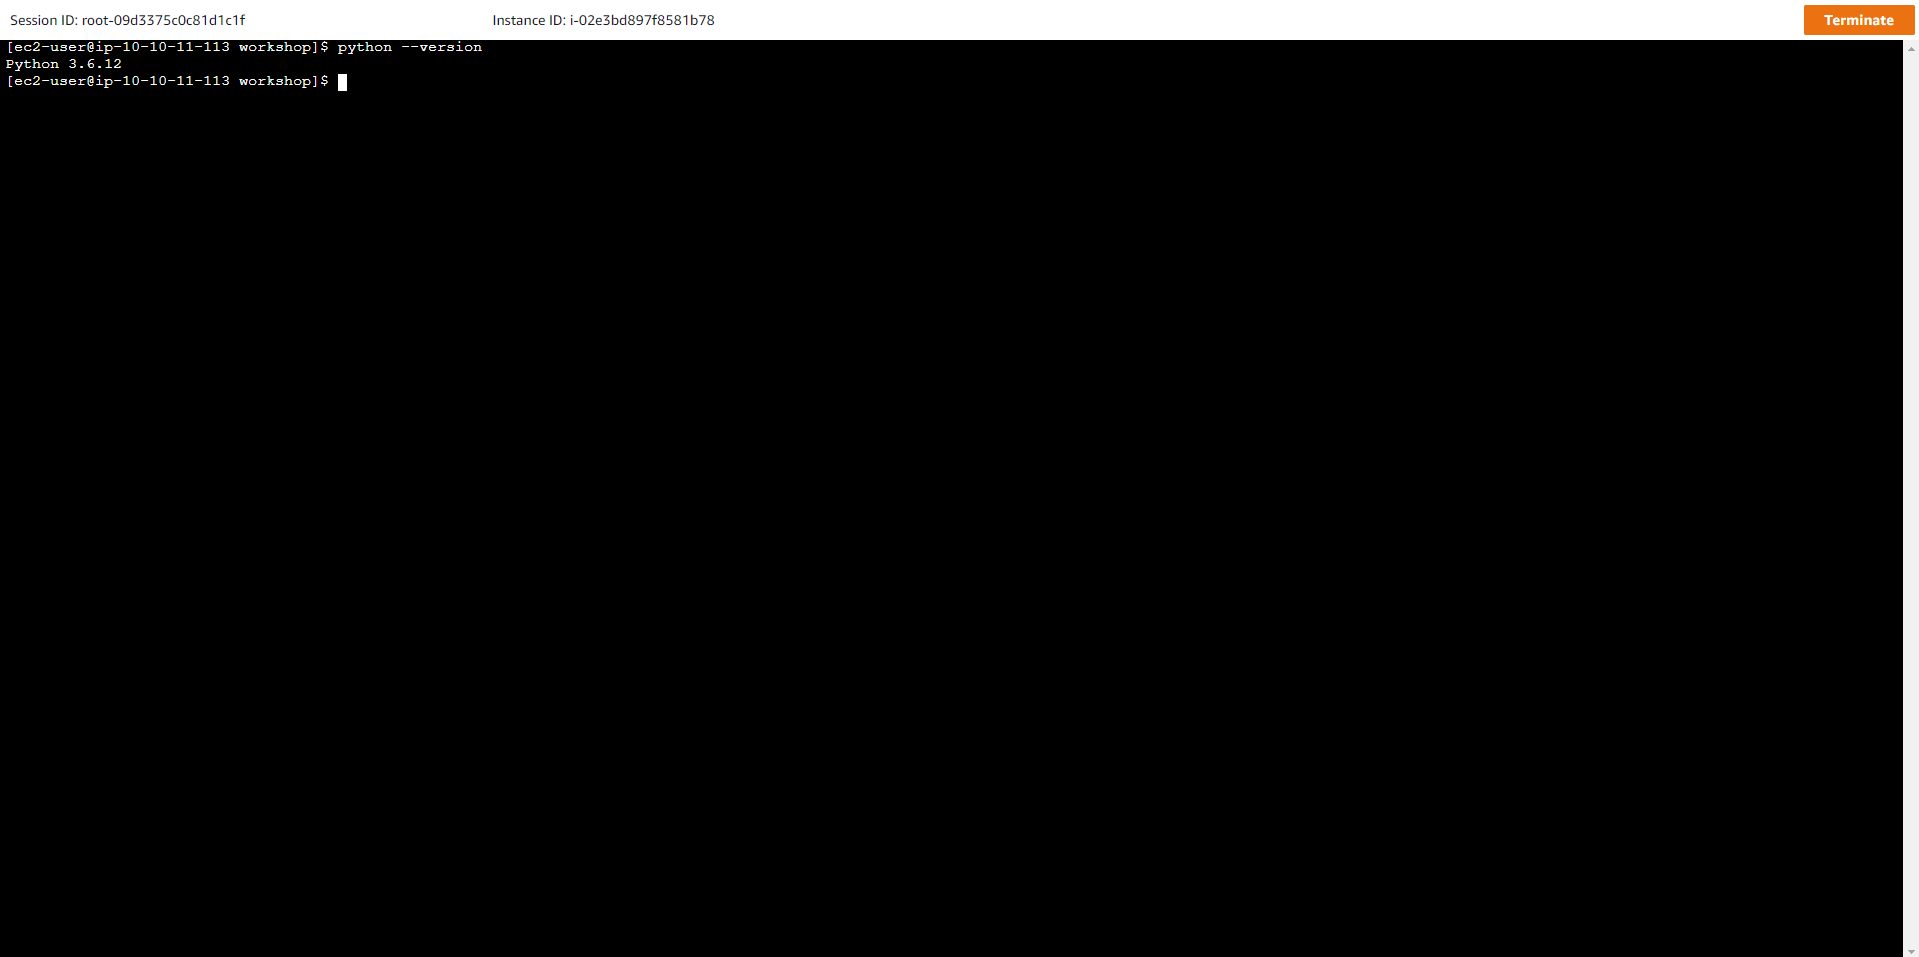
- Trên EC2 Instance chạy lệnh kiểm tra phiên bản cài đặt Python
python --version
- Kiểm tra phiên bản cài đặt AWS CLI
aws --version
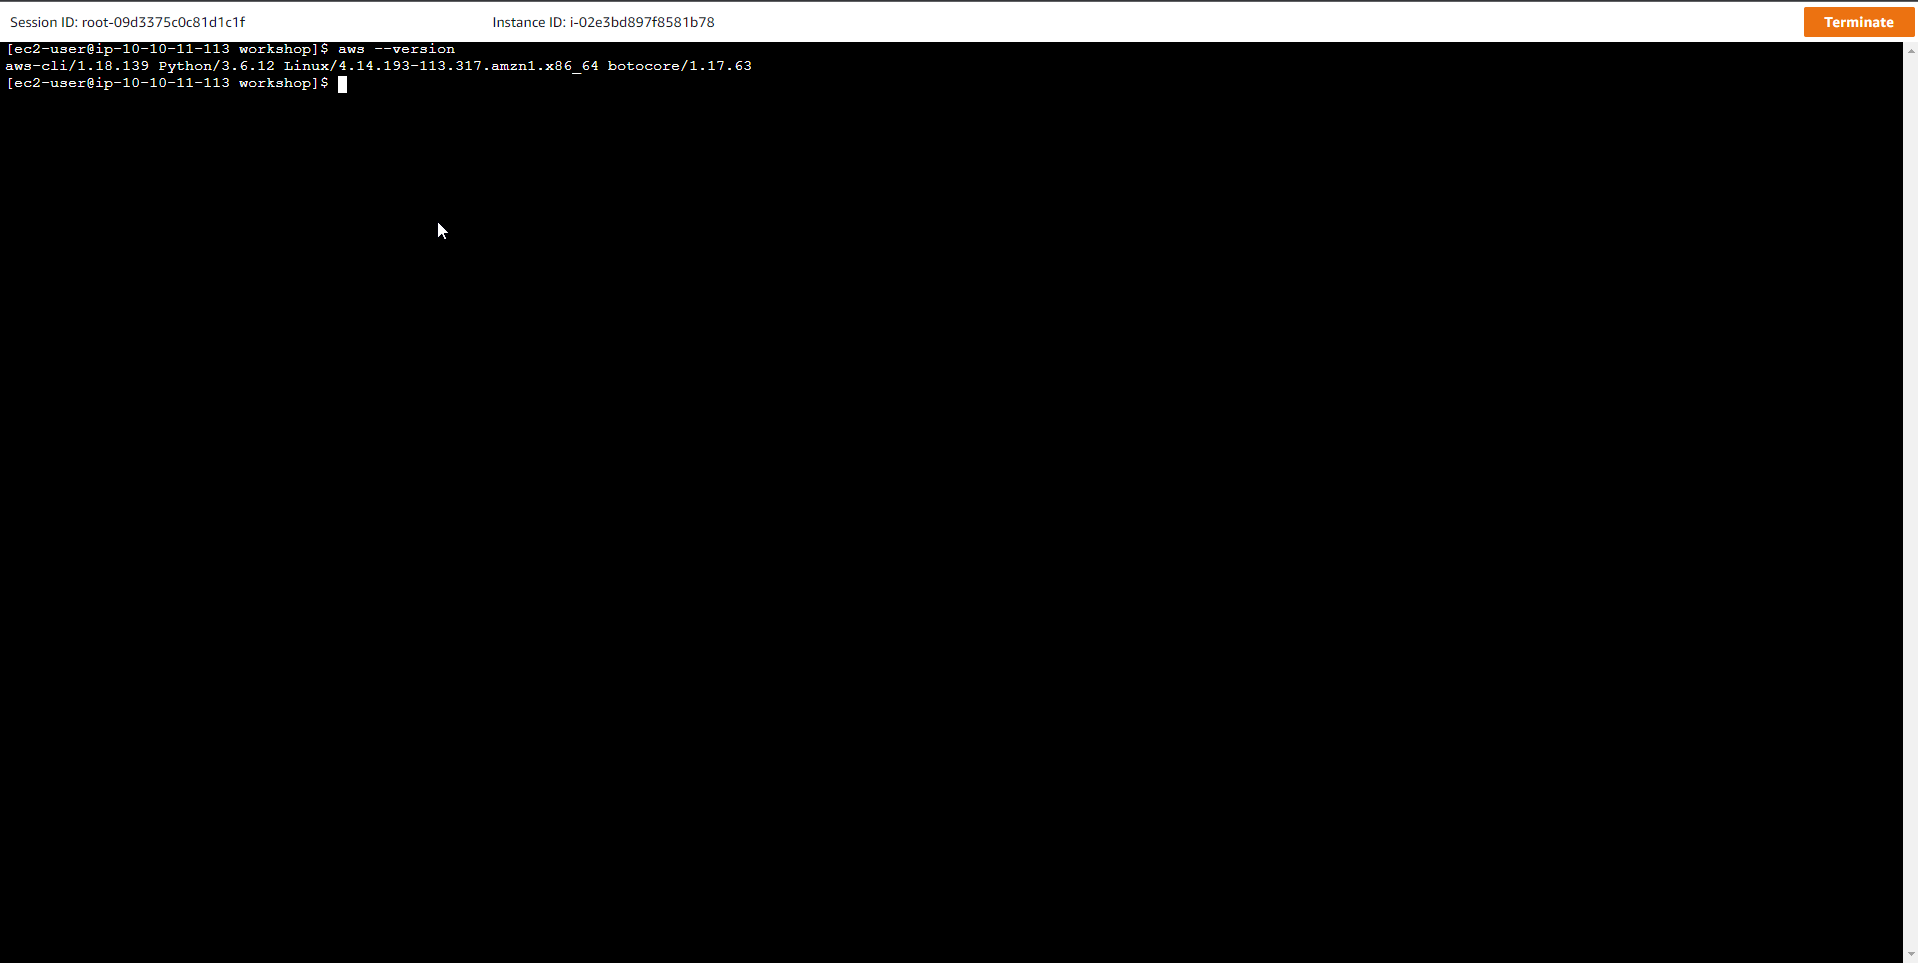
Để thực hành workshop không xảy ra lỗi, phải đảm bảo rằng phiên bản AWS CLI là 1.18.139 và python là 3.6.12
- Boto3 là một SDK của AWS phát triển riêng cho Python, nó cho phép các nhà phát triển Python xây dựng các ứng dụng dựa trên các dịch vụ AWS. Trong cửa sổ EC2 shell, chạy lệnh python để bắt đầu trình tương tác với python rồi dán các mã lệnh sau vào cửa sổ:
python
Sau khi gõ lệnh trên thì sử dụng đoạn code sau:
# Run this code:

import boto3
ddb = boto3.client('dynamodb')
ddb.describe_limits()
Kết quả hiển thị như bên dưới:
{u'TableMaxWriteCapacityUnits': 40000, u'TableMaxReadCapacityUnits': 40000, u'AccountMaxReadCapacityUnits': 80000, 'ResponseMetadata': {'RetryAttempts': 0, 'HTTPStatusCode': 200, 'RequestId': 'BFMGAS4P48I3DJTP5NU22QRDDJVV4KQNSO5AEMVJF66Q9ASUAAJG', 'HTTPHeaders': {'x-amzn-requestid': 'BFMGAS4P48I3DJTP5NU22QRDDJVV4KQNSO5AEMVJF66Q9ASUAAJG', 'content-length': '143', 'server': 'Server', 'connection': 'keep-alive', 'x-amz-crc32': '3062975651', 'date': 'Tue, 31 Dec 2020 00:00:00 GMT', 'content-type': 'application/x-amz-json-1.0'}}, u'AccountMaxWriteCapacityUnits': 80000}

- Trên EC2 instance, truy cập thư mục chứa workshop rồi chạy lệnh ls:
cd /home/ec2-user/workshop
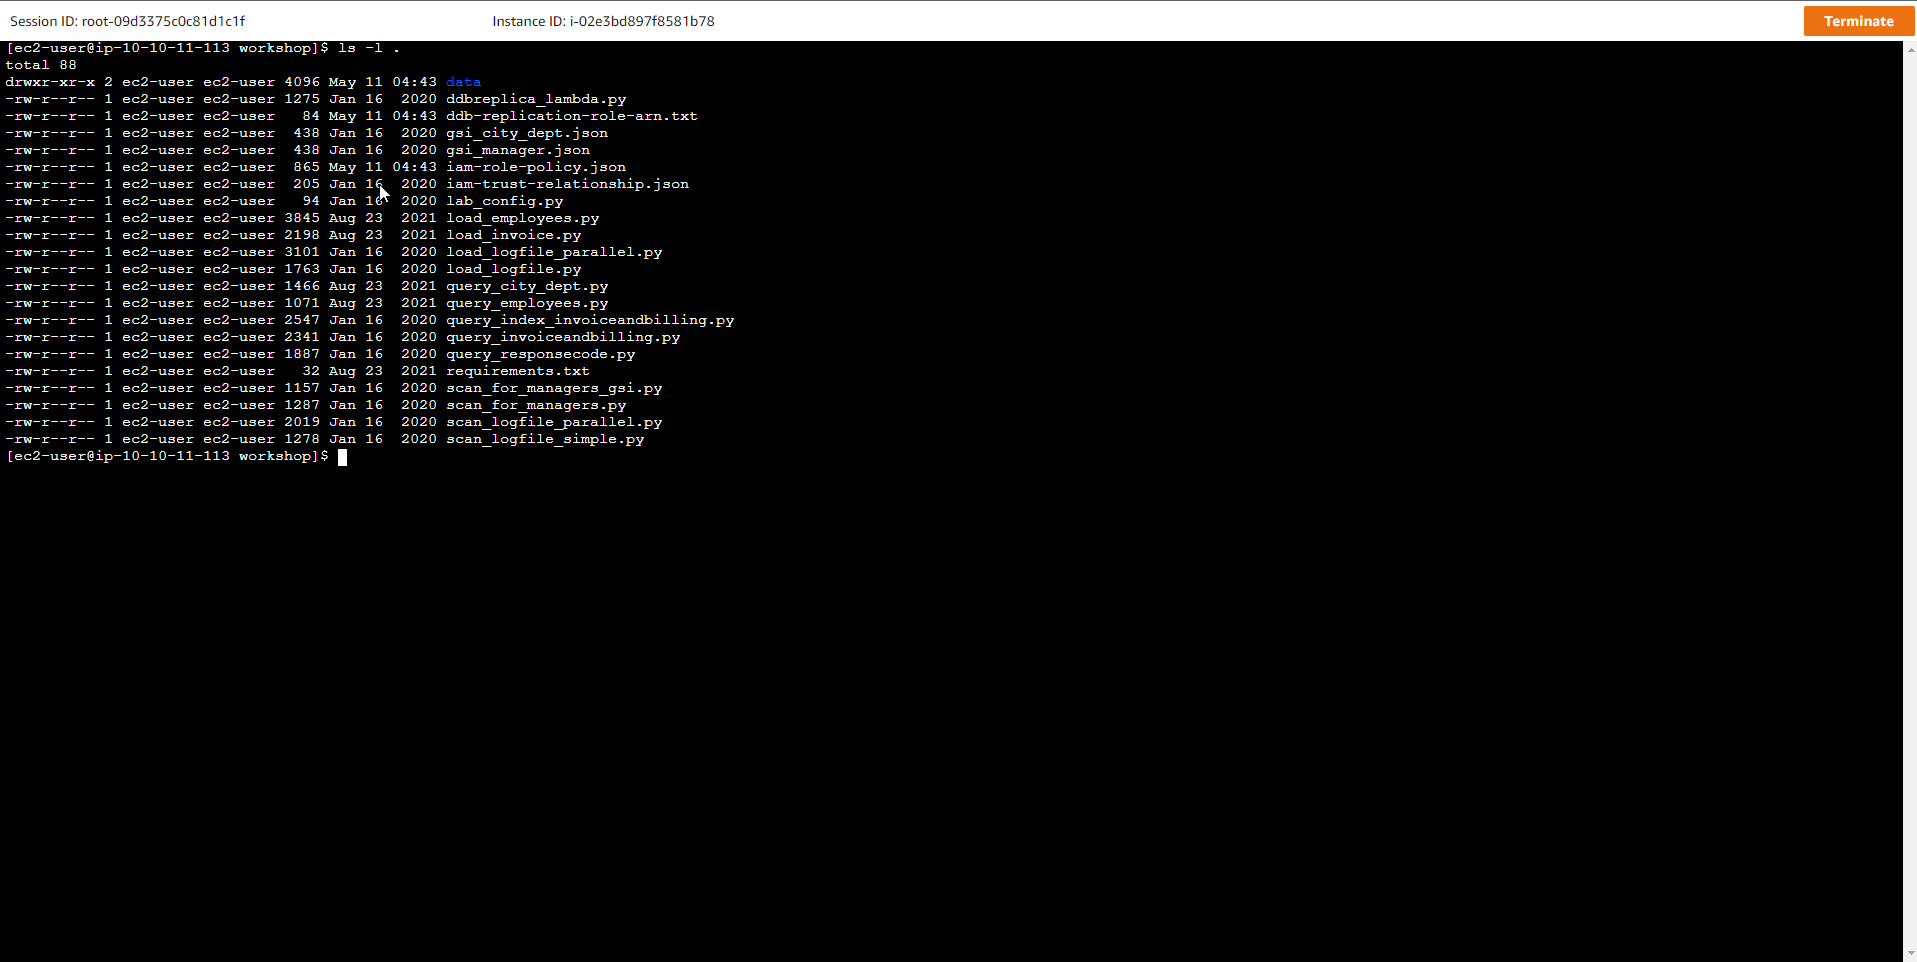
ls -l .
Các nội dung phải có trong thư mục workshop bao gồm Python code:
ddbreplica_lambda.py
load_employees.py
load_invoice.py
load_logfile_parallel.py
load_logfile.py
lab_config.py
query_city_dept.py
query_employees.py
query_index_invoiceandbilling.py
query_invoiceandbilling.py
query_responsecode.py
scan_for_managers_gsi.py
scan_for_managers.py
scan_logfile_parallel.py
scan_logfile_simple.py
JSON: gsi_city_dept.json
gsi_manager.json
iam-role-policy.json
iam-trust-relationship.json
Text: ddb-replication-role-arn.txt
- Chạy lệnh ls để kiểm tra danh sách các dữ liệu mẫu:
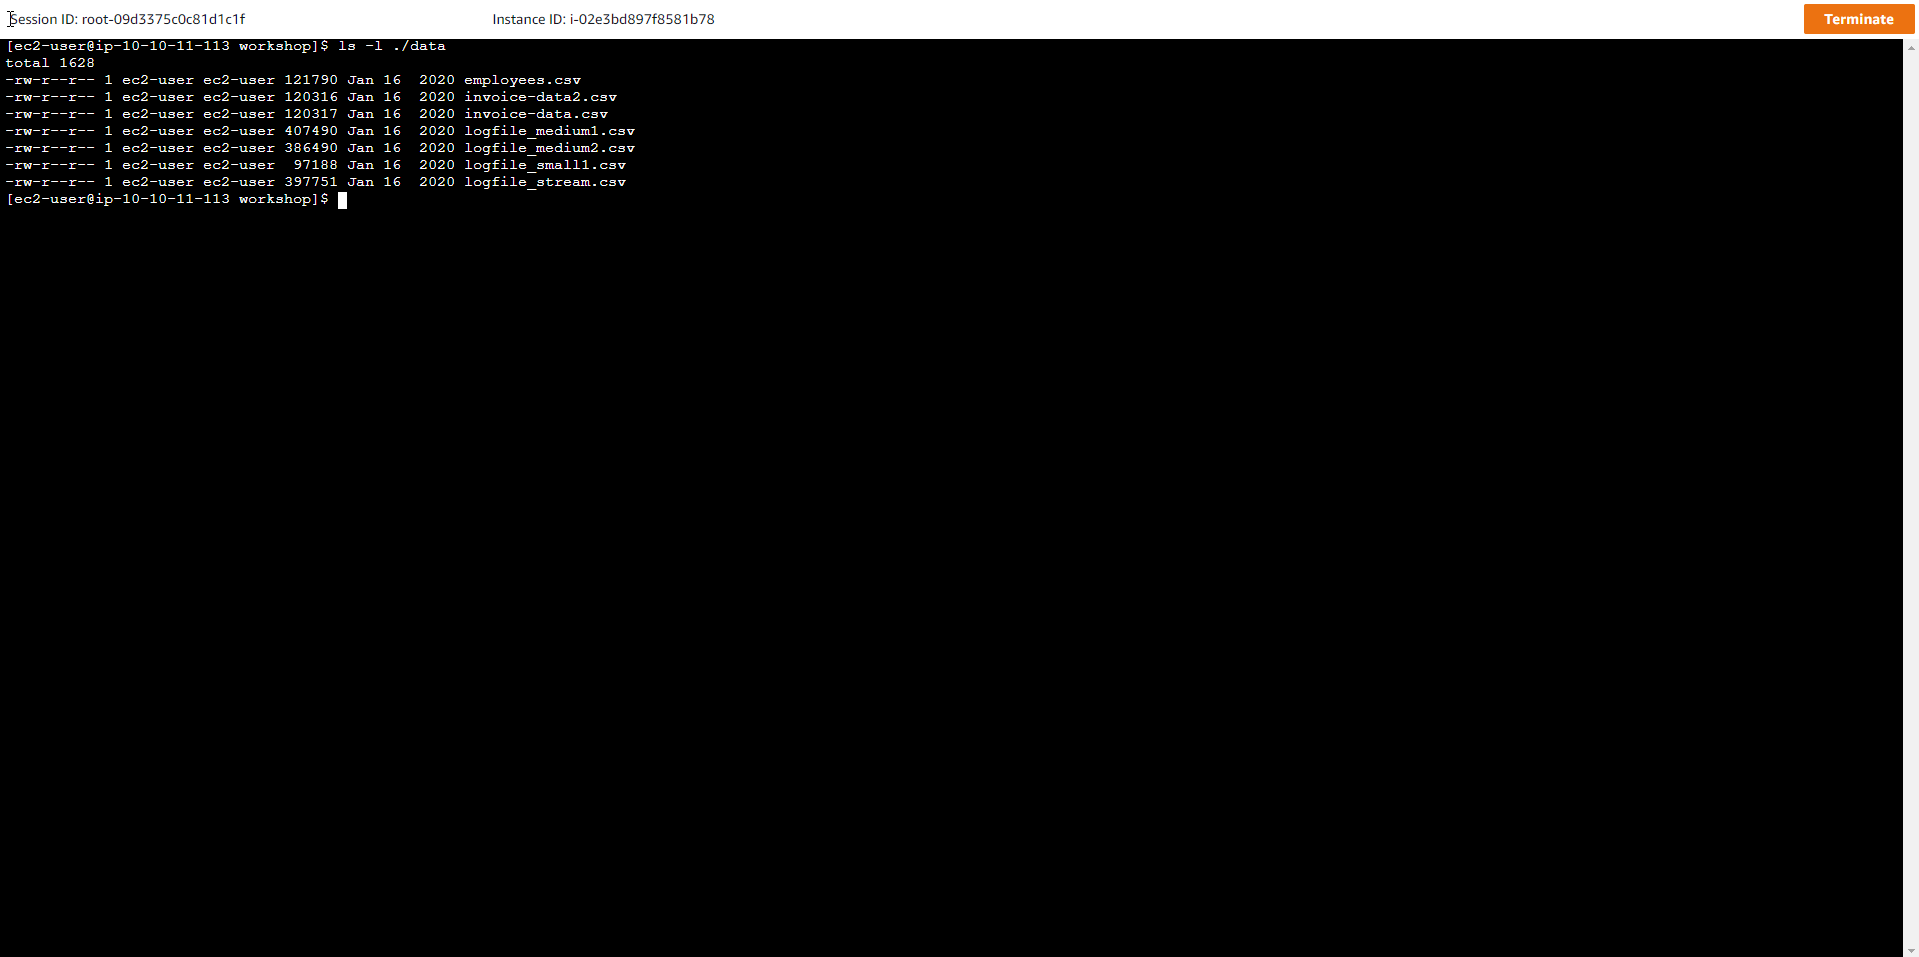
ls -l ./data
Kết quả như sau:
employees.csv
invoice-data2.csv
invoice-data.csv
logfile_medium1.csv
logfile_medium2.csv
logfile_small1.csv
logfile_stream.csv
- Kiểm tra Định dạng và Nội dung các file chứa Dữ liệu
Chúng ta sẽ làm việc với rất nhiều dữ liệu khác nhau xuyên suốt bài thực hành, đó là:
-
Server Logs data
-
Employees data
-
Invoices and Bills data
Cấu trúc dữ liệu của file Server Logs gồm:
-
requestid (number)
-
host (string)
-
date (string)
-
hourofday (number)
-
timezone (string)
-
method (string)
-
url (string)
-
responsecode (number)
-
bytessent (number)
-
useragent (string)
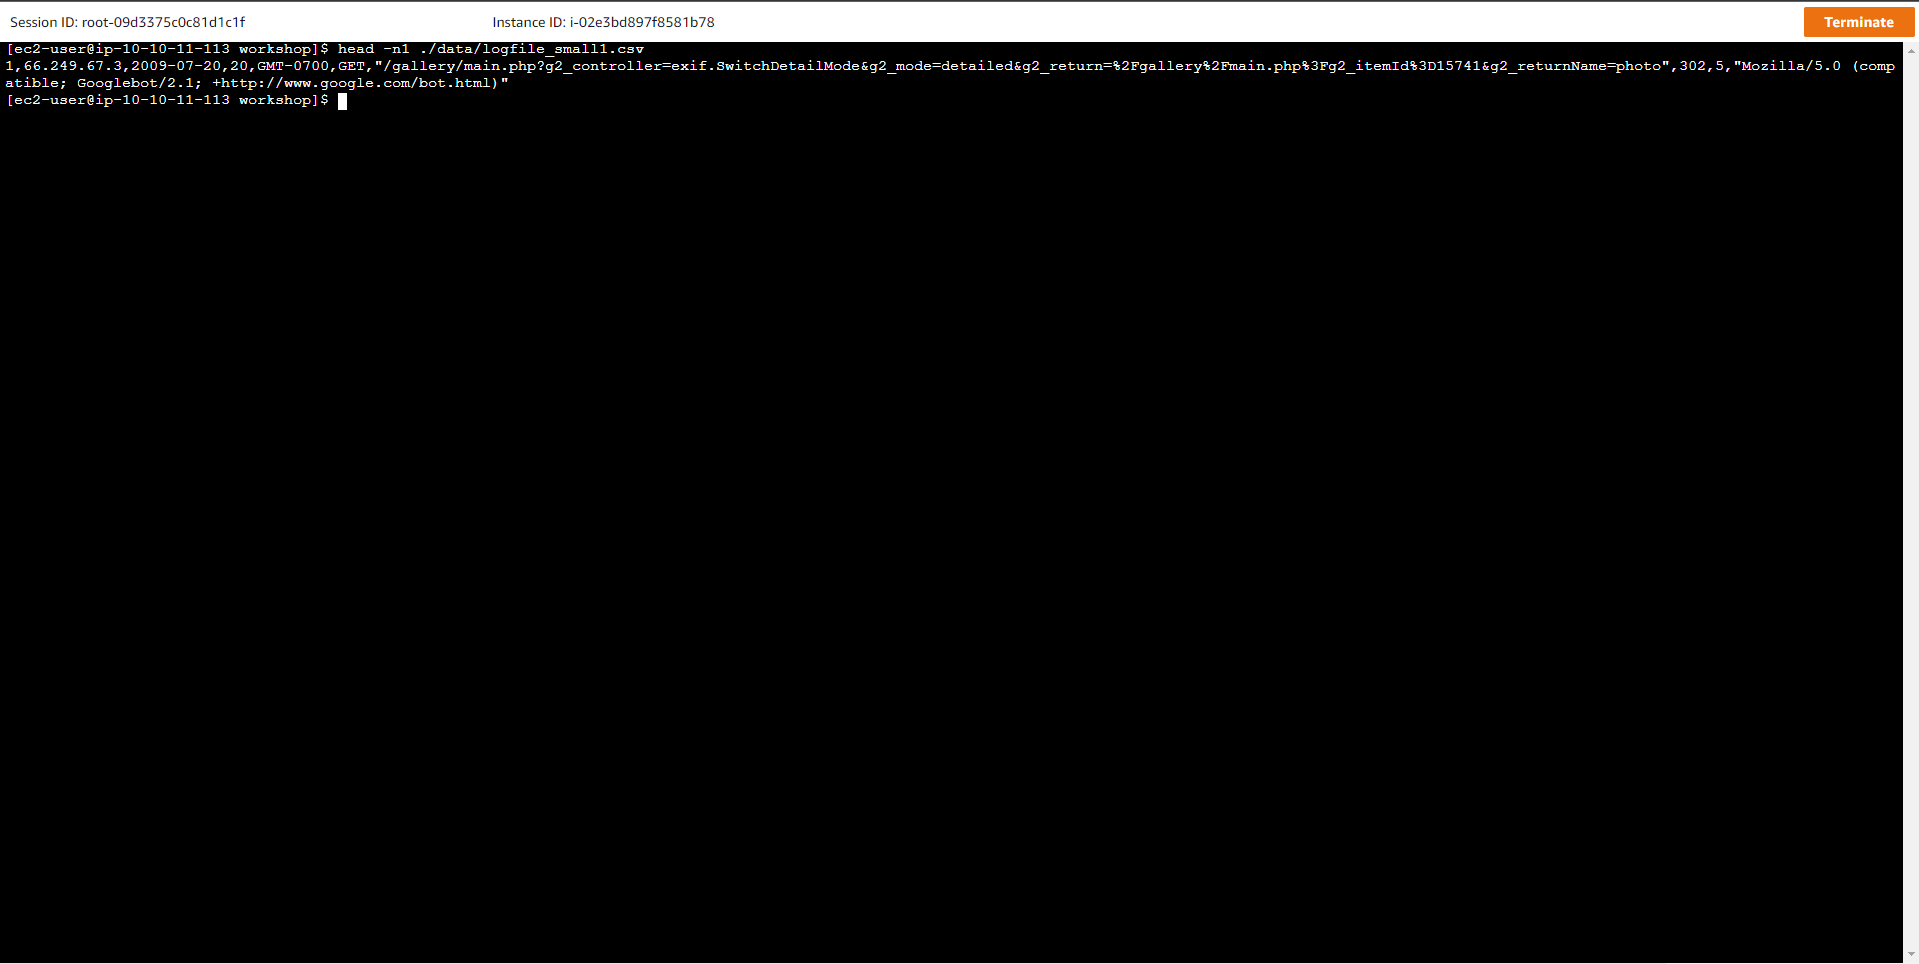
Để xem một bản ghi mẫu trong file, dùng lệnh:
head -n1 ./data/logfile_small1.csv
Kết quả như sau:
1,66.249.67.3,2017-07-20,20,GMT-0700,GET,"/gallery/main.php?g2_controller=exif.SwitchDetailMode&g2_mode=detailed&g2_return=%2Fgallery%2Fmain.php%3Fg2_itemId%3D15741&g2_returnName=photo",302,5,"Mozilla/5.0 (compatible; Googlebot/2.1; +http://www.google.com/bot.html)"
- Tương tự, cấu trúc của file Employees gồm:
-
employeeid (number)
-
name (string)
-
title (string)
-
dept (string)
-
city (string)
-
state (string)
-
dob (string)
-
hire-date (string)
-
previous title (string)
-
previous title end date (string)
-
is a manager (string), 1 cho nhân viên là Quản lý employees, và non-existent cho các loại nhân viên còn lại
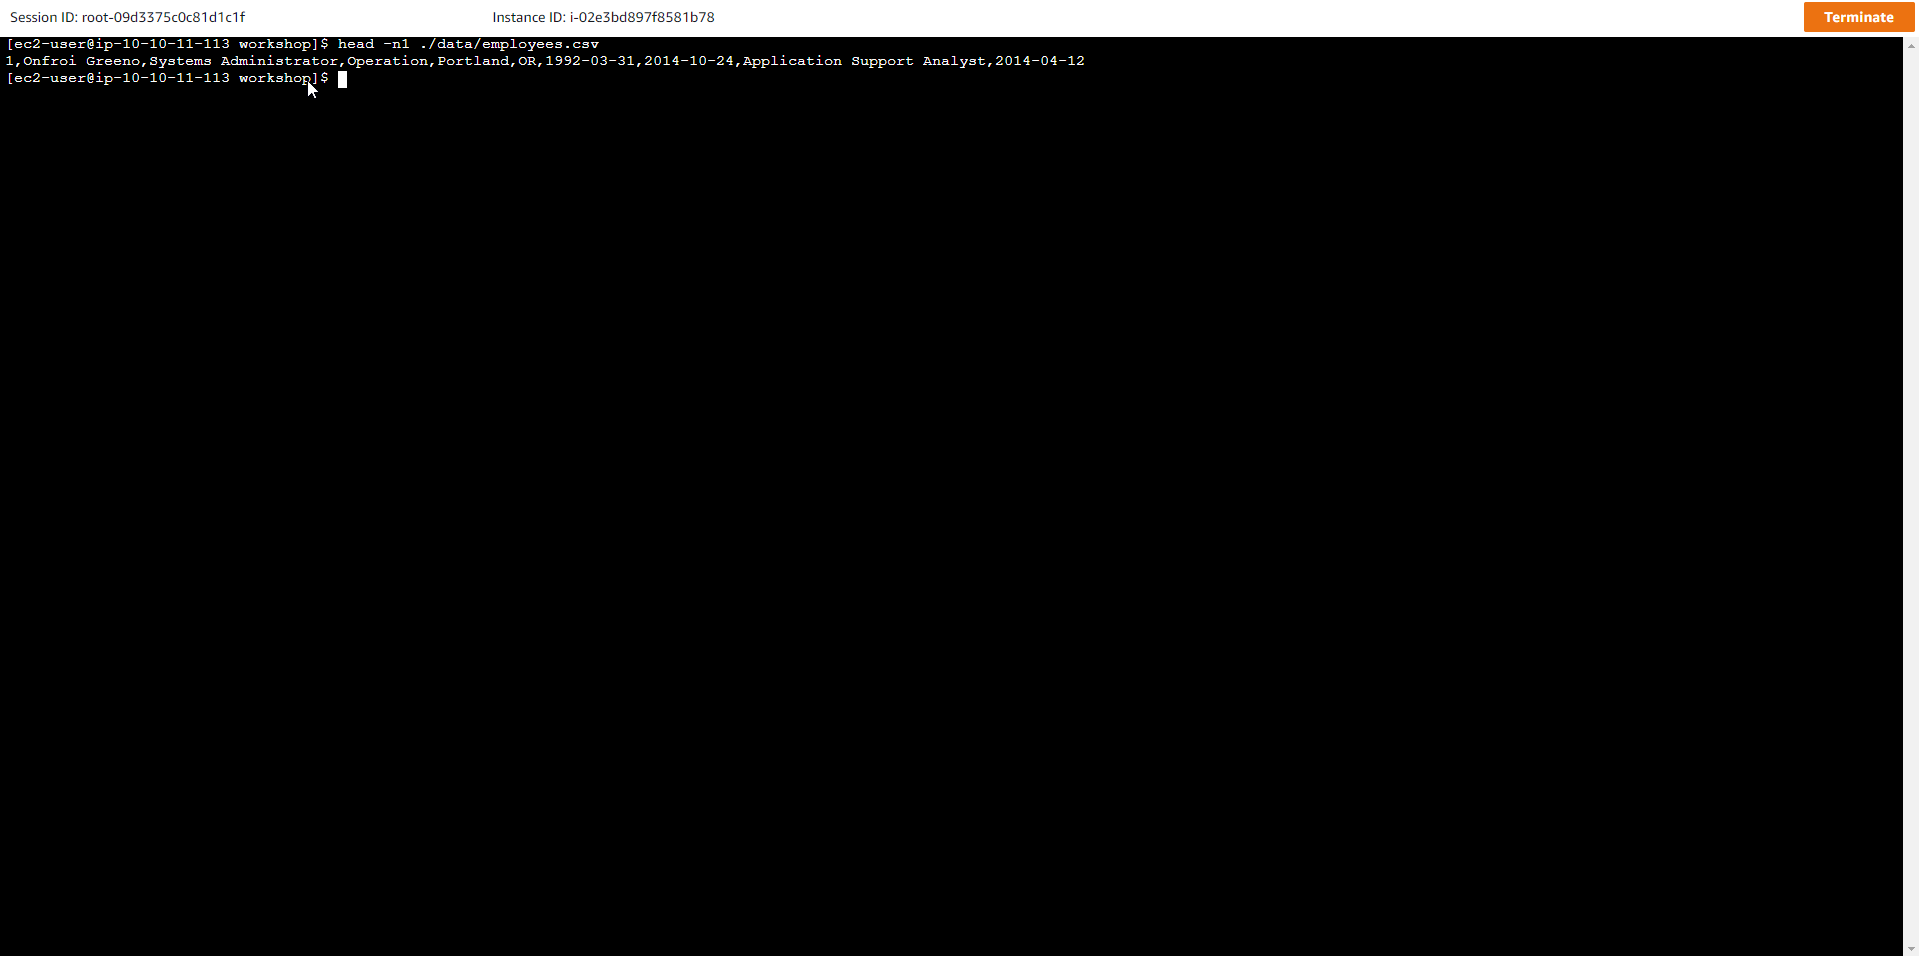
Để xem một bản ghi mẫu trong file, dùng lệnh:
head -n1 ./data/employees.csv
**Kết quả như sau: **
1,Onfroi Greeno,Systems Administrator,Operation,Portland,OR,1992-03-31,2014-10-24,Application Support Analyst,2014-04-12
- Nạp trước các Item cho bài tập Quét dữ liệu bảng
Tất cả các lệnh hướng dẫn phải được thực thi trong cửa sổ shell của EC2 Instance, không thao tác trên trên máy local.
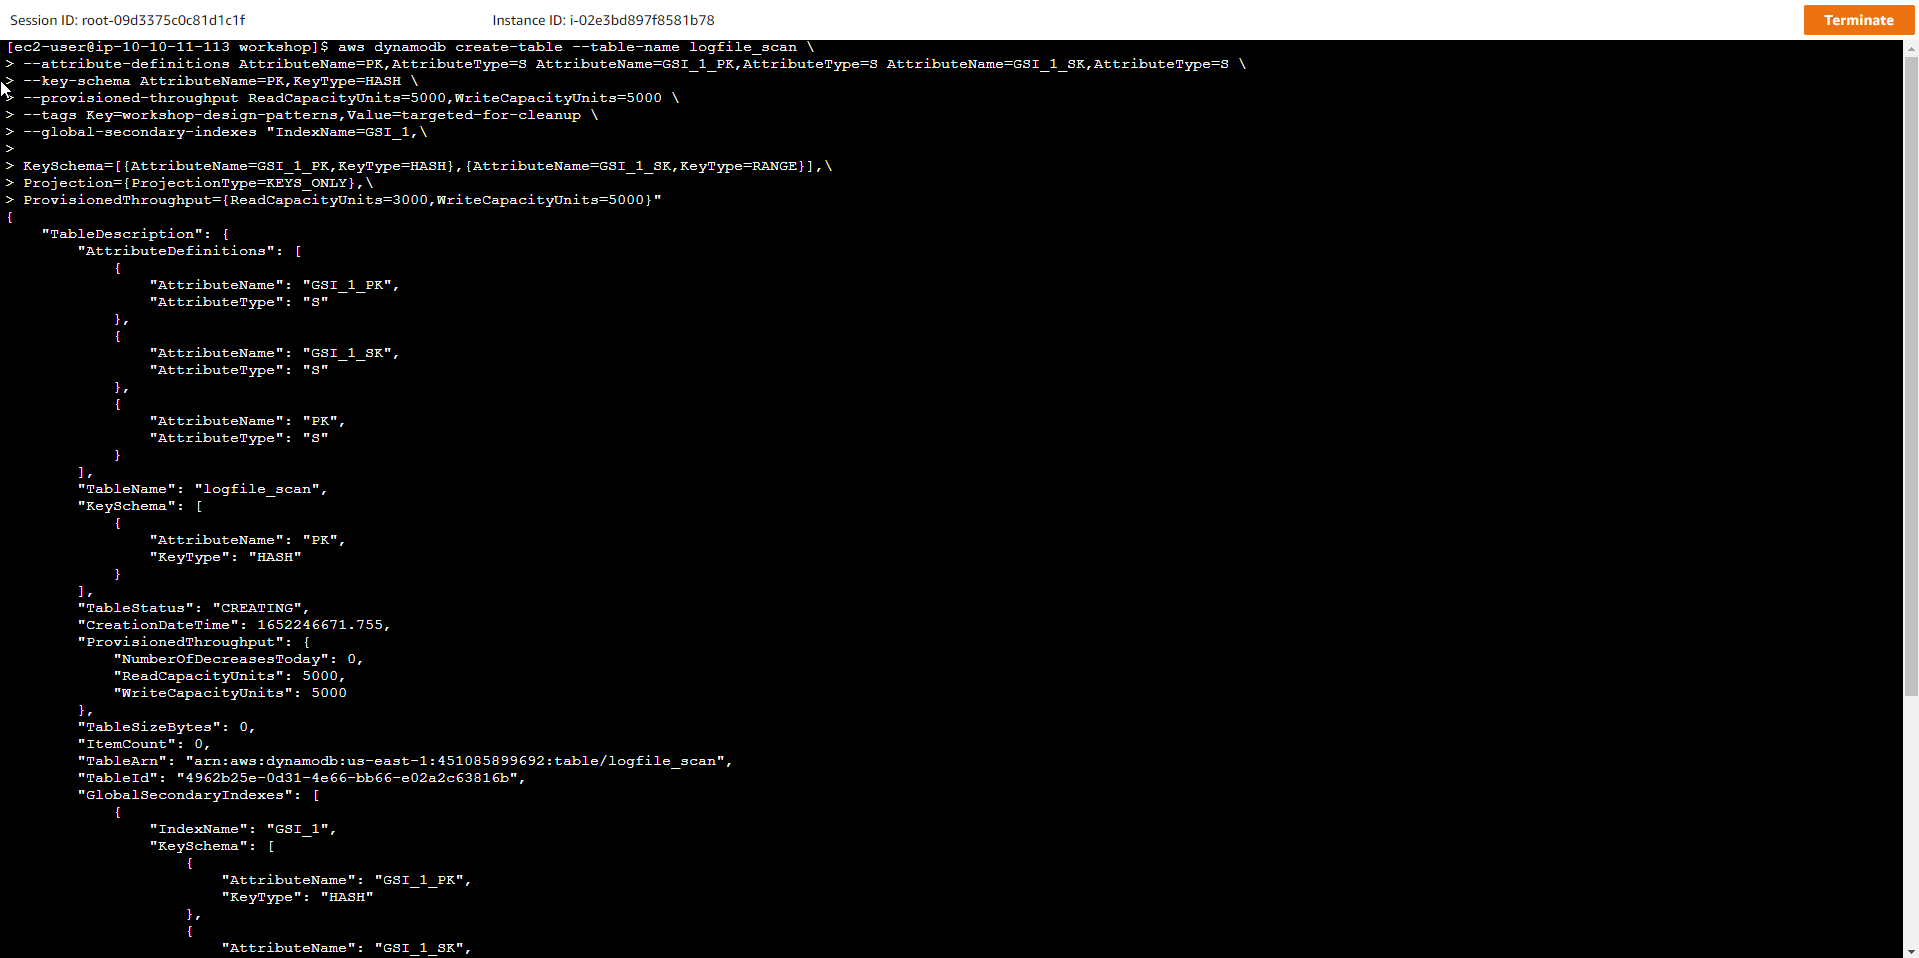
- Trong bài thực hành, chúng ta sẽ thảo luận về Quét dữ liệu bảng và những phương pháp hay nhất. Tại bước này, chúng ta sẽ nạp trước 1 triệu items để chuẩn bị cho bài thực hành Quét dữ liệu bảng. Chạy lệnh sau đây để bắt đầu việc tạo bảng:
aws dynamodb create-table --table-name logfile_scan \
--attribute-definitions AttributeName=PK,AttributeType=S AttributeName=GSI_1_PK,AttributeType=S AttributeName=GSI_1_SK,AttributeType=S \
--key-schema AttributeName=PK,KeyType=HASH \
--provisioned-throughput ReadCapacityUnits=5000,WriteCapacityUnits=5000 \
--tags Key=workshop-design-patterns,Value=targeted-for-cleanup \
--global-secondary-indexes "IndexName=GSI_1,\

KeySchema=[{AttributeName=GSI_1_PK,KeyType=HASH},{AttributeName=GSI_1_SK,KeyType=RANGE}],\
Projection={ProjectionType=KEYS_ONLY},\
ProvisionedThroughput={ReadCapacityUnits=3000,WriteCapacityUnits=5000}"
Kết quả lệnh tạo ra một bảng mới có tên logfile_scan và một GSI, cụ thể:
-
Key schema: HASH
-
Table RCU = 5000
-
Table WCU = 5000
-
GSI(s): GSI_1 (3000 RCU, 5000 WCU) - cho phép quét dữ liệu nhật ký truy cập theo kiểu tuần tự hoặc song song. Sắp xếp theo status code và timestamp
| Tên Thuộc tính (Loại) | Mô tả | Trường hợp sử dụng | Ví dụ Giá trị Thuộc tính | |
|---|---|---|---|---|
| PK (STRING) | Hash key | Thông tin request id phục vụ công tác kiểm tra nhật ký truy cập | request#104009 | |
| GSI_1_PK (STRING) | GSI 1 hash key | Là một shard key, với các giá trị từ 0-N, phục vụ công tác tìm kiếm bản ghi nhật ký | shard#3 | |
| GSI_1_SK (STRING) | GSI 1 sort key | Sắp xếp các bản ghi nhật ký theo thứ bậc, từ status code -> date -> hour | 200#2019-09-21#01 |
- Truy cập AWS Management Console
- Tìm DynamoDB
- Chọn DynamoDB
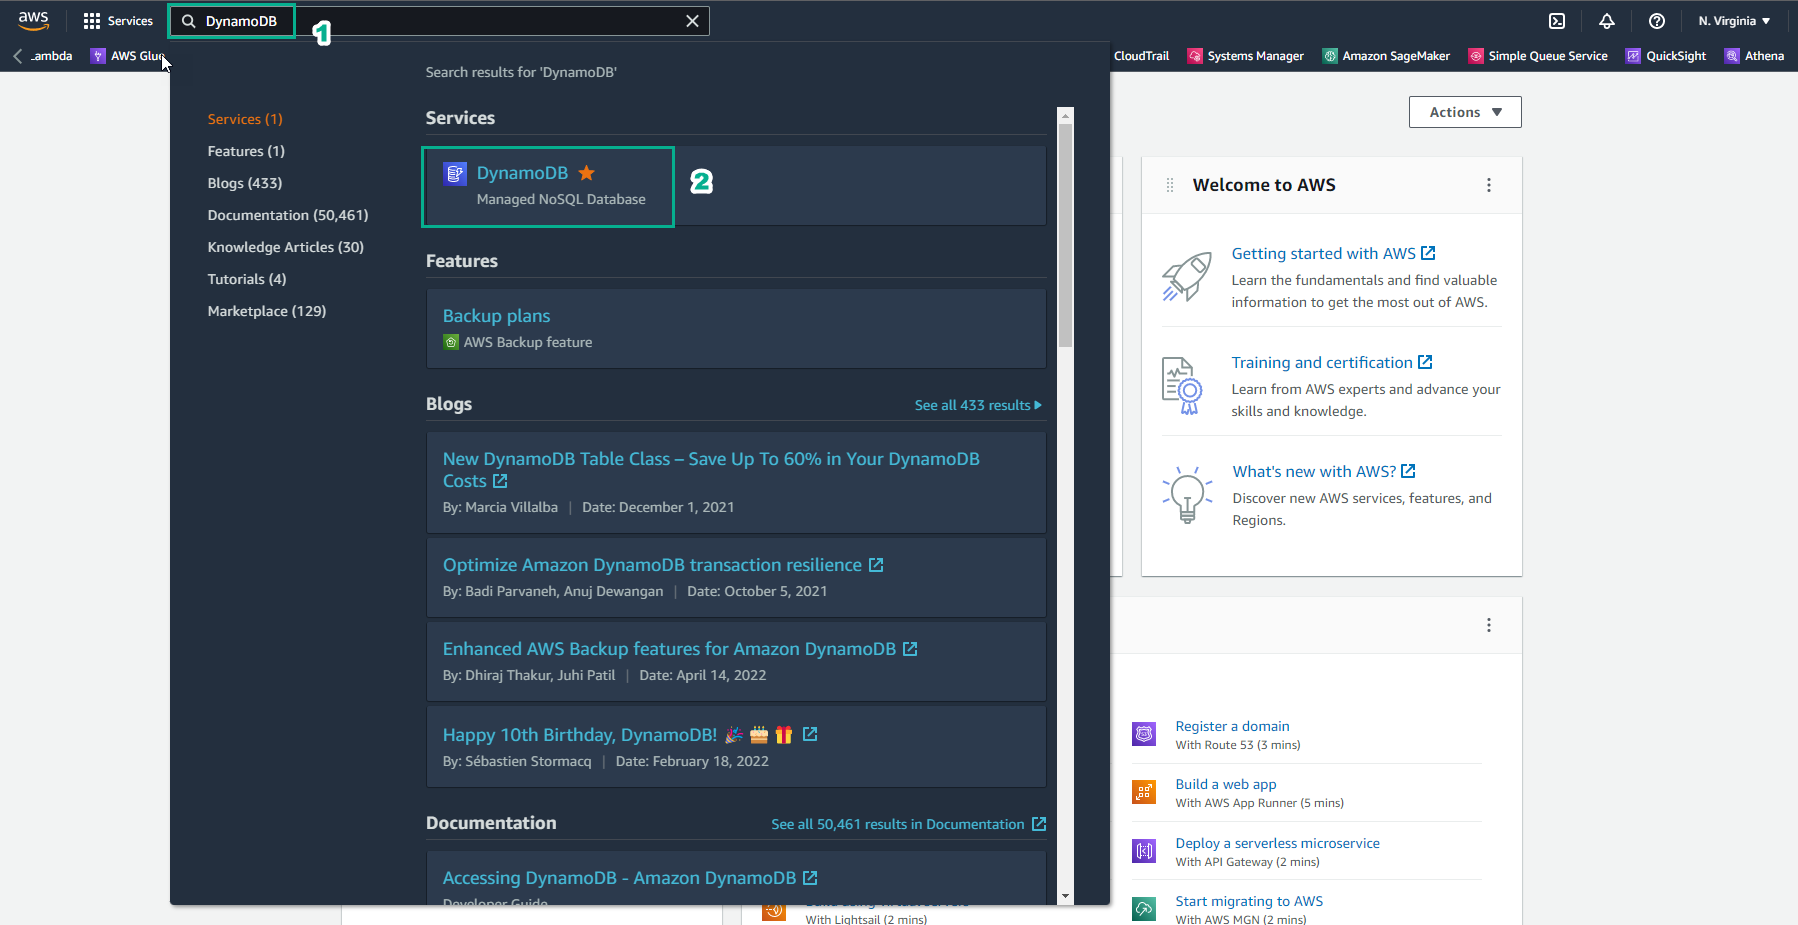
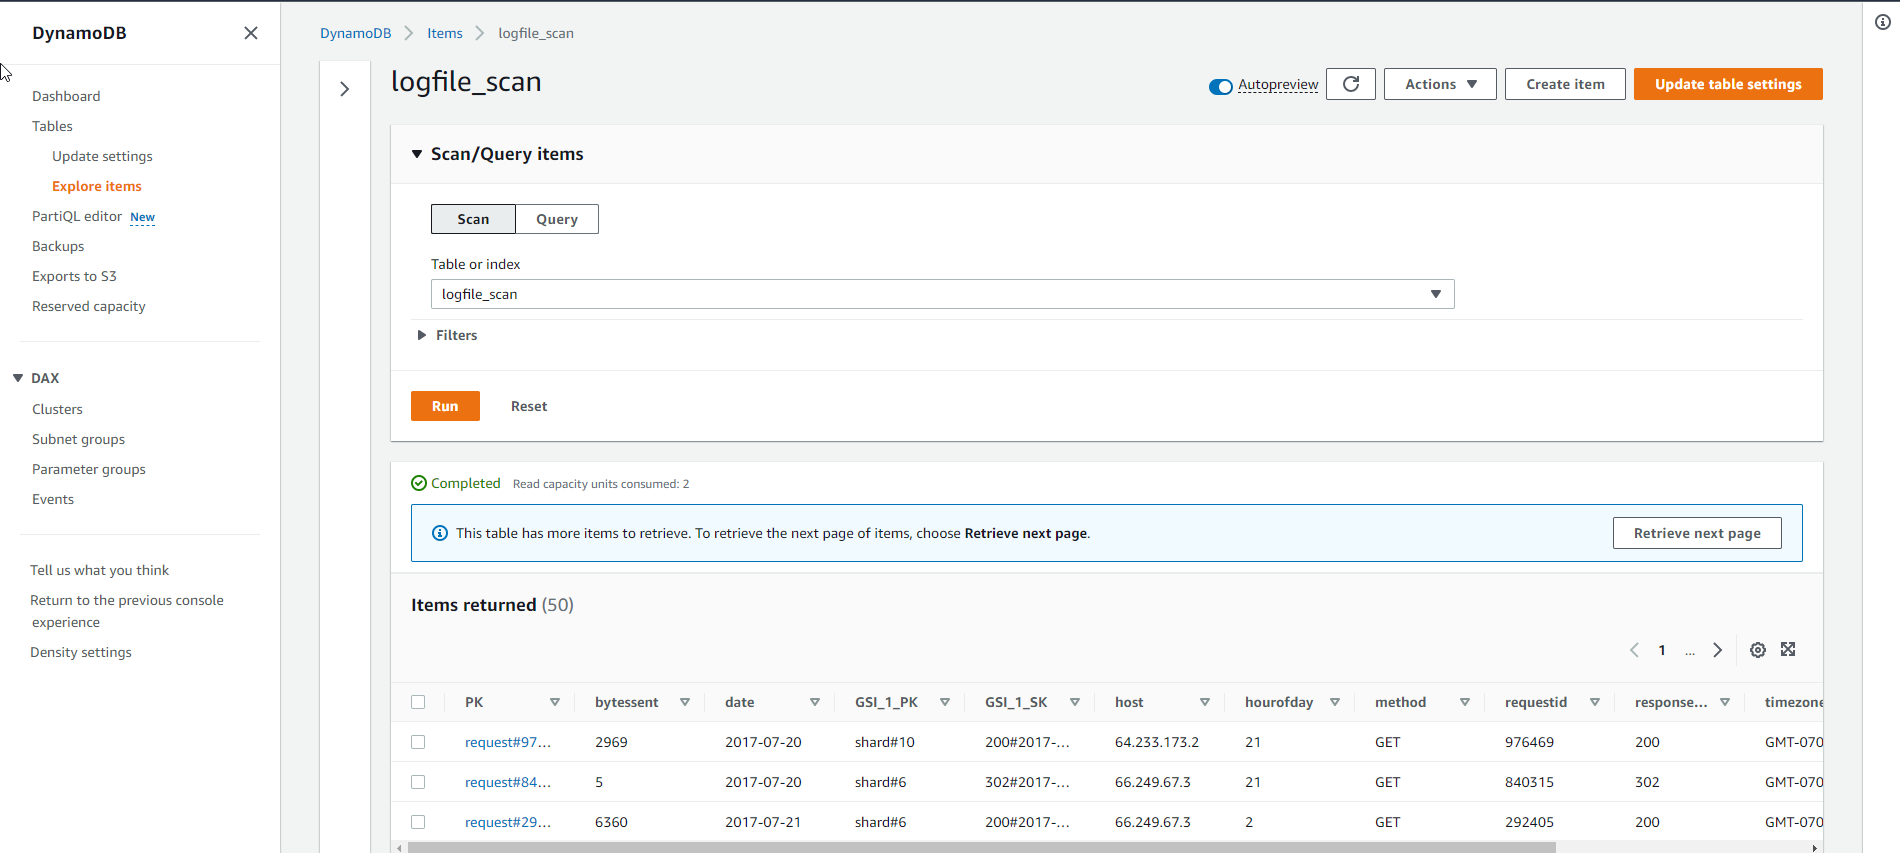
- Trong giao diện DynamoDB
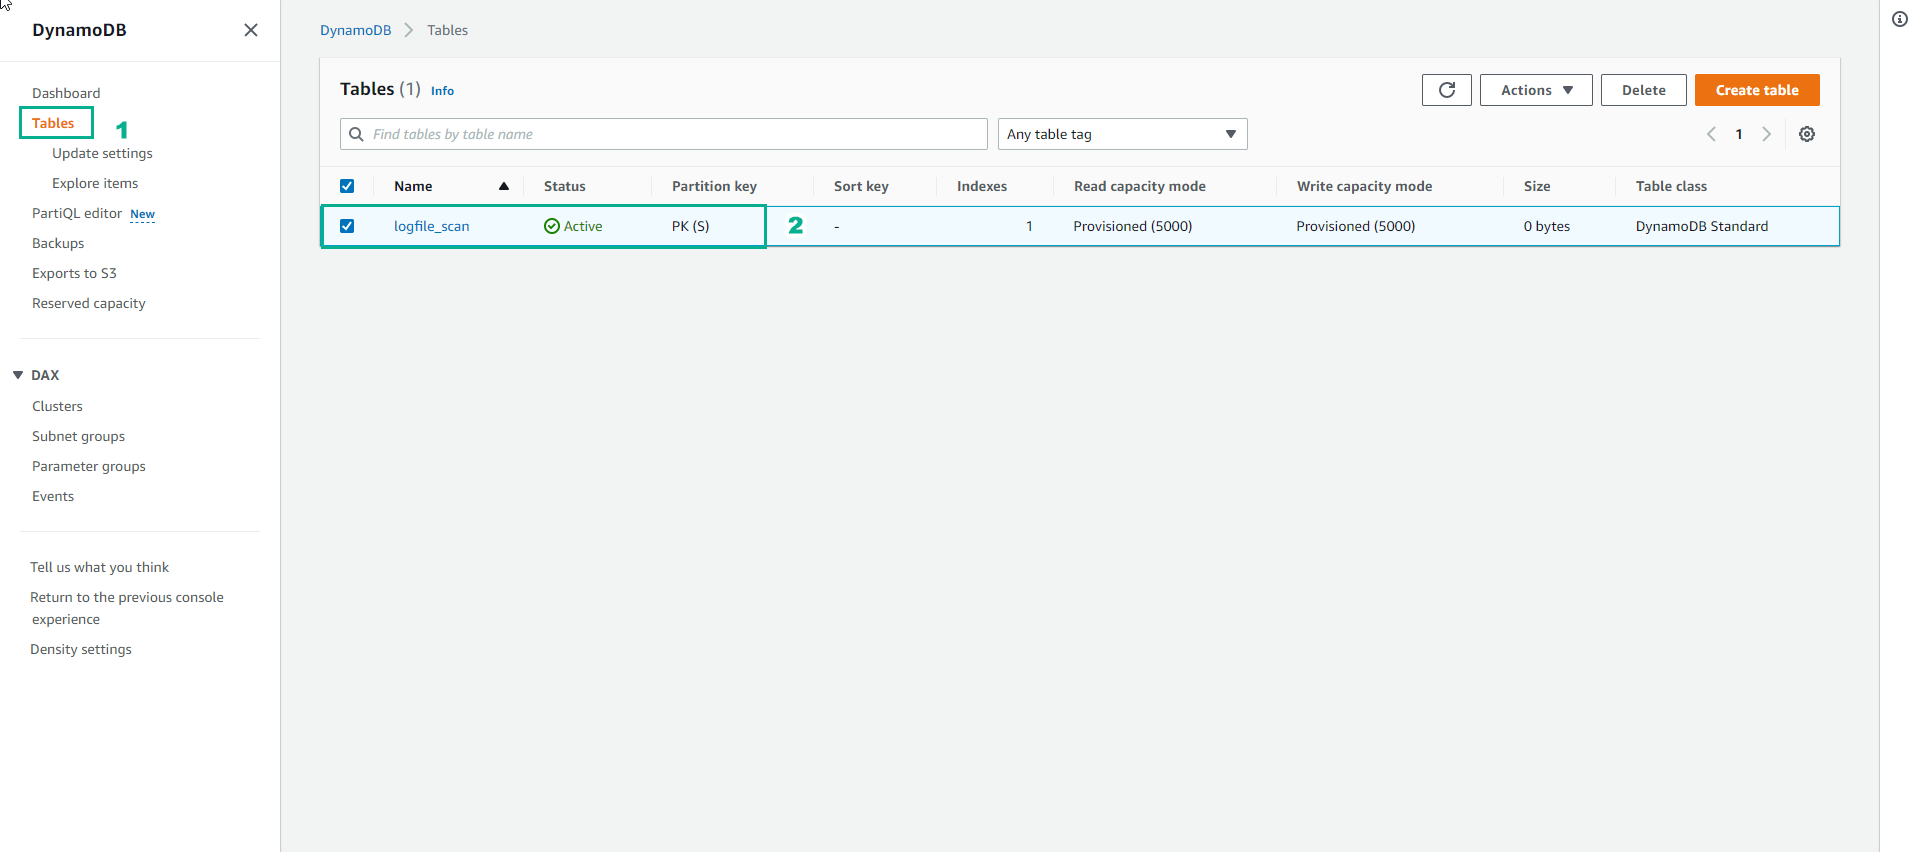
- Chọn Tables
- Xuất hiện table logfile_scan
- Chạy lệnh sau để đợi cho đến khi trạng thái bảng trở thành Active:
aws dynamodb wait table-exists --table-name logfile_scan

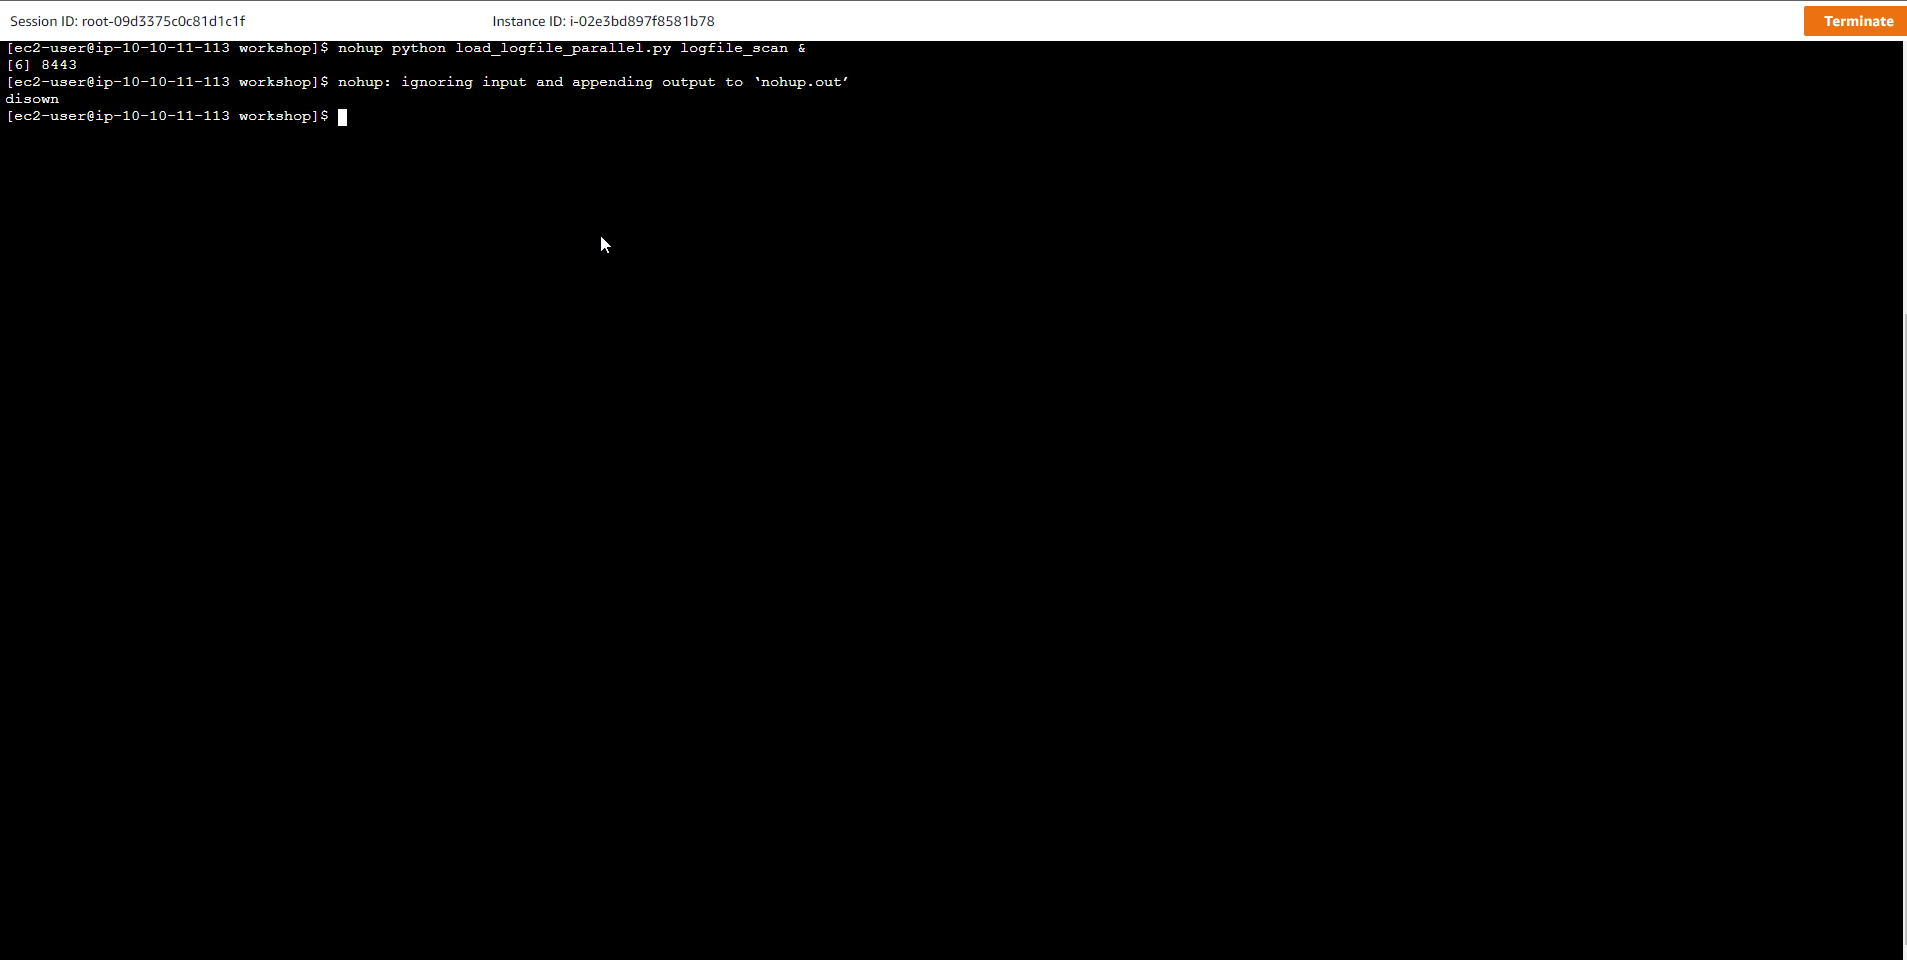
- Chạy lệnh nạp 1,000,000 bản ghi từ file Server logs vào bảng logfile_scan.
nohup python load_logfile_parallel.py logfile_scan &
- Tùy chọn nohup được sử dụng để chạy ngầm các tiến trình, còn disown cho phép dữ liệu vẫn sẽ tiếp tục được nạp trong trường hợp bạn vừa bị mất kết nối.
disown
Lệnh nạp dữ liệu tạo ra một tiến trình chạy ngầm và mất khoảng 10 phút để hoàn thành việc này.
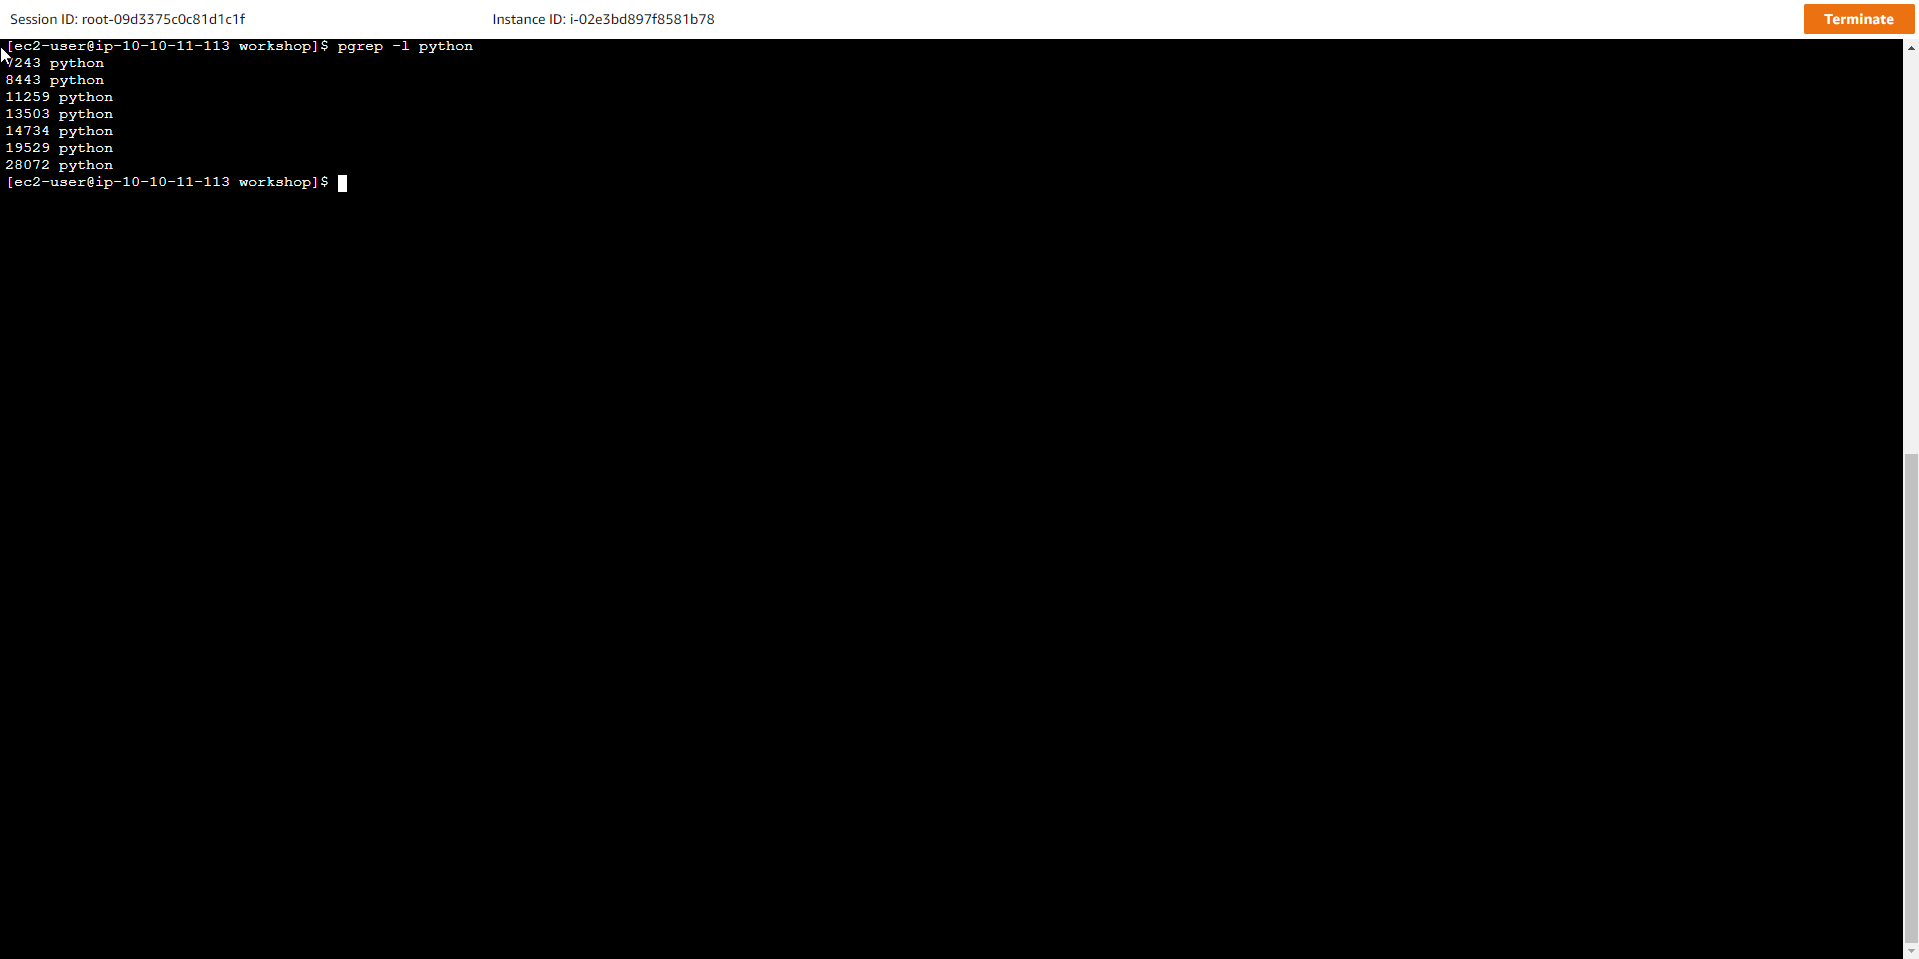
- Chạy lệnh
pgrep -l pythonđể kiểm tra dữ liệu vẫn được nạp vào bảng.
- Trong giao diện DynamoDB, chúng ta thấy dữ liệu đã được nạp vào