Connecting EC2 instances
Access EC2 Instance via AWS Systems Manager Console
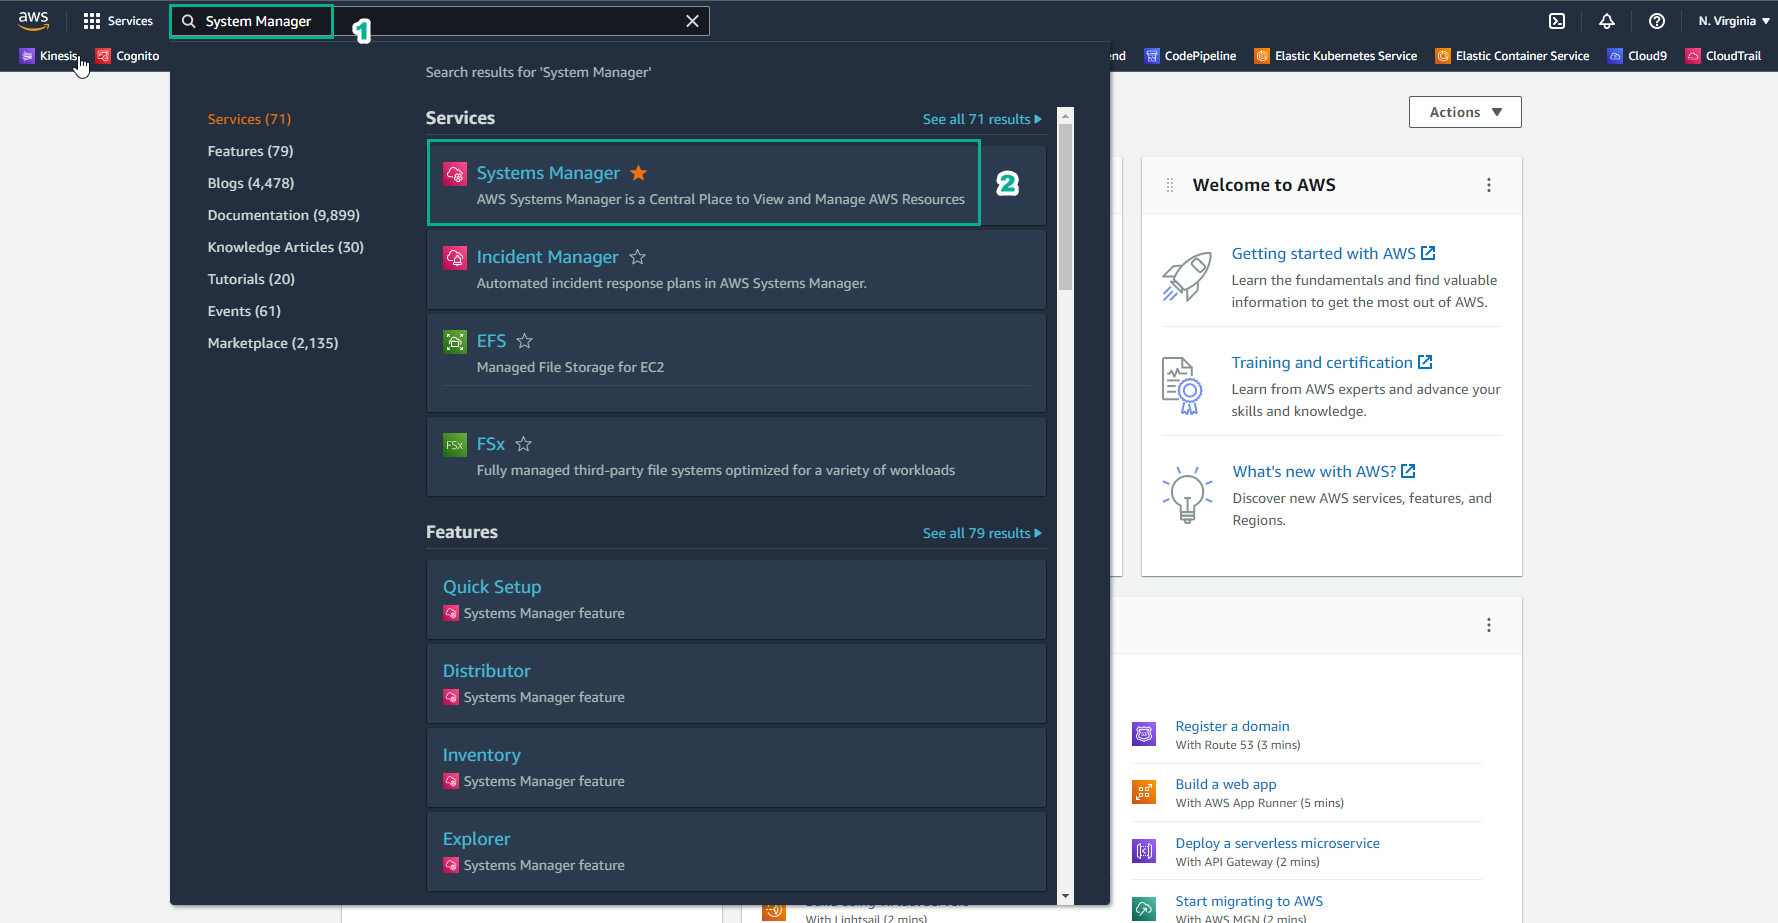
- Access the service AWS Management Console
- Find System Manager
- Select System Manager
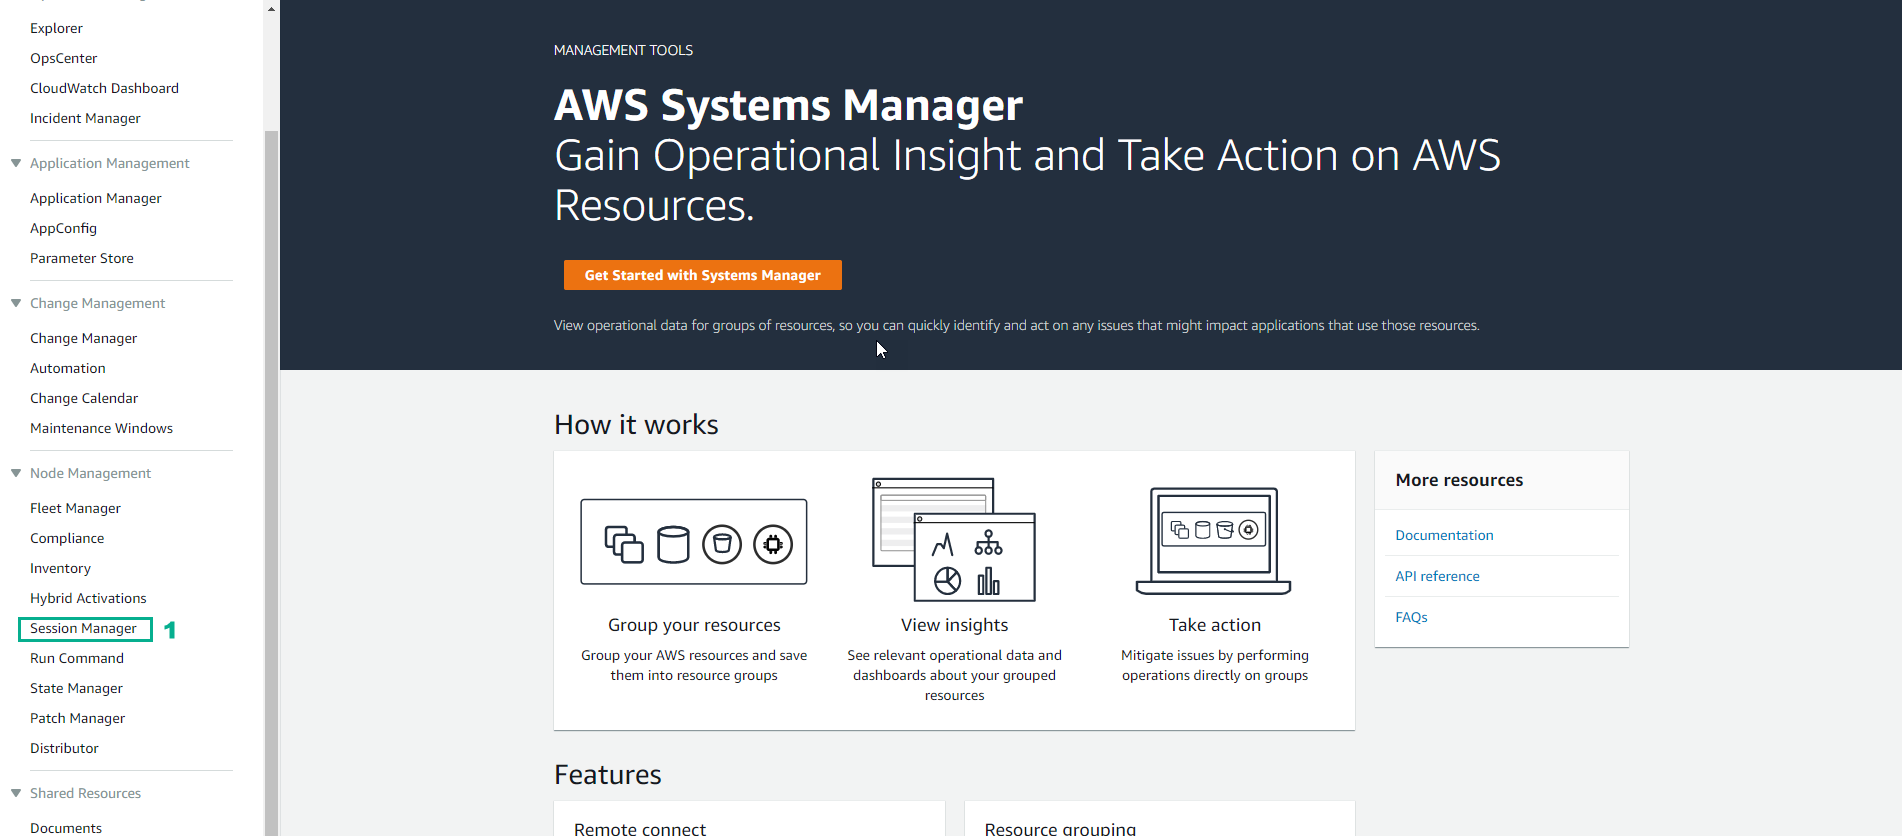
- In the System Manager interface
- Select Session Manager
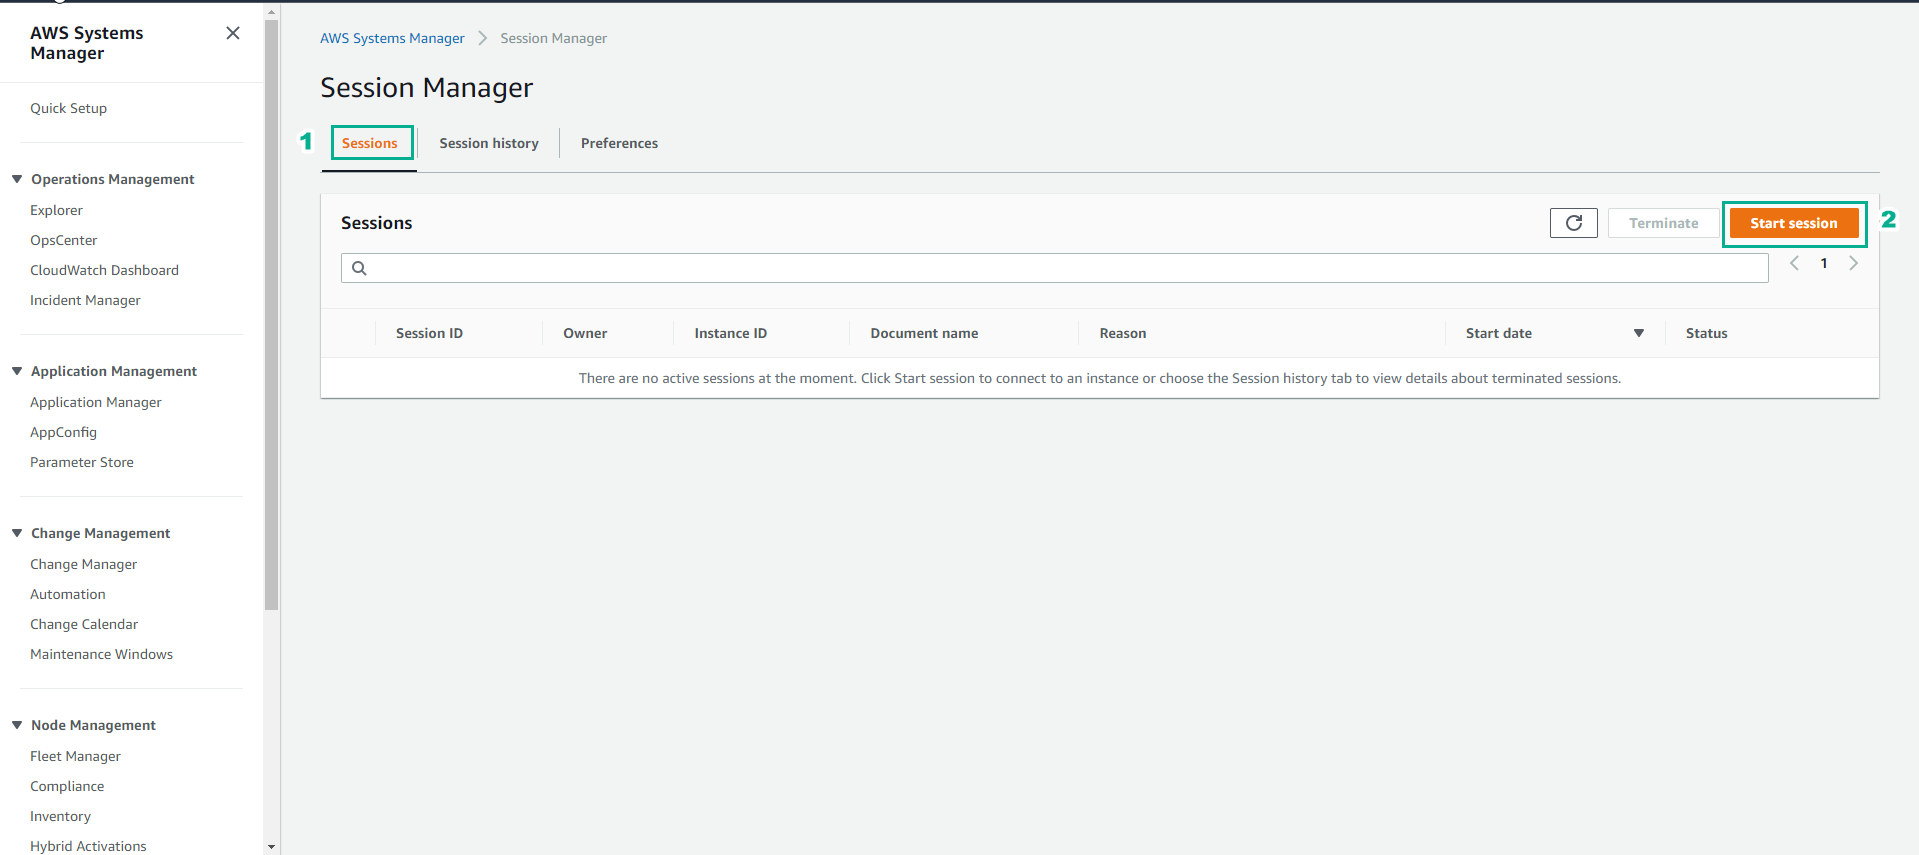
- In the Session Manager interface
- Select Sessions
- Select Start session
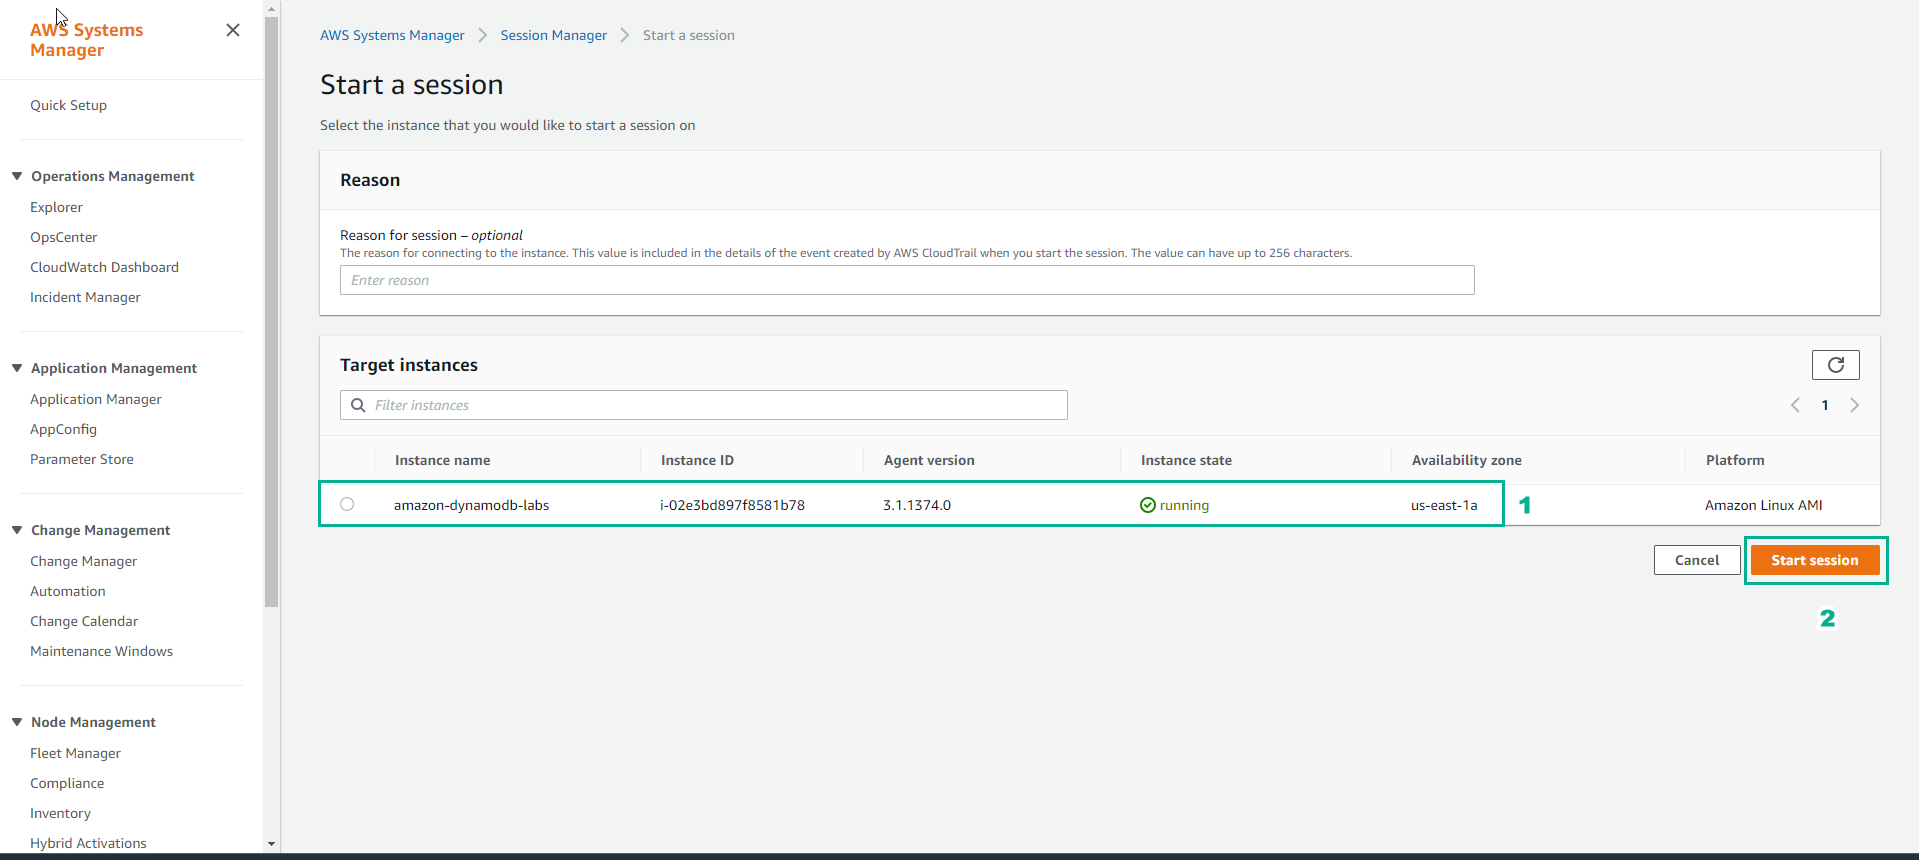
- In the Start session interface
- Select amazon-dynamodb-labs
- Select Start session to start a new shell session.
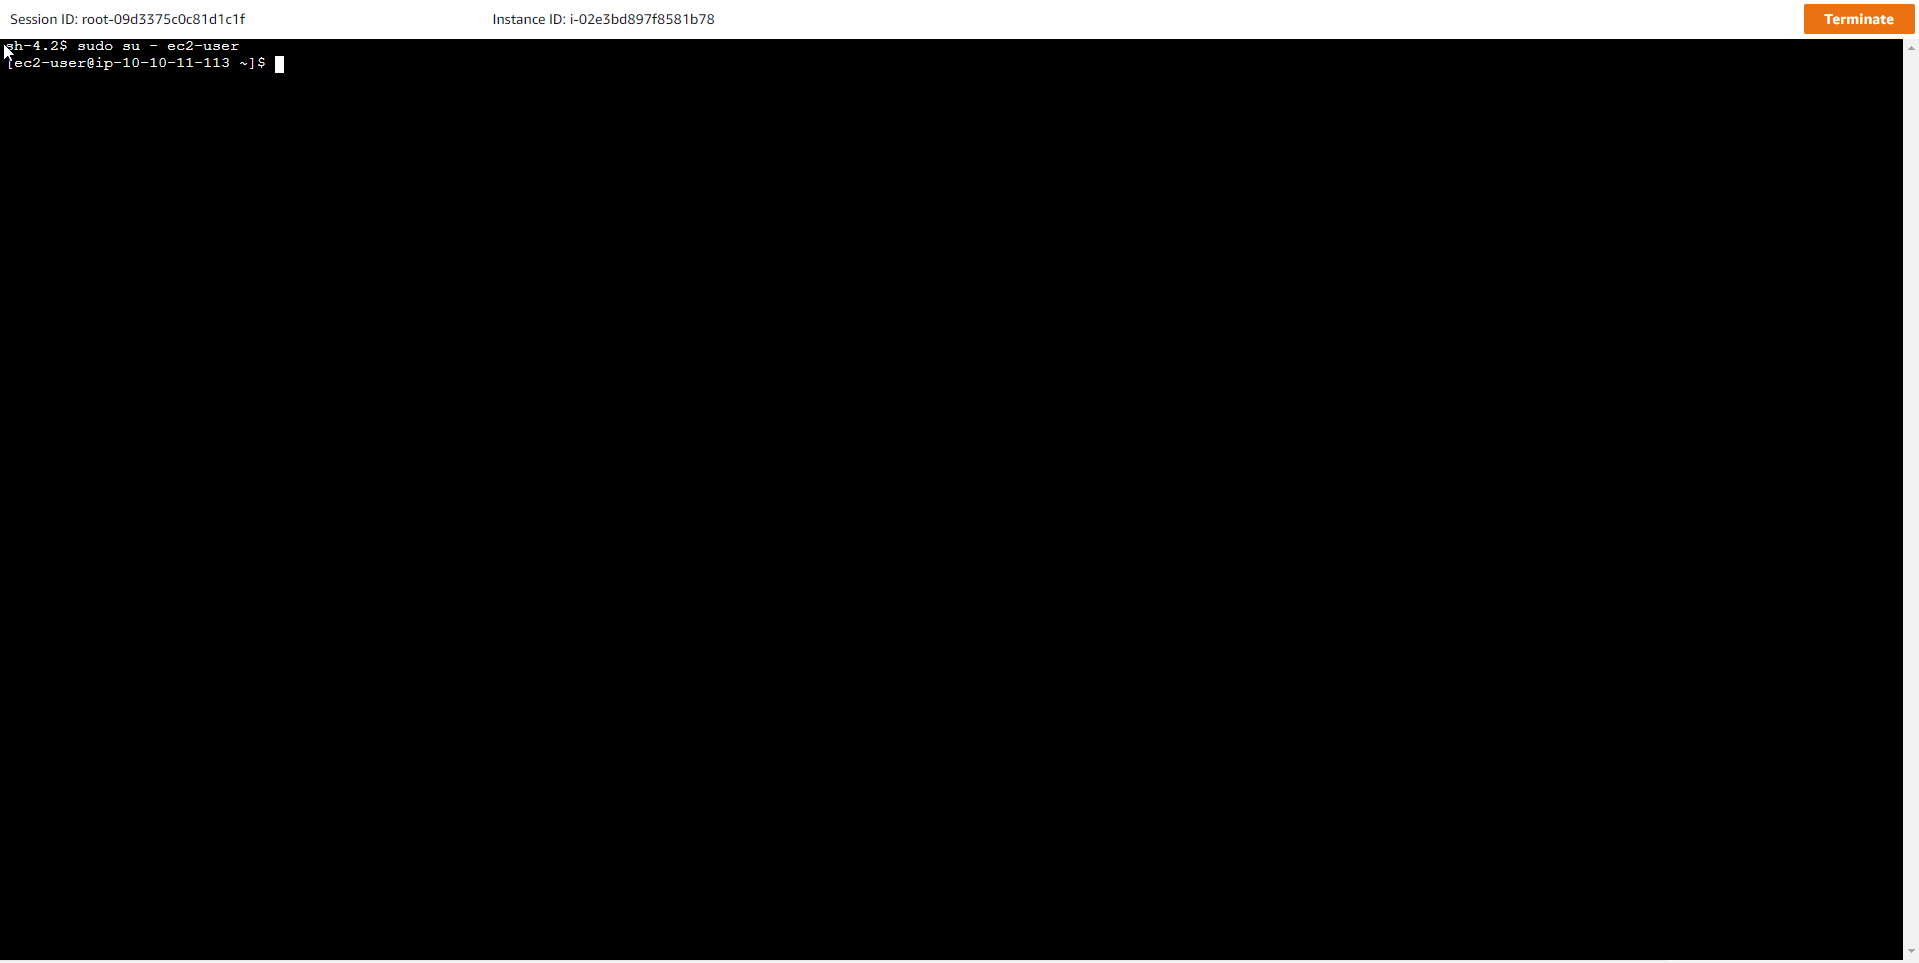
- Successful instance connection

- In the new shell session, switch to ec2-user using the command
sudo su - ec2-user
- Run the command
shopt login_shellto make sure it returns login_shell on

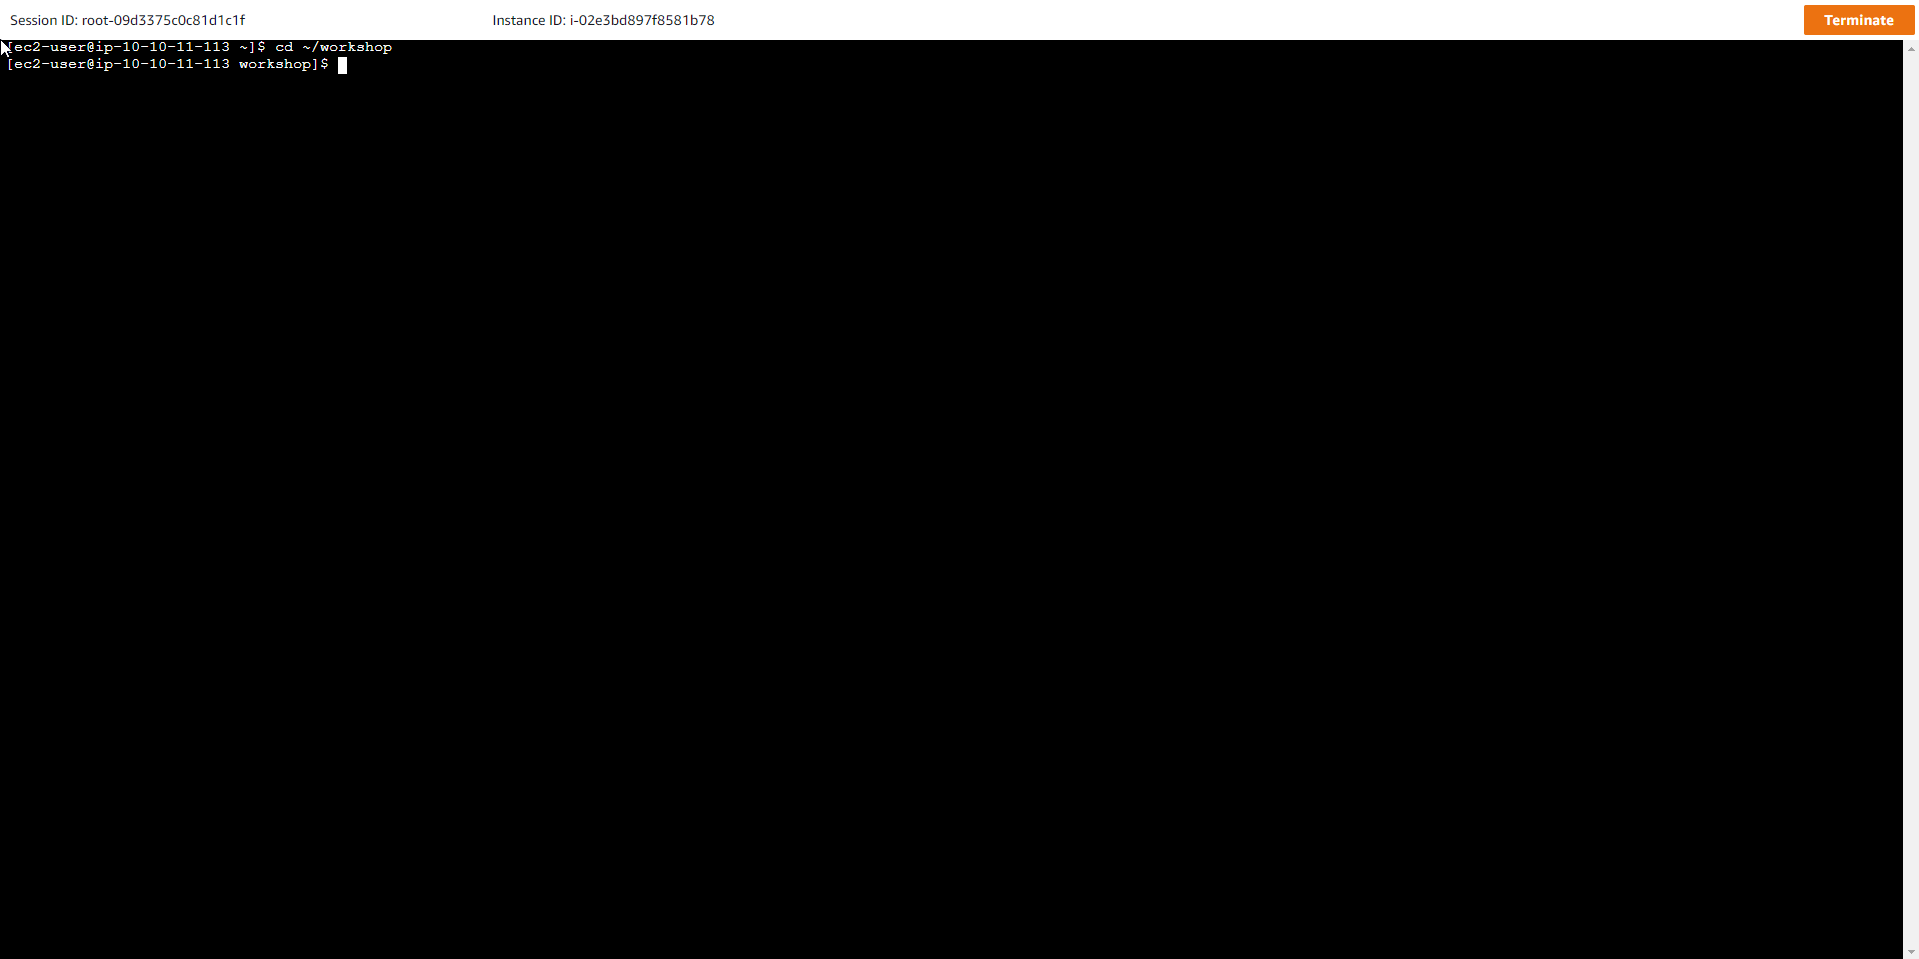
- Then switch to working on the workshop directory with the command
cd ~/workshop
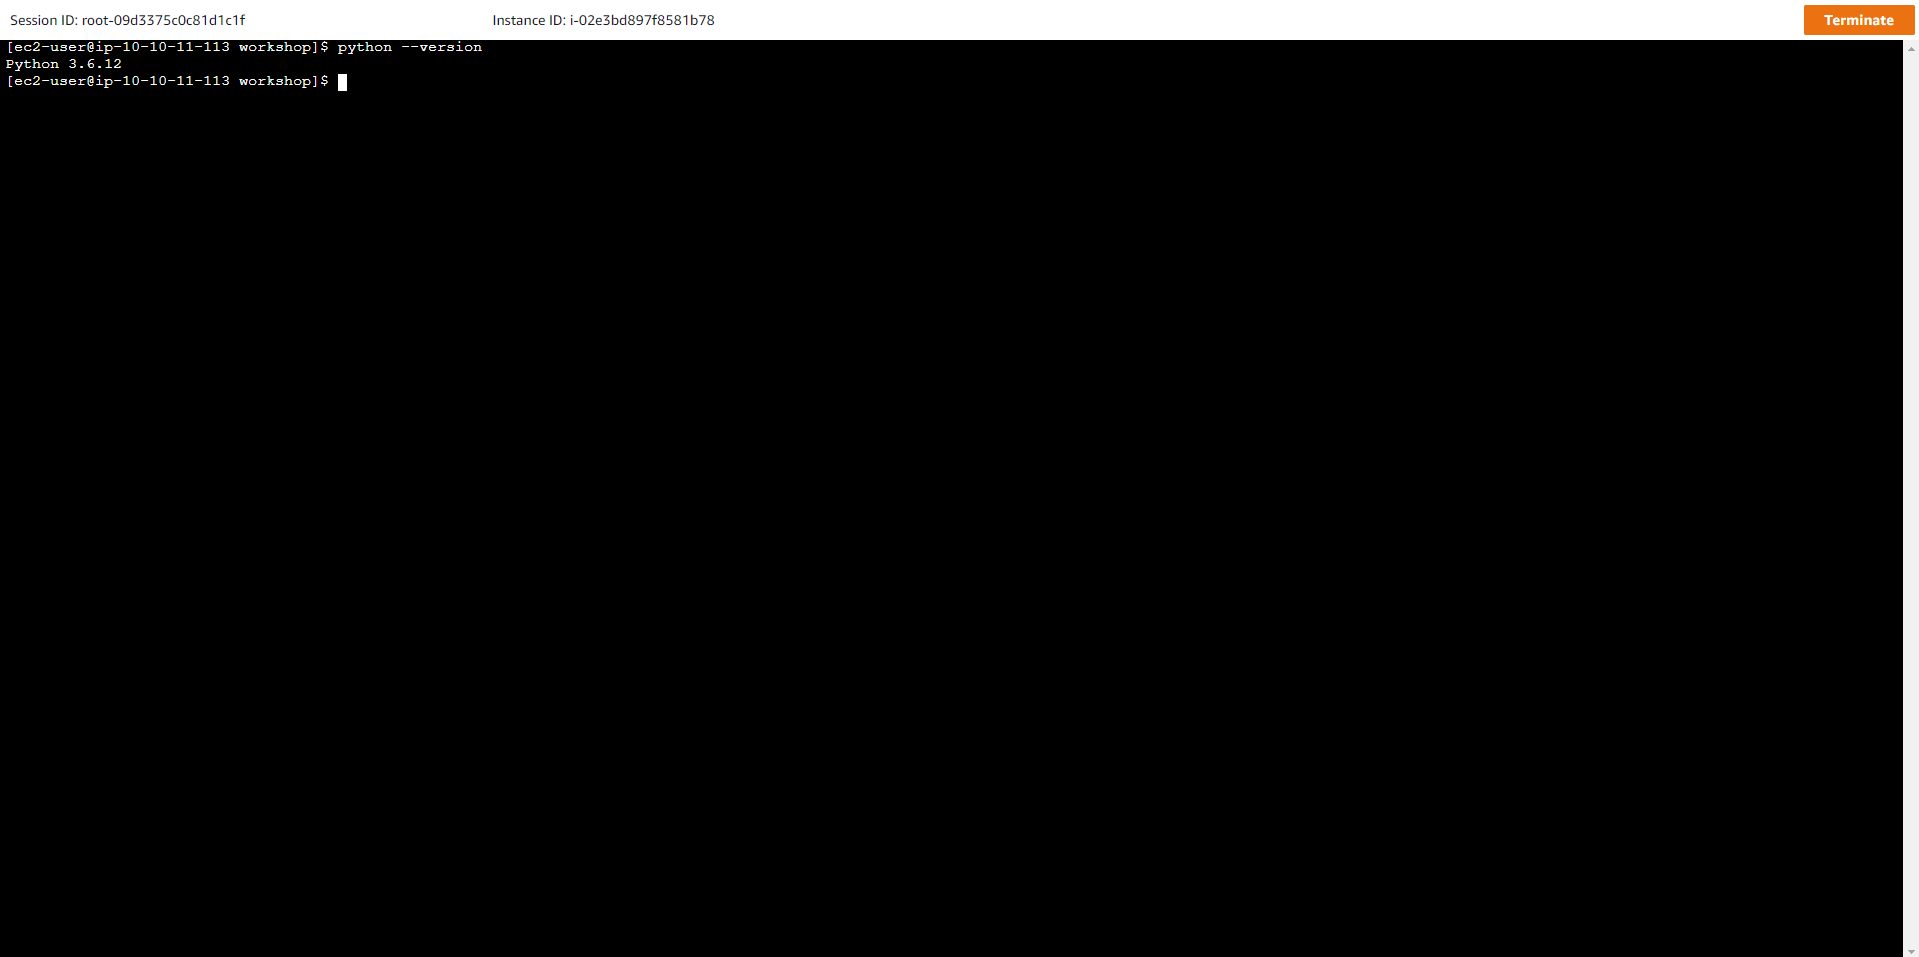
- On EC2 Instance run command to check installed version Python
python --version
- Check Installed Version AWS CLI
aws --version
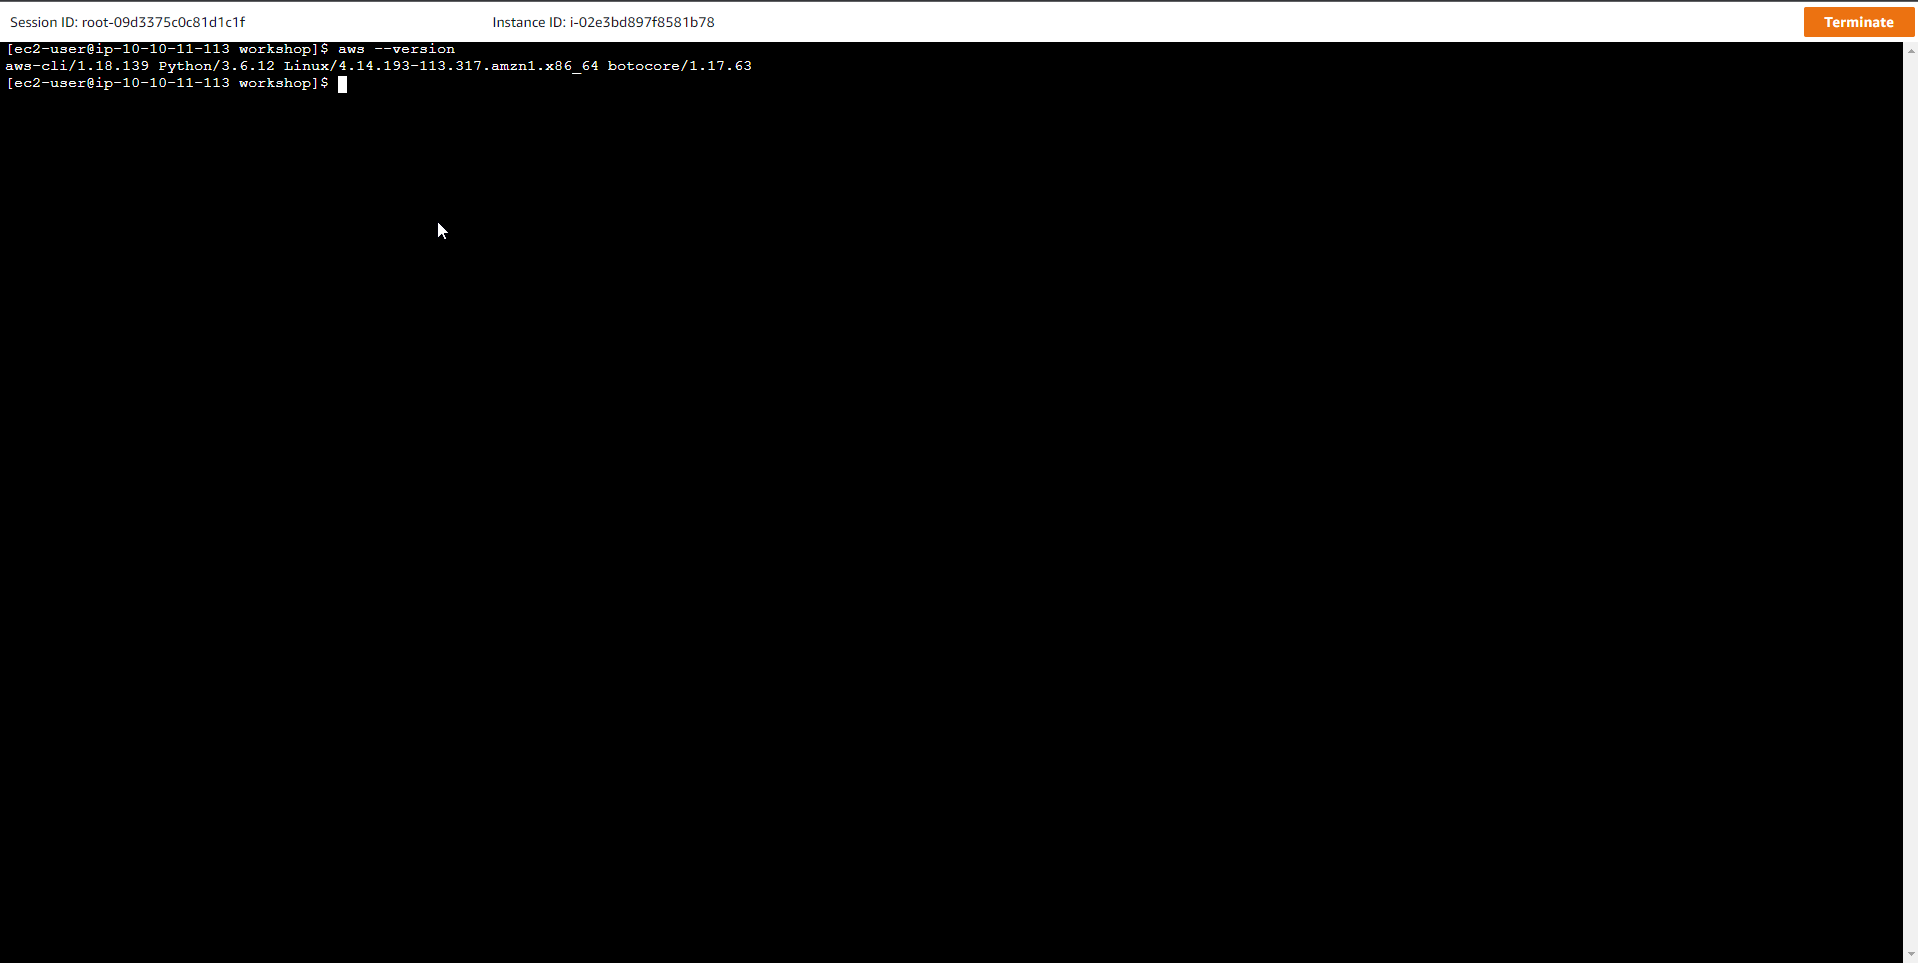
To practice error-free workshop, make sure that AWS CLI version is 1.18.139 and python version is 3.6.12
- Boto3 is an AWS SDK developed specifically for Python that allows Python developers to build applications based on AWS services. In the EC2 shell window, run the python command to start the python interactor and paste the following codes into the window:
python
After typing the above command, use the following code:
# Run this code:

import boto3
ddb = boto3.client('dynamodb')
ddb.describe_limits()
Results are displayed as below:
{u'TableMaxWriteCapacityUnits': 40000, u'TableMaxReadCapacityUnits': 40000, u'AccountMaxReadCapacityUnits': 80000, 'ResponseMetadata': {'RetryAttempts': 0, 'HTTPStatusCode': 200, 'RequestId': 'BFMGASJAPP5NU223Q : {'x-amzn-requestid': 'BFMGAS4P48I3DJTP5NU22QRDDJVV4KQNSO5AEMVJF66Q9ASUAAJG', 'content-length': '143', 'server': 'Server', 'connection': 'keep-alivez':-crc32- '3062975651', 'date': 'Tue, 31 Dec 2020 00:00:00 GMT', 'content-type': 'application/x-amz-json-1.0'}}, u'AccountMaxWriteCapacityUnits': 80000}

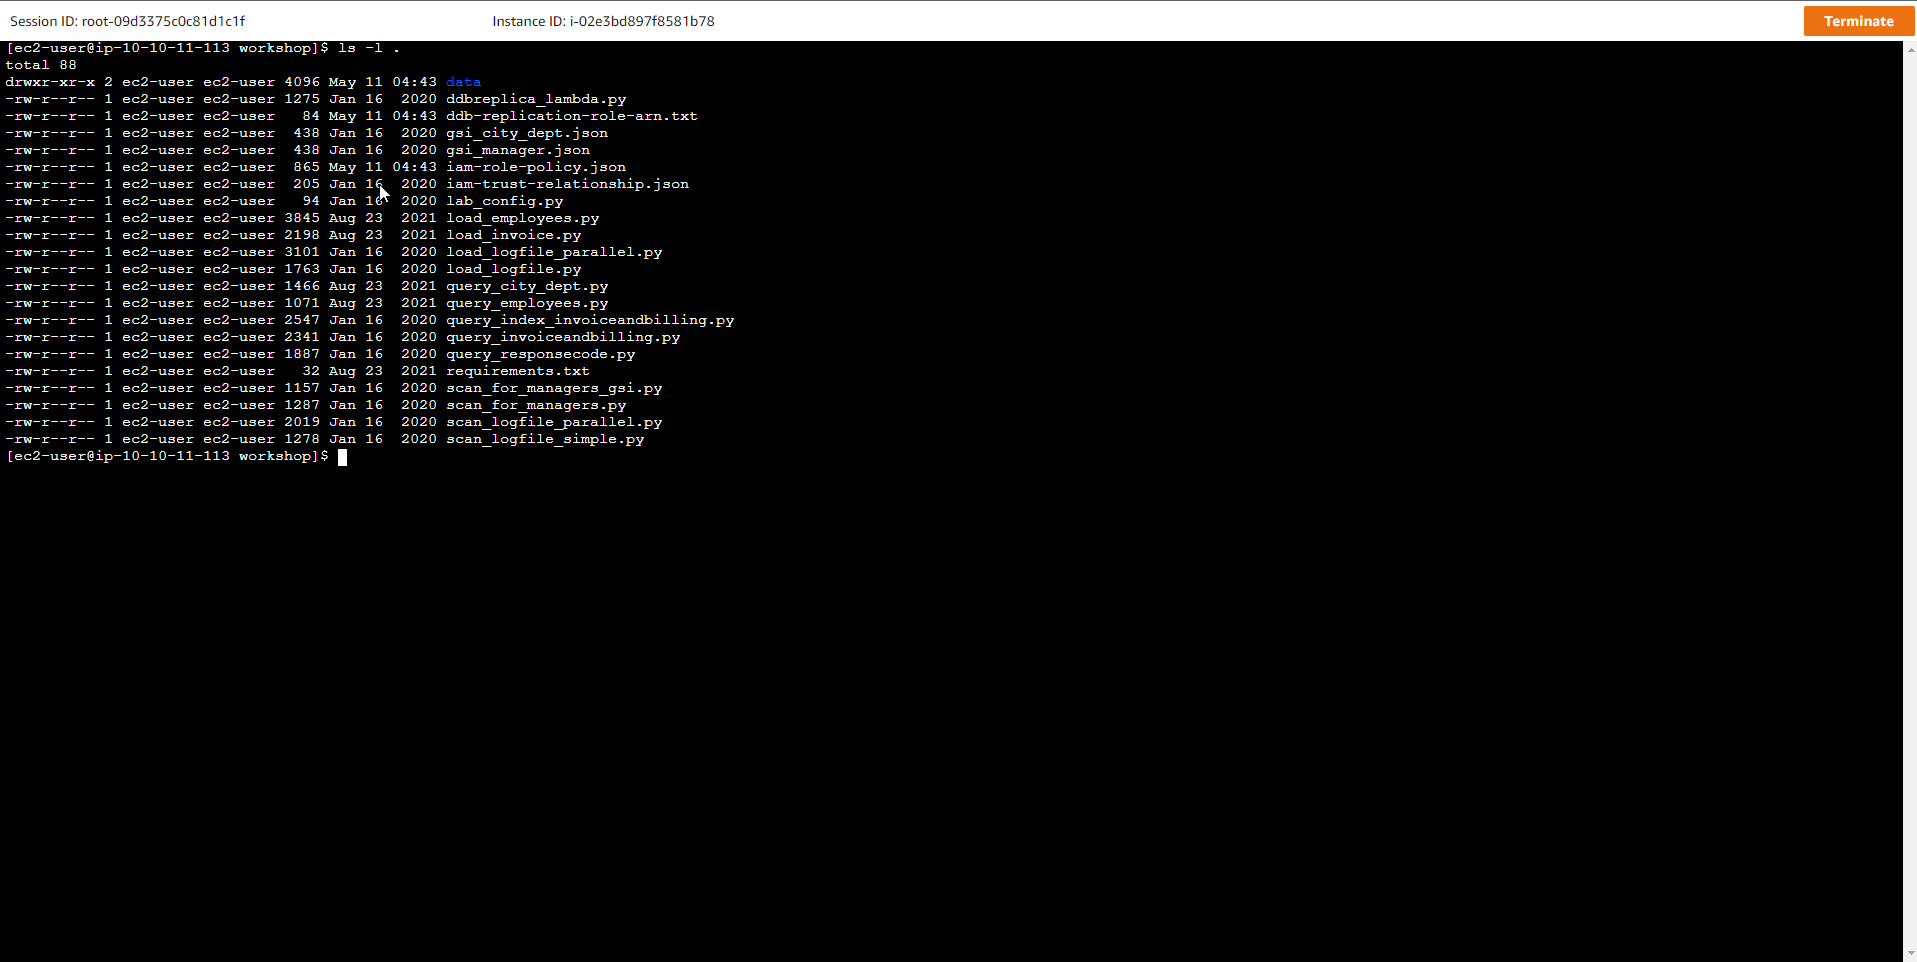
- On the EC2 instance, go to the directory where the workshop is located and then run the ls command:
cd /home/ec2-user/workshop
ls -l .
Contents that must be in the workshop directory include Python code:
ddbreplica_lambda.py
load_employees.py
load_invoice.py
load_logfile_parallel.py
load_logfile.py
lab_config.py
query_city_dept.py
query_employees.py
query_index_invoiceandbilling.py
query_invoiceandbilling.py
query_responsecode.py
scan_for_managers_gsi.py
scan_for_managers.py
scan_logfile_parallel.py
scan_logfile_simple.py
JSON: gsi_city_dept.json
gsi_manager.json
iam-role-policy.json
iam-trust-relationship.json
Text: ddb-replication-role-arn.txt
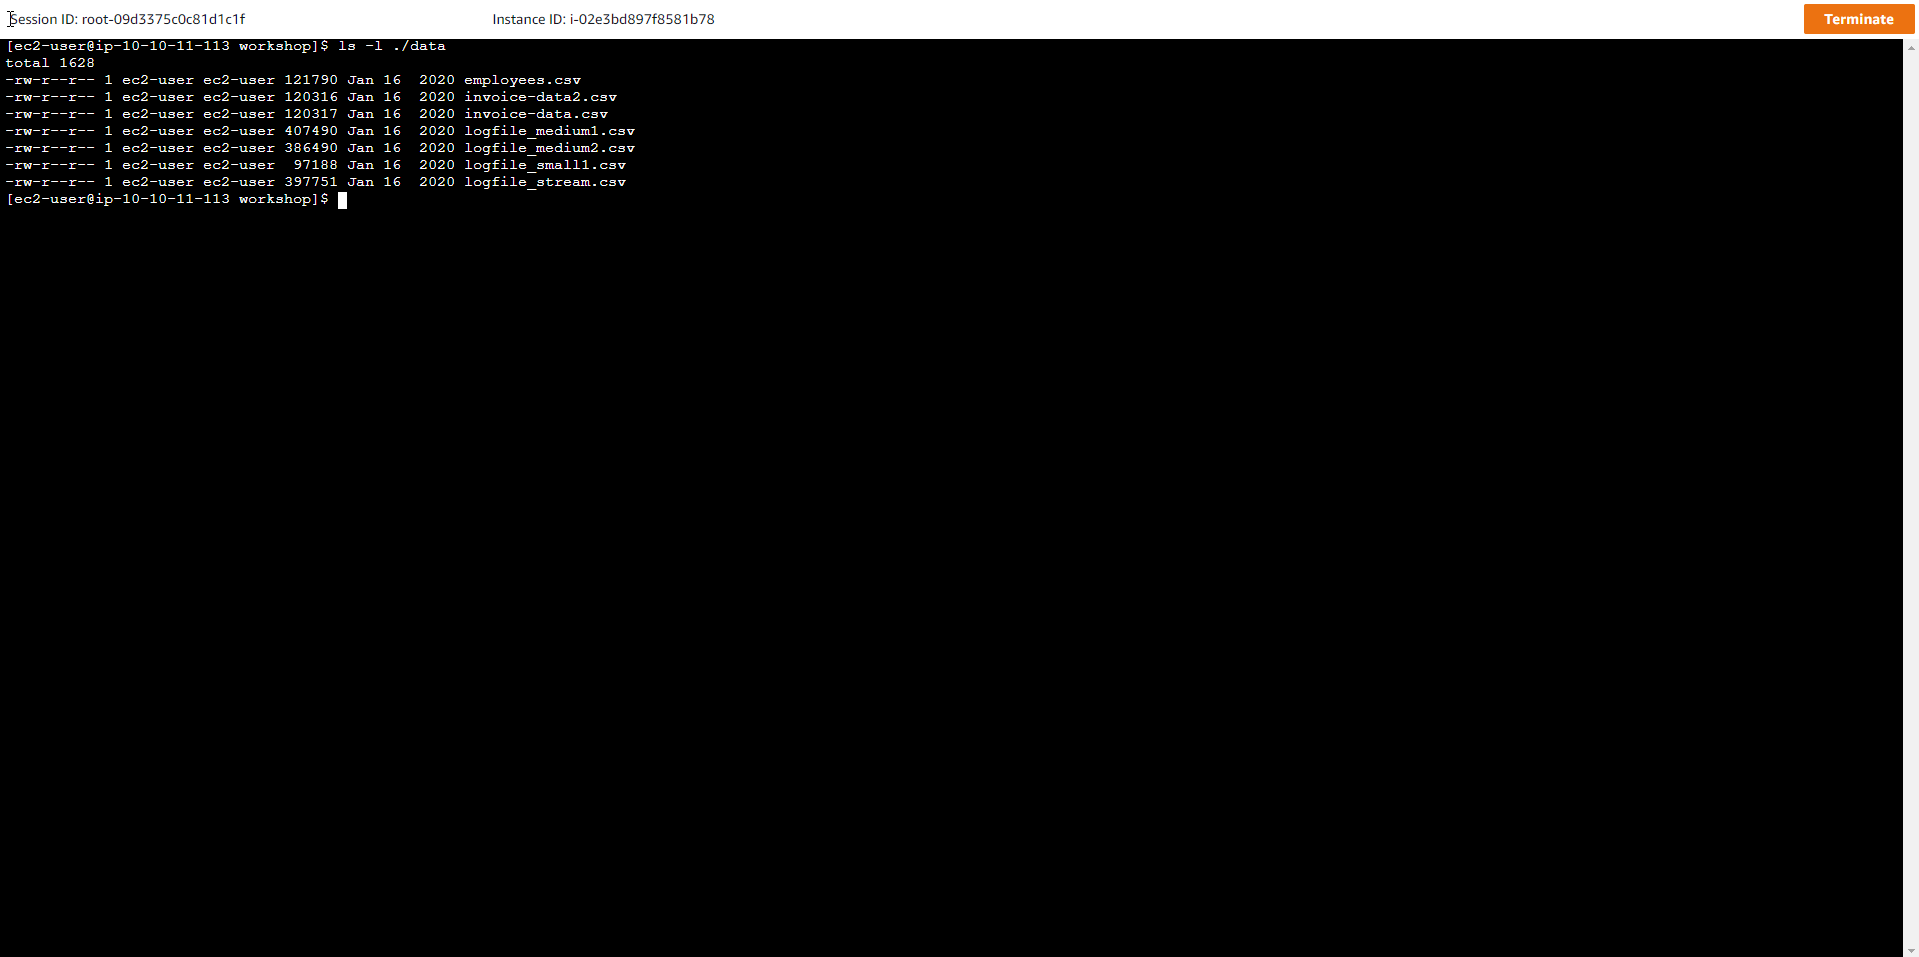
- Run the ls command to check the list of sample data:
ls -l ./data
The following results:
employees.csv
invoice-data2.csv
invoice-data.csv
logfile_medium1.csv
logfile_medium2.csv
logfile_small1.csv
logfile_stream.csv
- Check the Format and Content of Files containing Data
We will be working with a lot of different data throughout the exercise, which are:
-
Server Logs data
-
Employees data
-
Invoices and Bills data
Data structure of Server Logs file includes:
-
requestid (number)
-
host (string)
-
date (string)
-
hourofday (number)
-
timezone (string)
-
method (string)
-
url (string)
-
responsecode (number)
-
bytessent (number)
-
useragent (string)
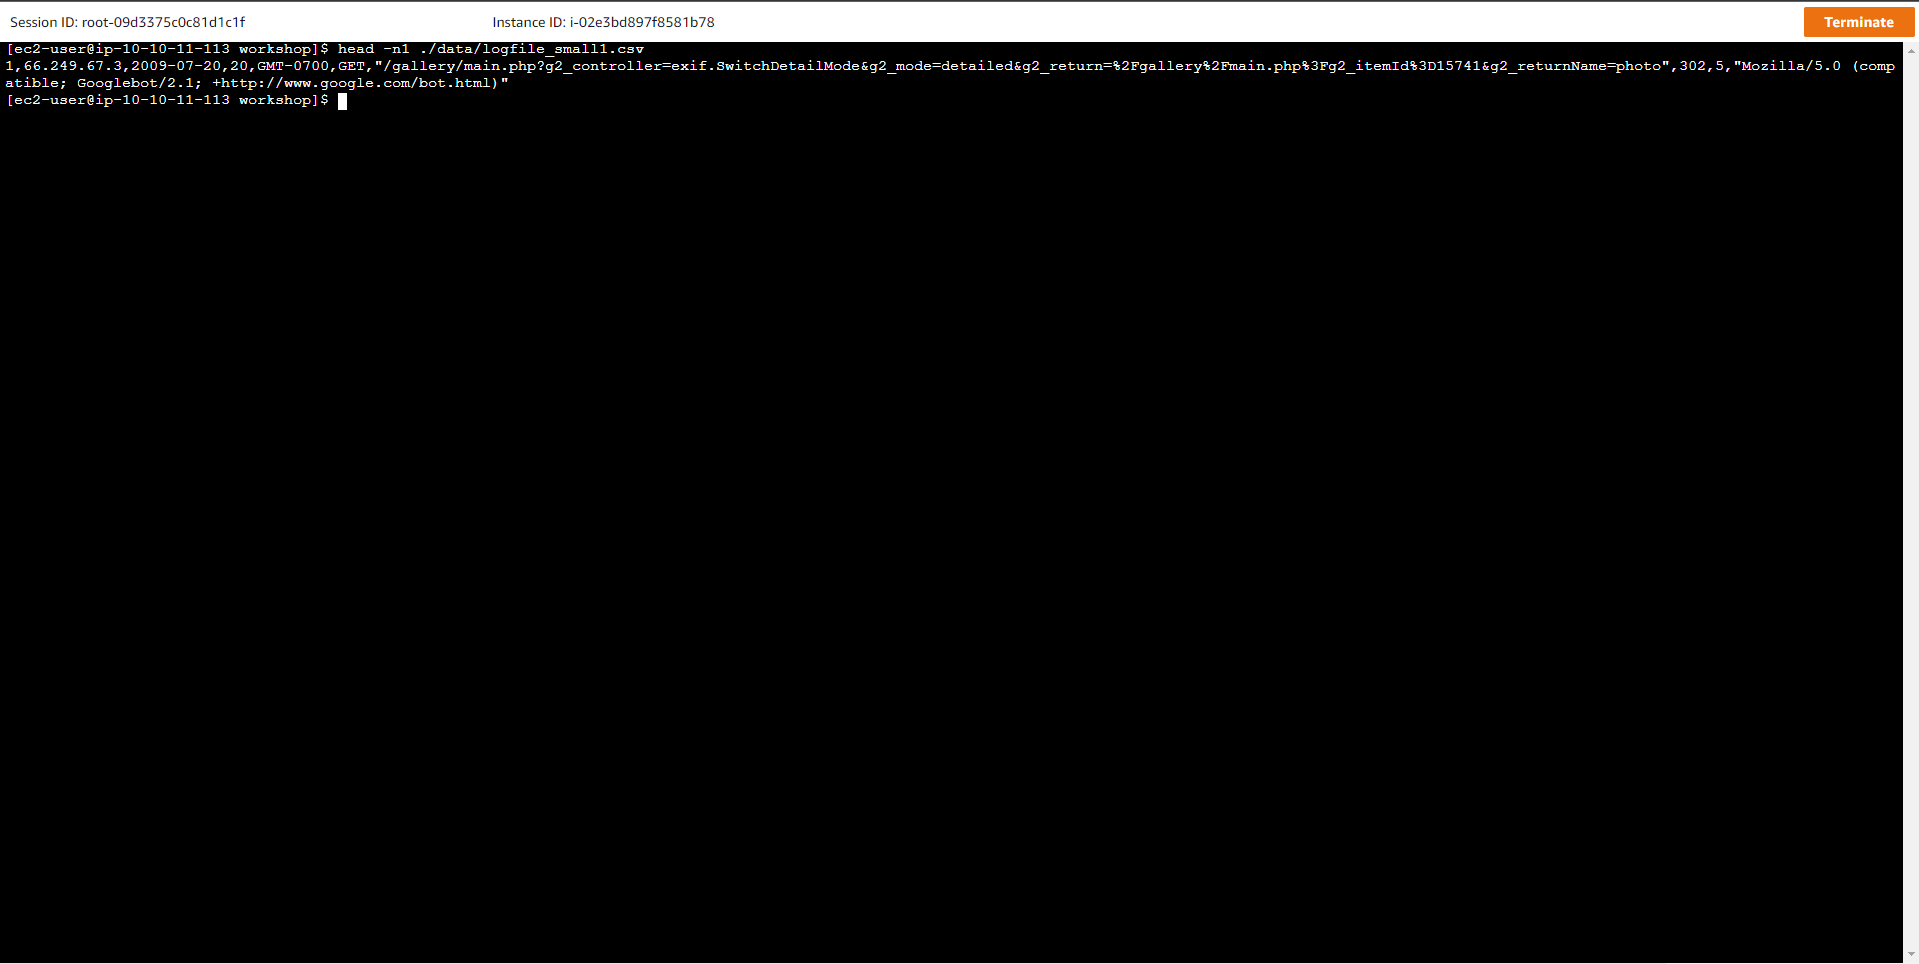
To view a sample record in the file, use the command:
head -n1 ./data/logfile_small1.csv
The following results:
1,66.249.67.3,2017-07-20.20,GMT-0700,GET,"/gallery/main.php?g2_controller=exif.SwitchDetailMode&g2_mode=detailed&g2_return=%2Fgallery%2Fmain.php%3Fg2_itemId%3D15741&g2_returnName=photo", 302.5,"Mozilla/5.0 (compatible; Googlebot/2.1; +http://www.google.com/bot.html)"
- Similarly, the structure of the Employees file includes:
-
employeeid (number)
-
name (string)
-
title (string)
-
dept (string)
-
city (string)
-
state (string)
-
dob (string)
-
hire-date (string)
-
previous title (string)
-
previous title end date (string)
-
is a manager (string), 1 for employees is Manage employees, and non-existent for the rest of the employee types
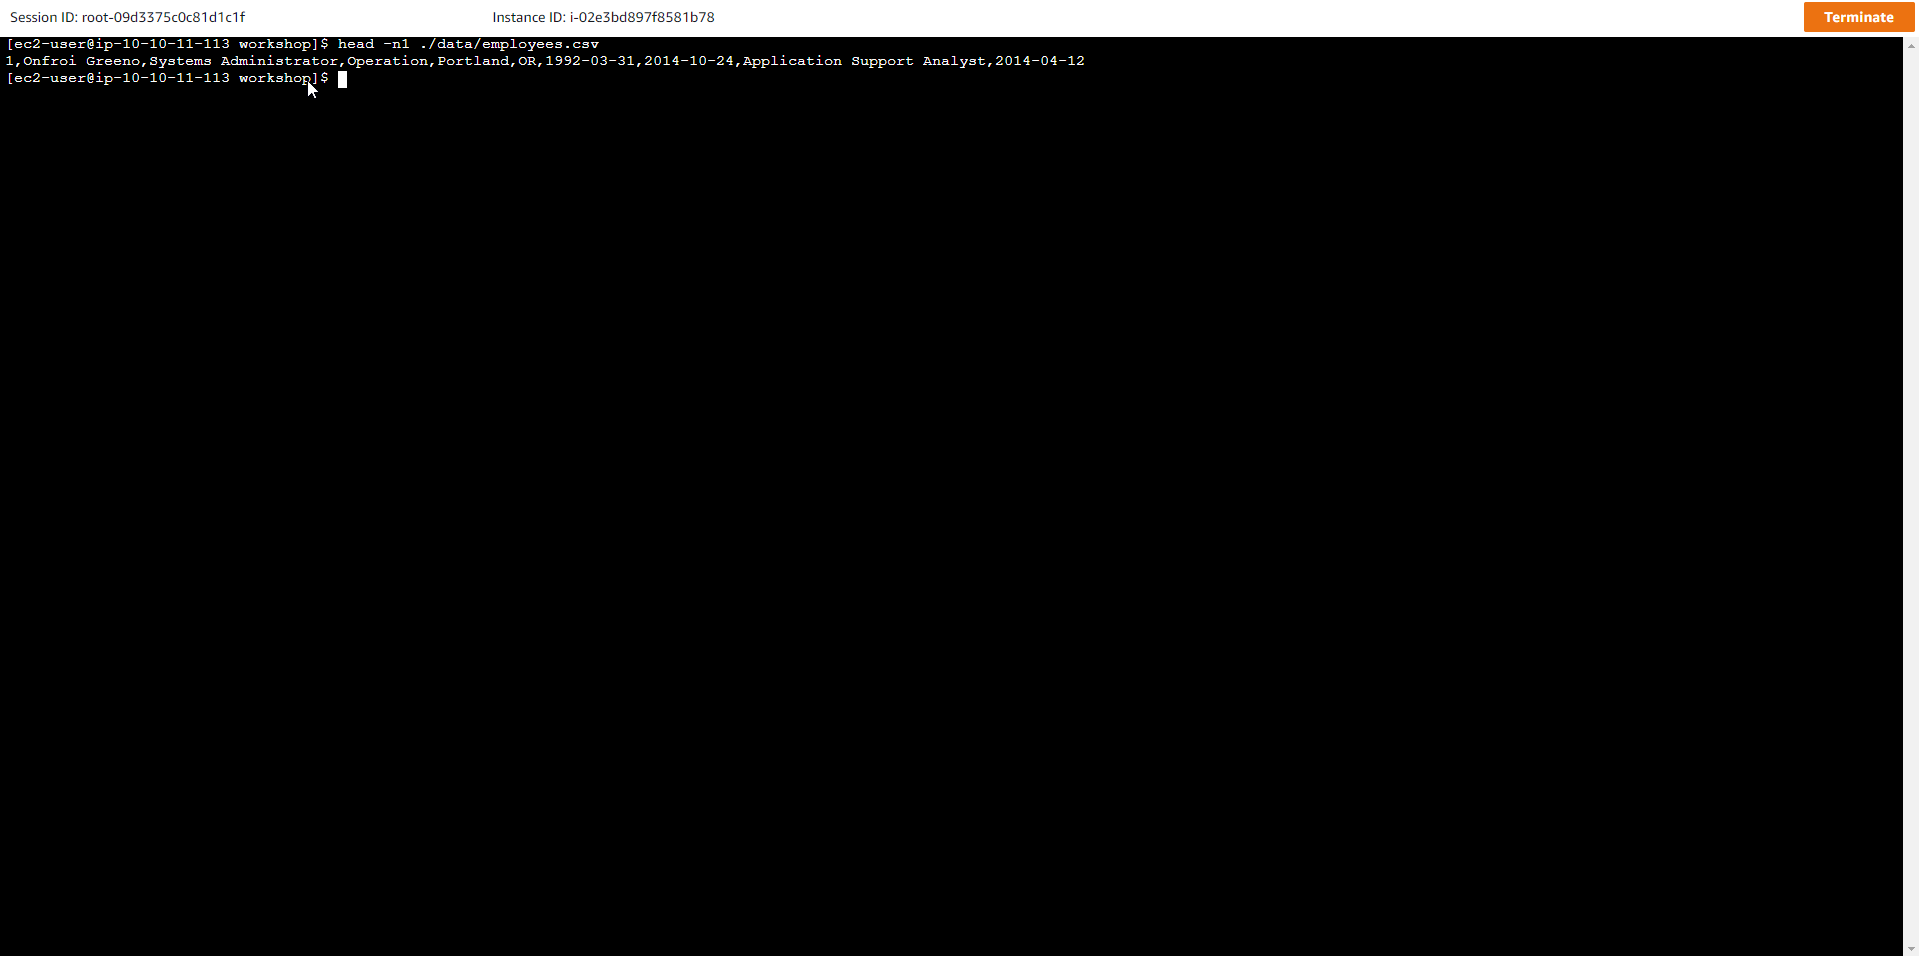
To view a sample record in the file, use the command:
head -n1 ./data/employees.csv
**The following results: **
1,Onfroi Greeno,Systems Administrator,Operation,Portland,OR,1992-03-31,2014-10-24,Application Support Analyst,2014-04-12
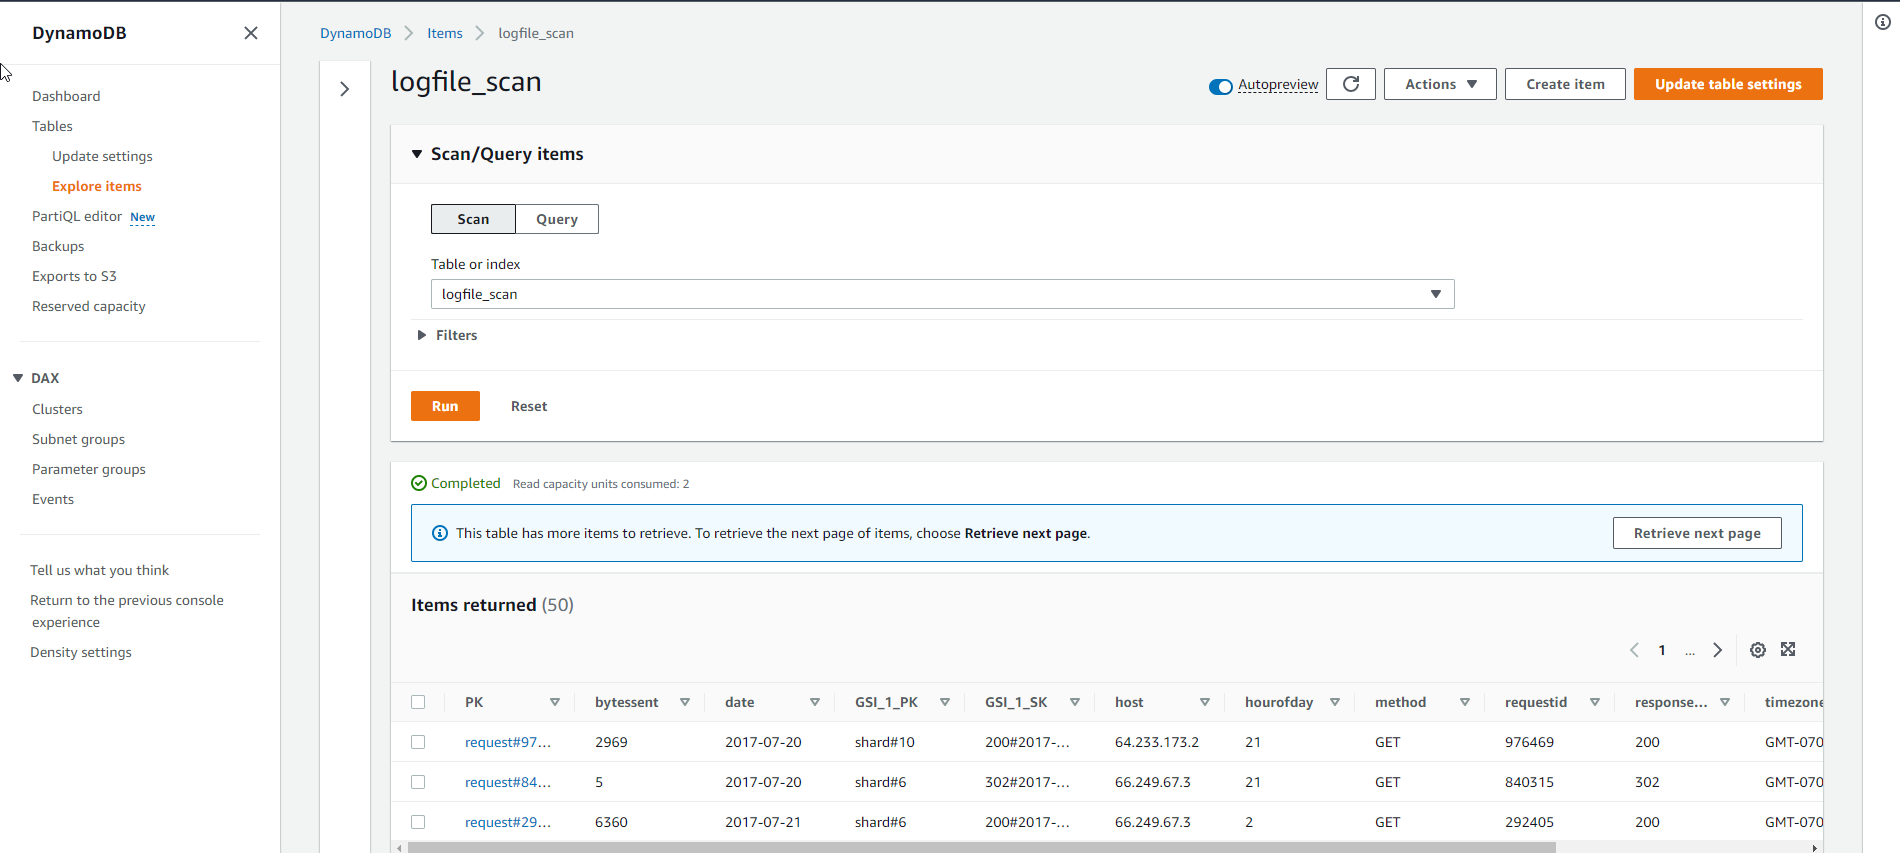
- Preload Items for Table Data Scan exercise
All instructions must be executed in the shell window of the EC2 Instance, not on the local machine.
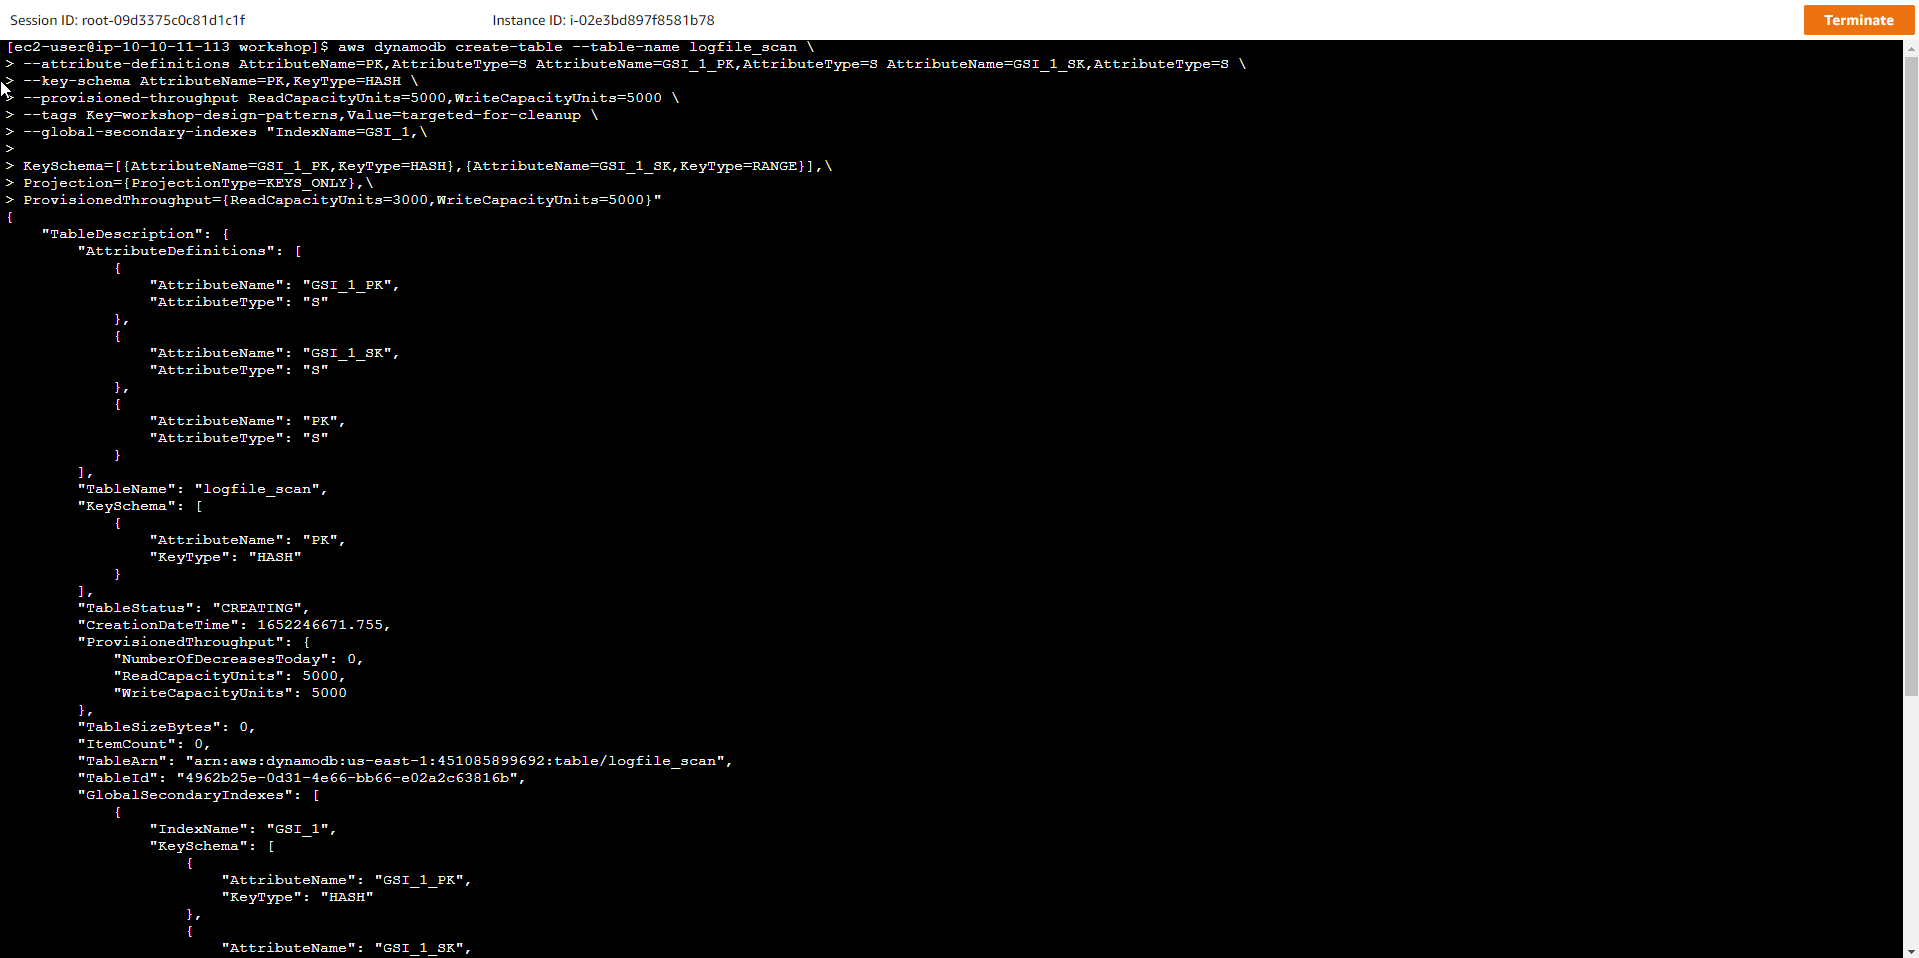
- In the exercise, we will discuss Table Data Scanning and best practices. At this step, we will preload 1 million items to prepare for the Table Data Scan practice. Run the following command to start creating the table:
aws dynamodb create-table --table-name logfile_scan \
--attribute-definitions AttributeName=PK,AttributeType=S AttributeName=GSI_1_PK,AttributeType=S AttributeName=GSI_1_SK,AttributeType=S \
--key-schema AttributeName=PK,KeyType=HASH \
--provisioned-throughput ReadCapacityUnits=5000,WriteCapacityUnits=5000 \
--tags Key=workshop-design-patterns,Value=targeted-for-cleanup \
--global-secondary-indexes "IndexName=GSI_1,\

KeySchema=[{AttributeName=GSI_1_PK,KeyType=HASH},{AttributeName=GSI_1_SK,KeyType=RANGE}],\
Projection={ProjectionType=KEYS_ONLY},\
ProvisionedThroughput={ReadCapacityUnits=3000,WriteCapacityUnits=5000}"
Kết quả lệnh tạo ra một bảng mới có tên logfile_scan và một GSI, cụ thể:
-
Key schema: HASH
-
Table RCU = 5000
-
Table WCU = 5000
-
GSI(s): GSI_1 (3000 RCU, 5000 WCU) - cho phép quét dữ liệu nhật ký truy cập theo kiểu tuần tự hoặc song song. Sắp xếp theo status code và timestamp
| Tên Thuộc tính (Loại) | Mô tả | Trường hợp sử dụng | Ví dụ Giá trị Thuộc tính | |
|---|---|---|---|---|
| PK (STRING) | Hash key | Thông tin request id phục vụ công tác kiểm tra nhật ký truy cập | request#104009 | |
| GSI_1_PK (STRING) | GSI 1 hash key | Là một shard key, với các giá trị từ 0-N, phục vụ công tác tìm kiếm bản ghi nhật ký | shard#3 | |
| GSI_1_SK (STRING) | GSI 1 sort key | Sắp xếp các bản ghi nhật ký theo thứ bậc, từ status code -> date -> hour | 200#2019-09-21#01 |
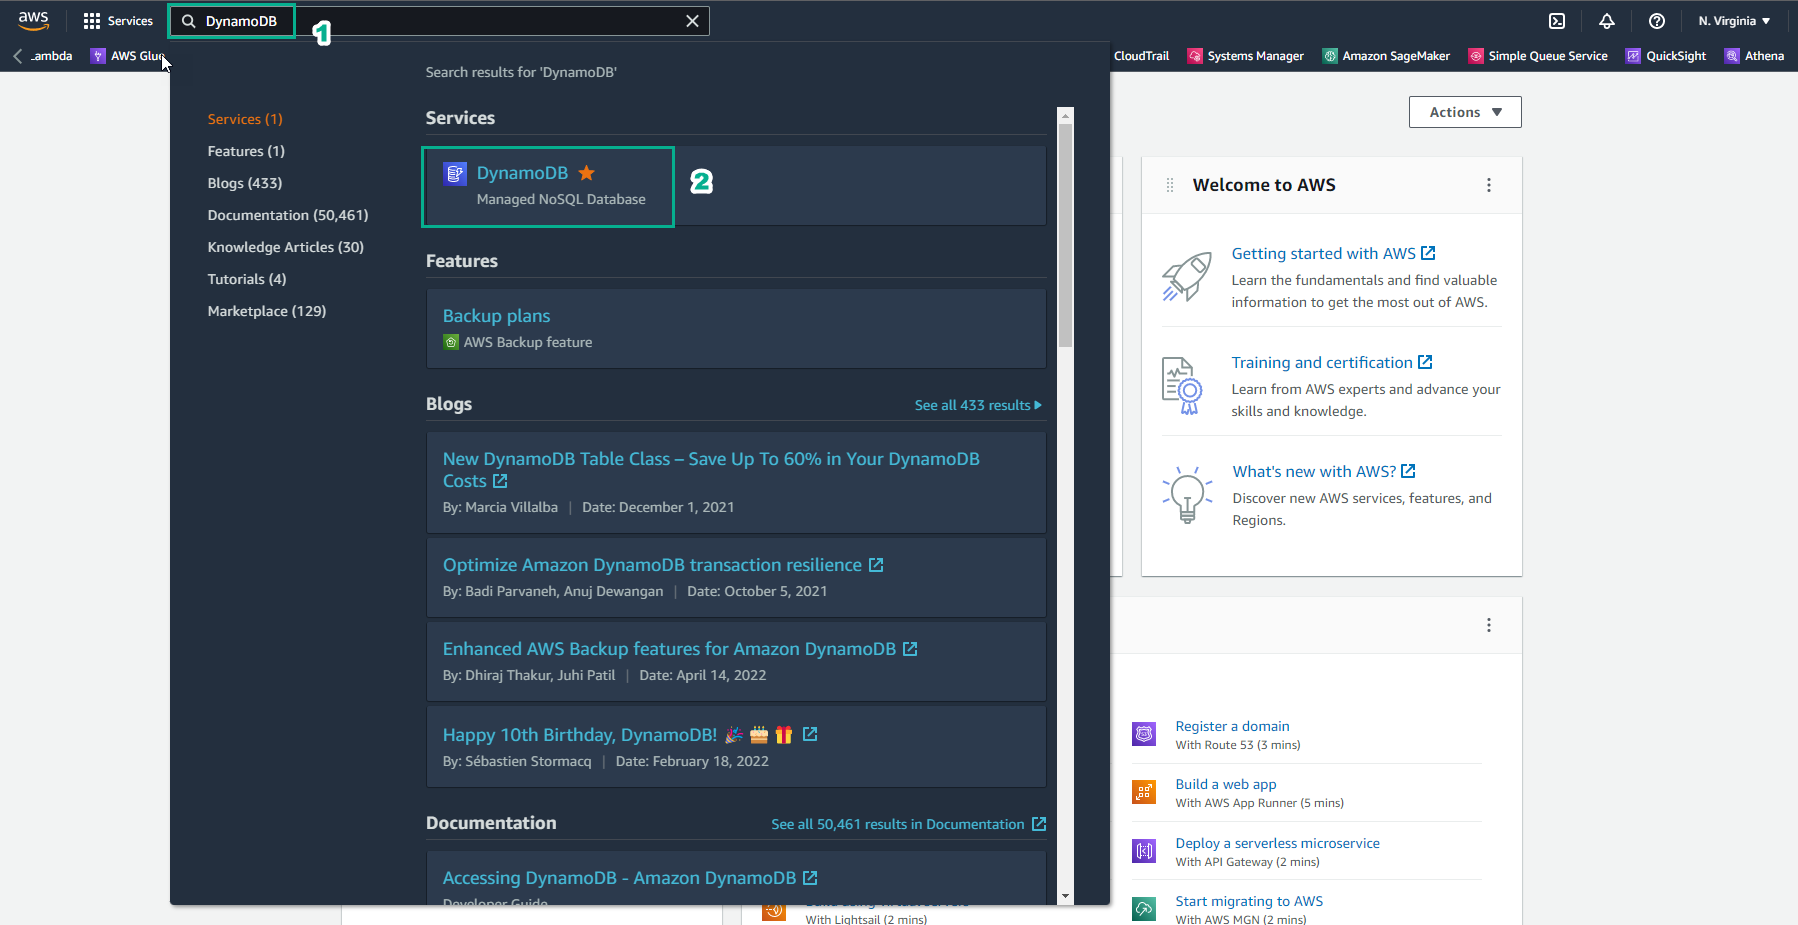
- Go to the AWS Management Console
- Find DynamoDB
- Select DynamoDB
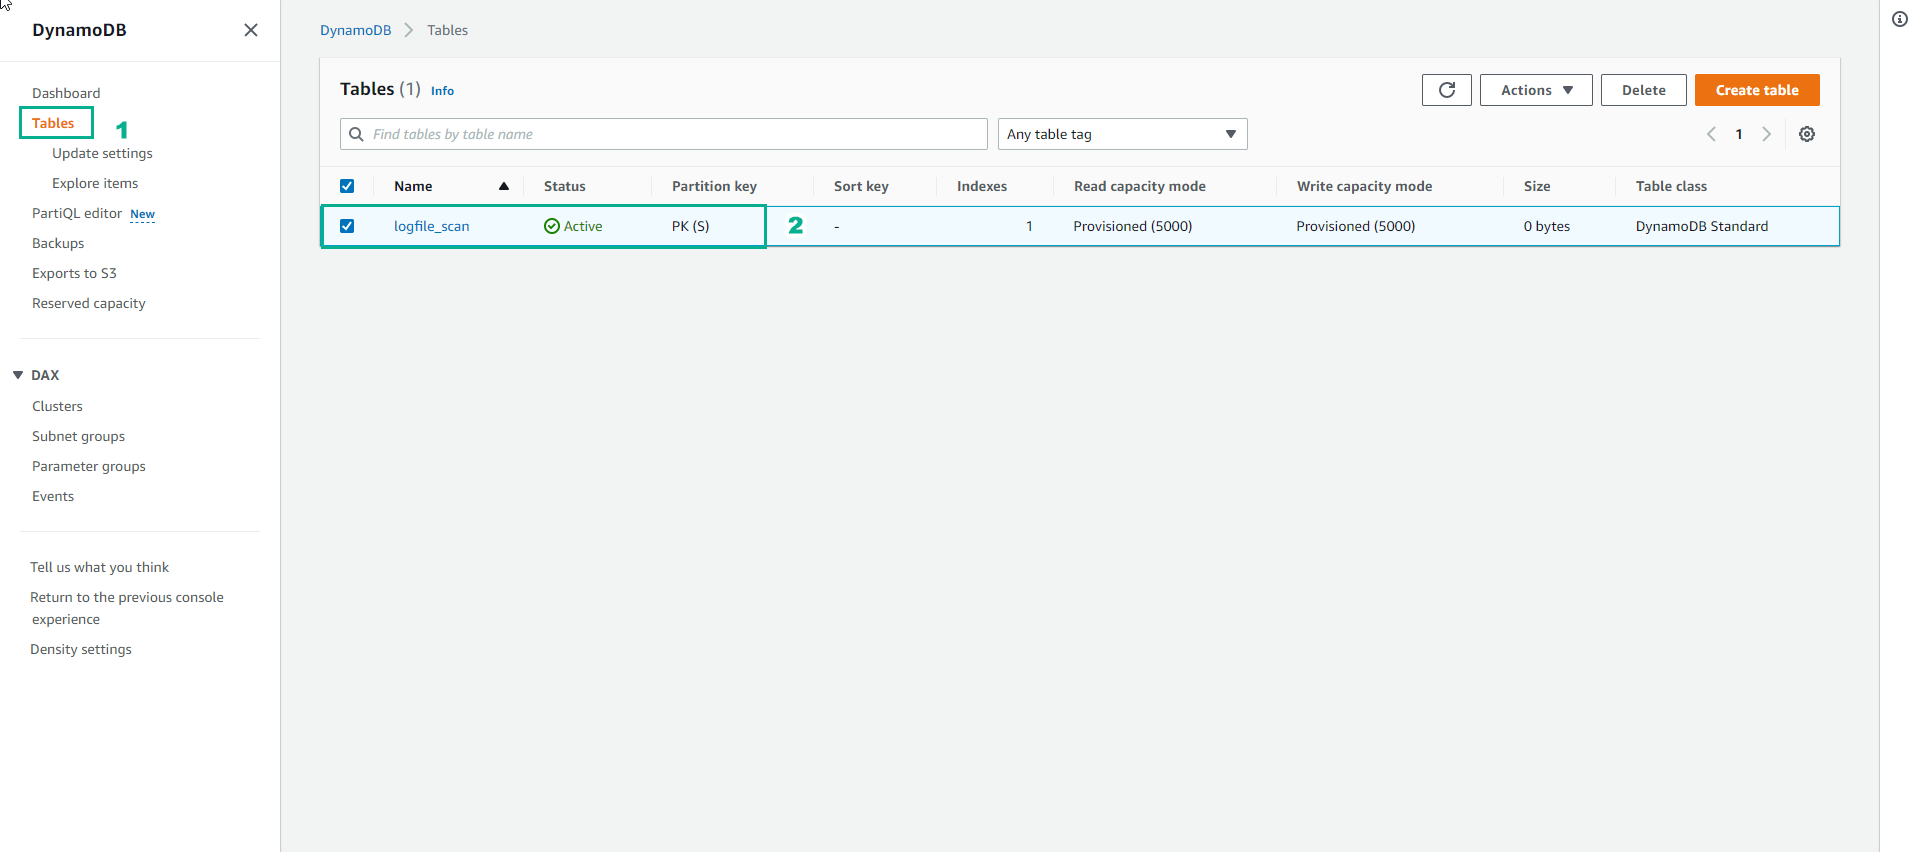
- In the DynamoDB interface
- Select Tables
- The table logfile_scan appears
- Run the following command to wait until the table status becomes Active:
aws dynamodb wait table-exists --table-name logfile_scan

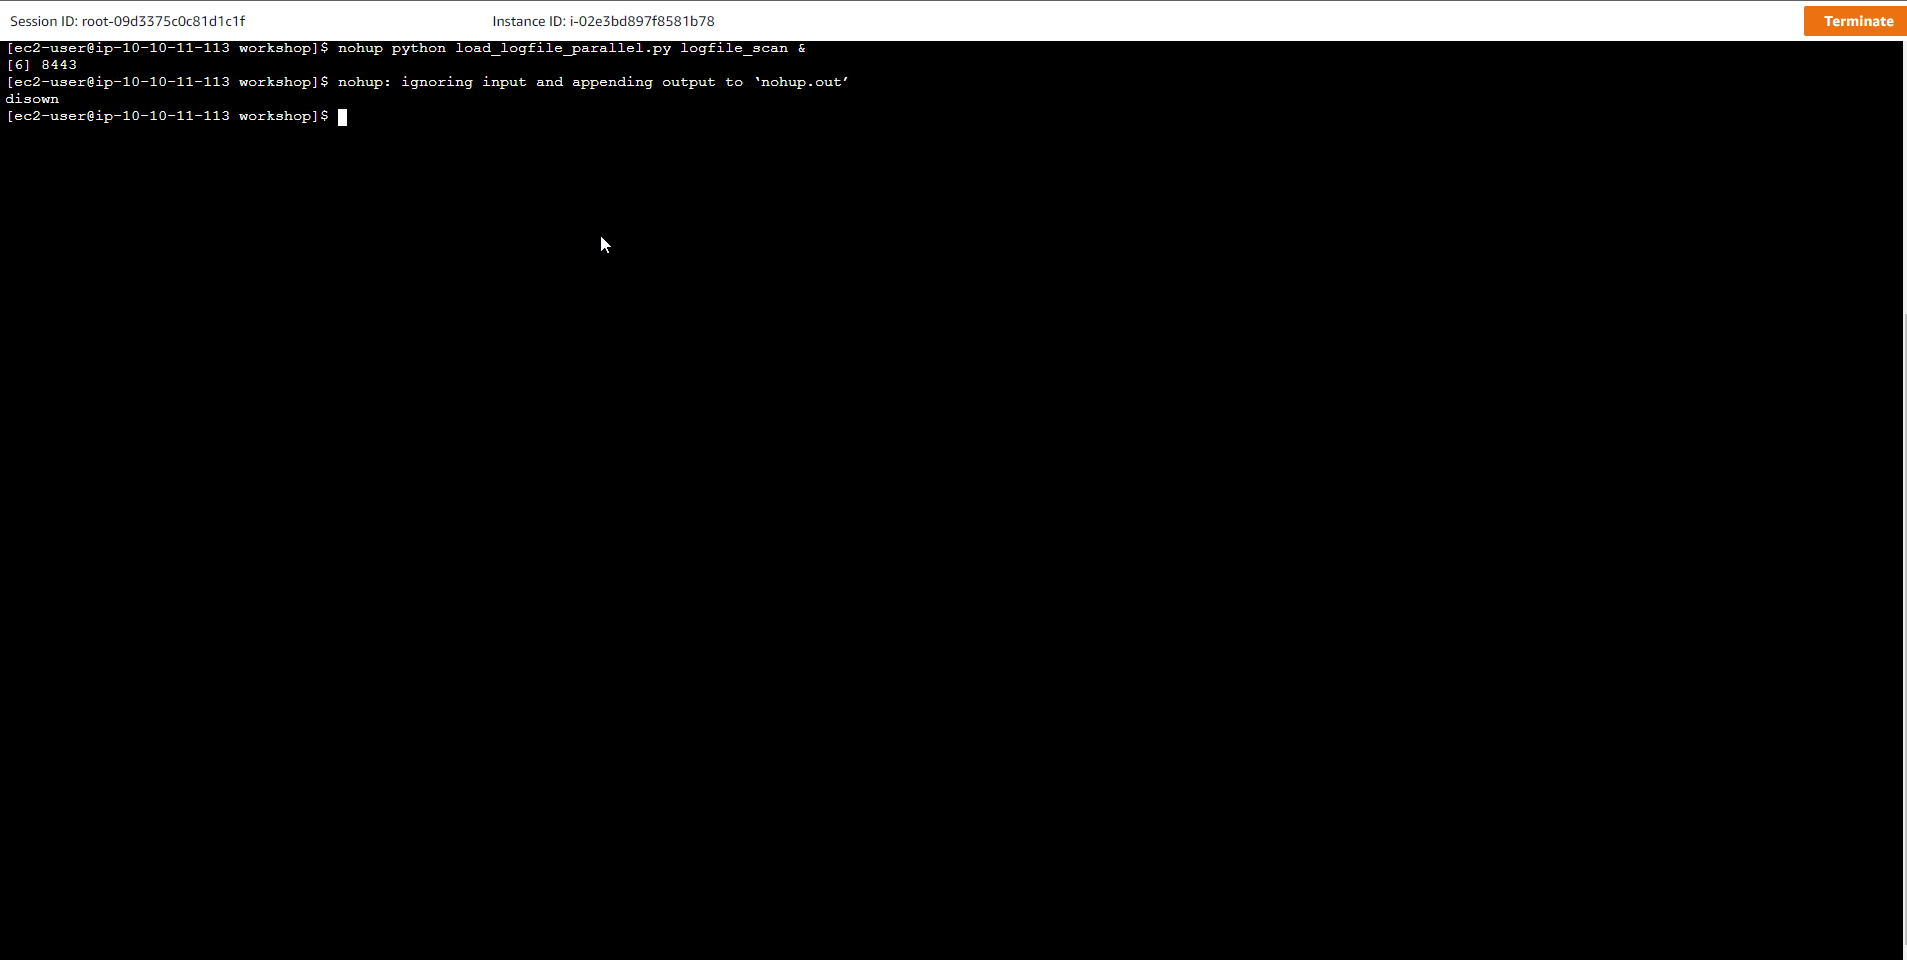
- Run the command to load 1,000,000 records from Server logs file into logfile_scan table.
nohup python load_logfile_parallel.py logfile_scan &
- The nohup option is used to run processes in the background, and disown allows data to continue to be loaded in case you just lost the connection.
disown
The load command creates a background process and takes about 10 minutes to complete.
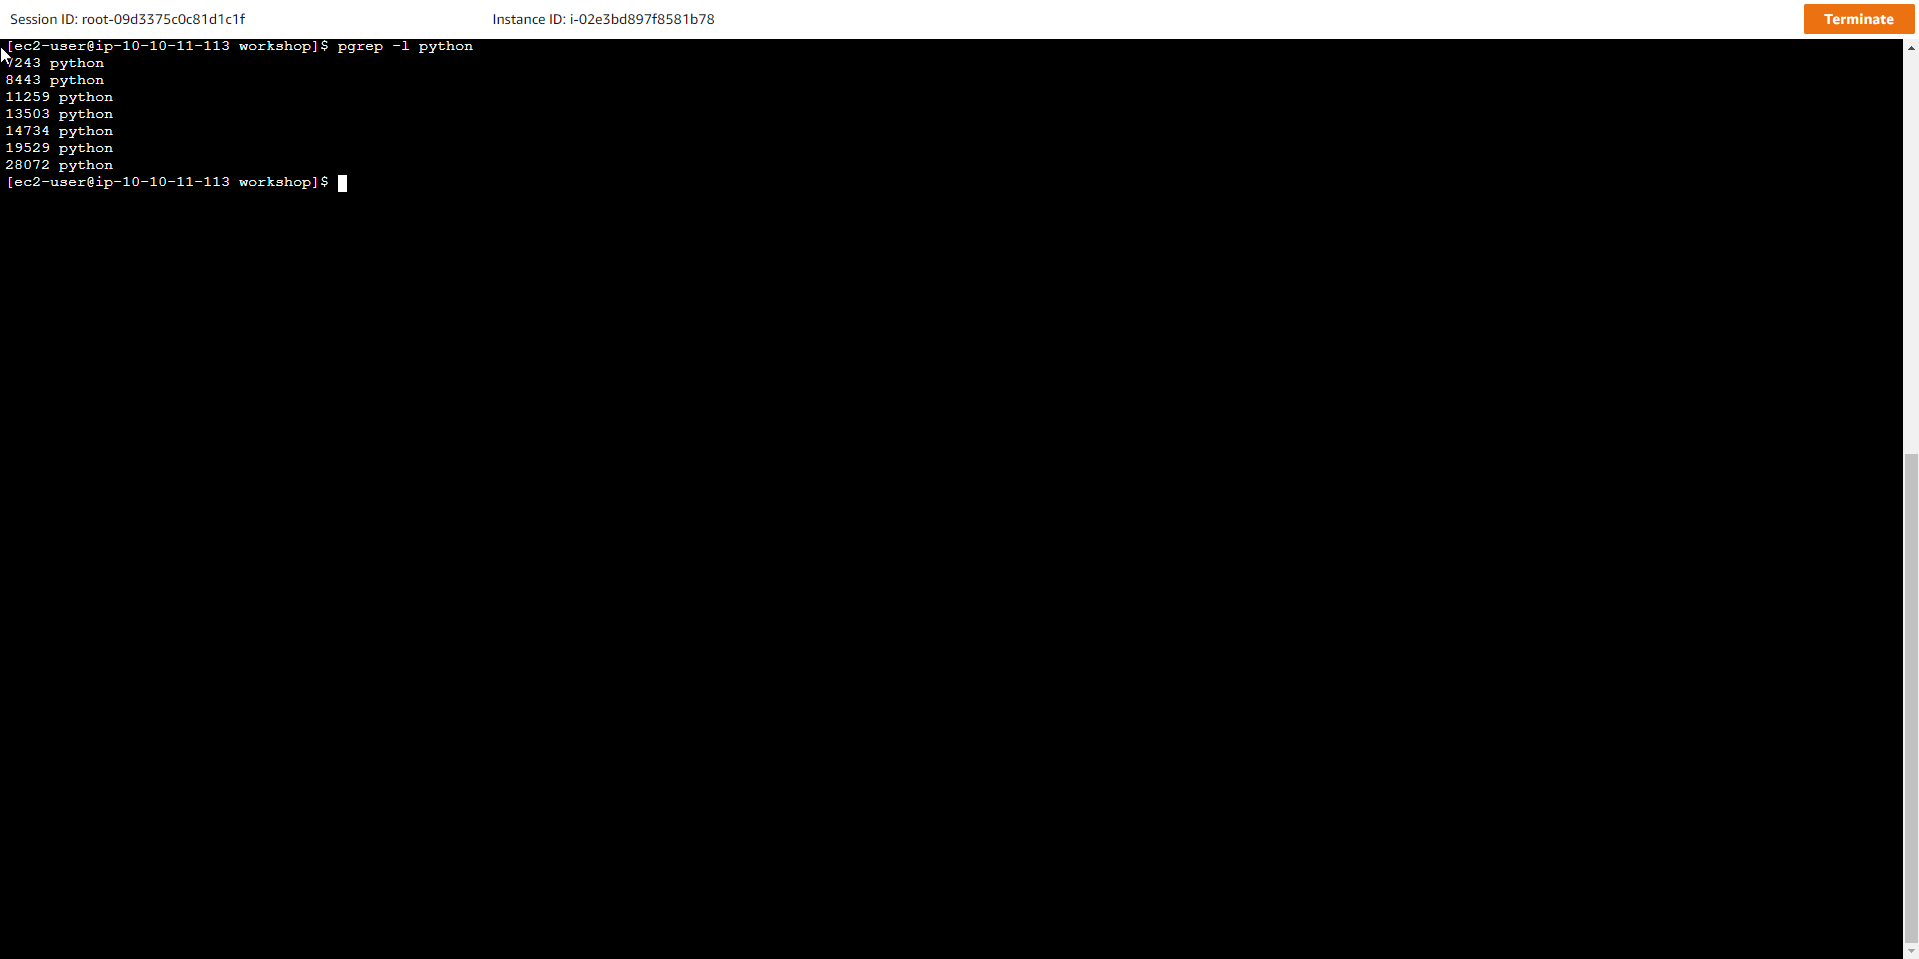
- Run the command
pgrep -l pythonto check that the data is still loaded into the table.
- In the DynamoDB interface, we see the loaded data