Create CloudFormation Stack
Throughout the exercise, we will work with DynamoDB tables that can cost tens or hundreds of dollars per day. Be sure to delete the CloudFormation stack and all DynamoDB tables with the DynamoDB console right after finishing the exercise.
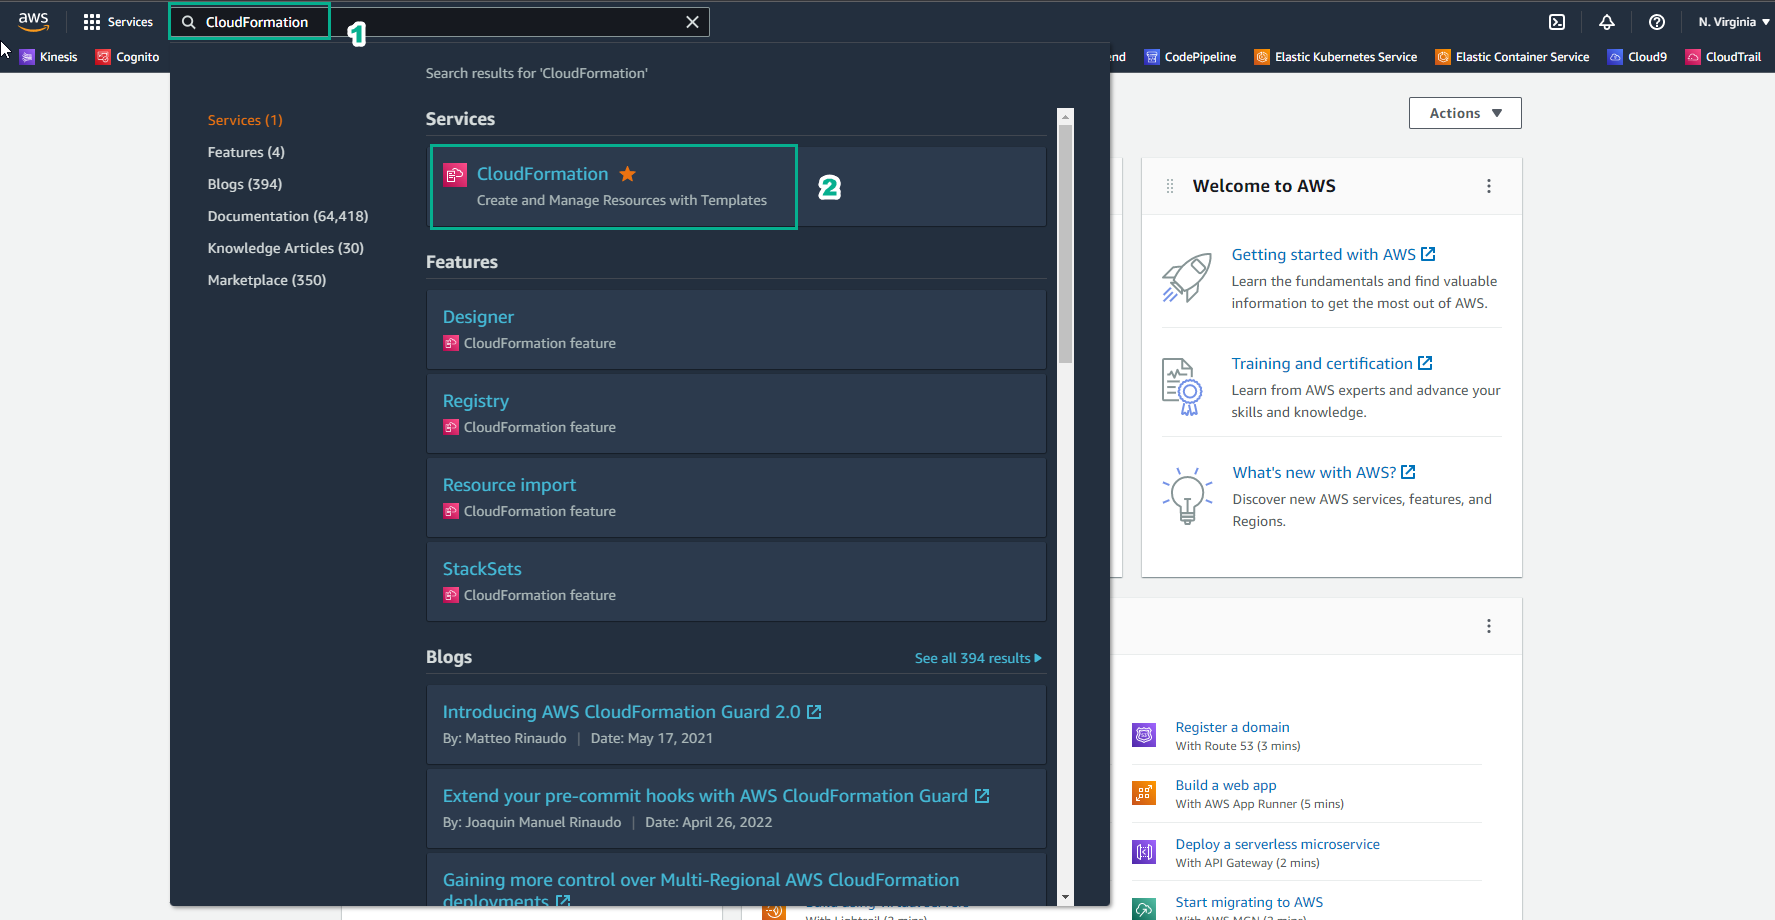
- Go to AWS Management Console
- Find CloudFormation
- Select CloudFormation
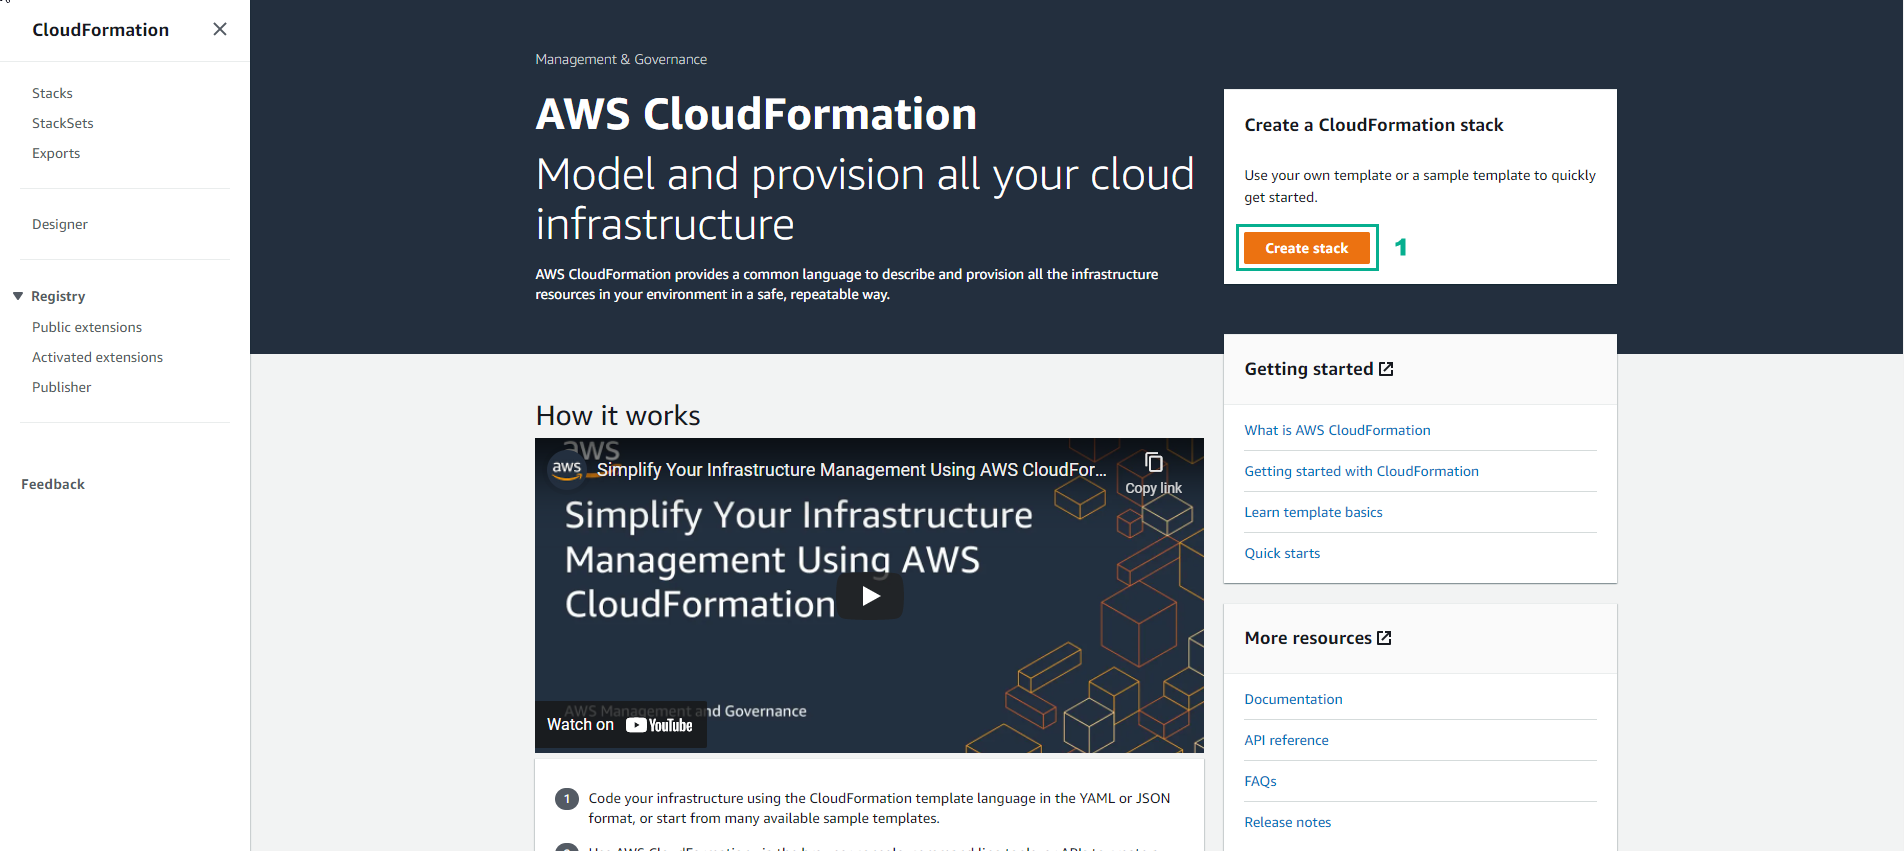
- In the AWS CloudFormation interface
- Select Create stack
-
Download file lab.yaml here
-
Alternatively, to initialize CloudFormation template in region US East 1 to deploy necessary resources by clicking [Launch Stack](https://us-east-1.console.aws.amazon .com/cloudformation/home?region=us-east-1#/stacks/create/template?stackName=amazon-dynamodb-labs&templateURL=https://s3.amazonaws.com/amazon-dynamodb-labs.com/assets/ lab.yaml)
-
Or you can download CloudFormation template YAML and create it yourself.
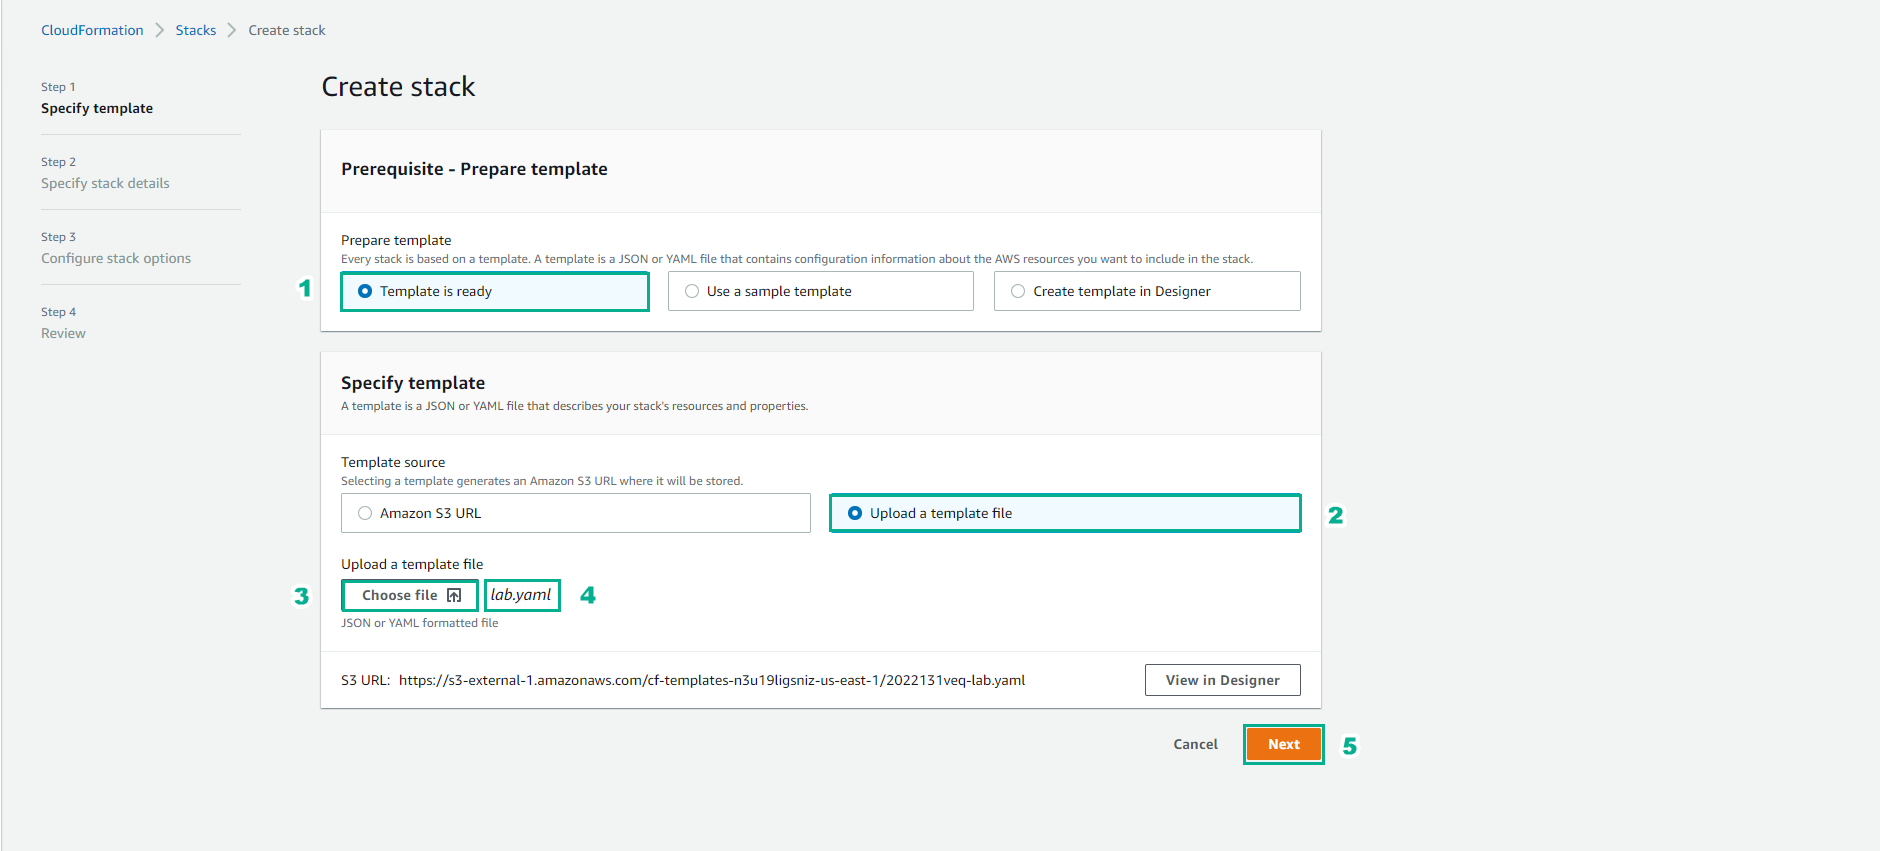
- In the Create stack interface
- Select Template is ready
- Select Upload a template file
- Select Choose file
- Select lab.yaml
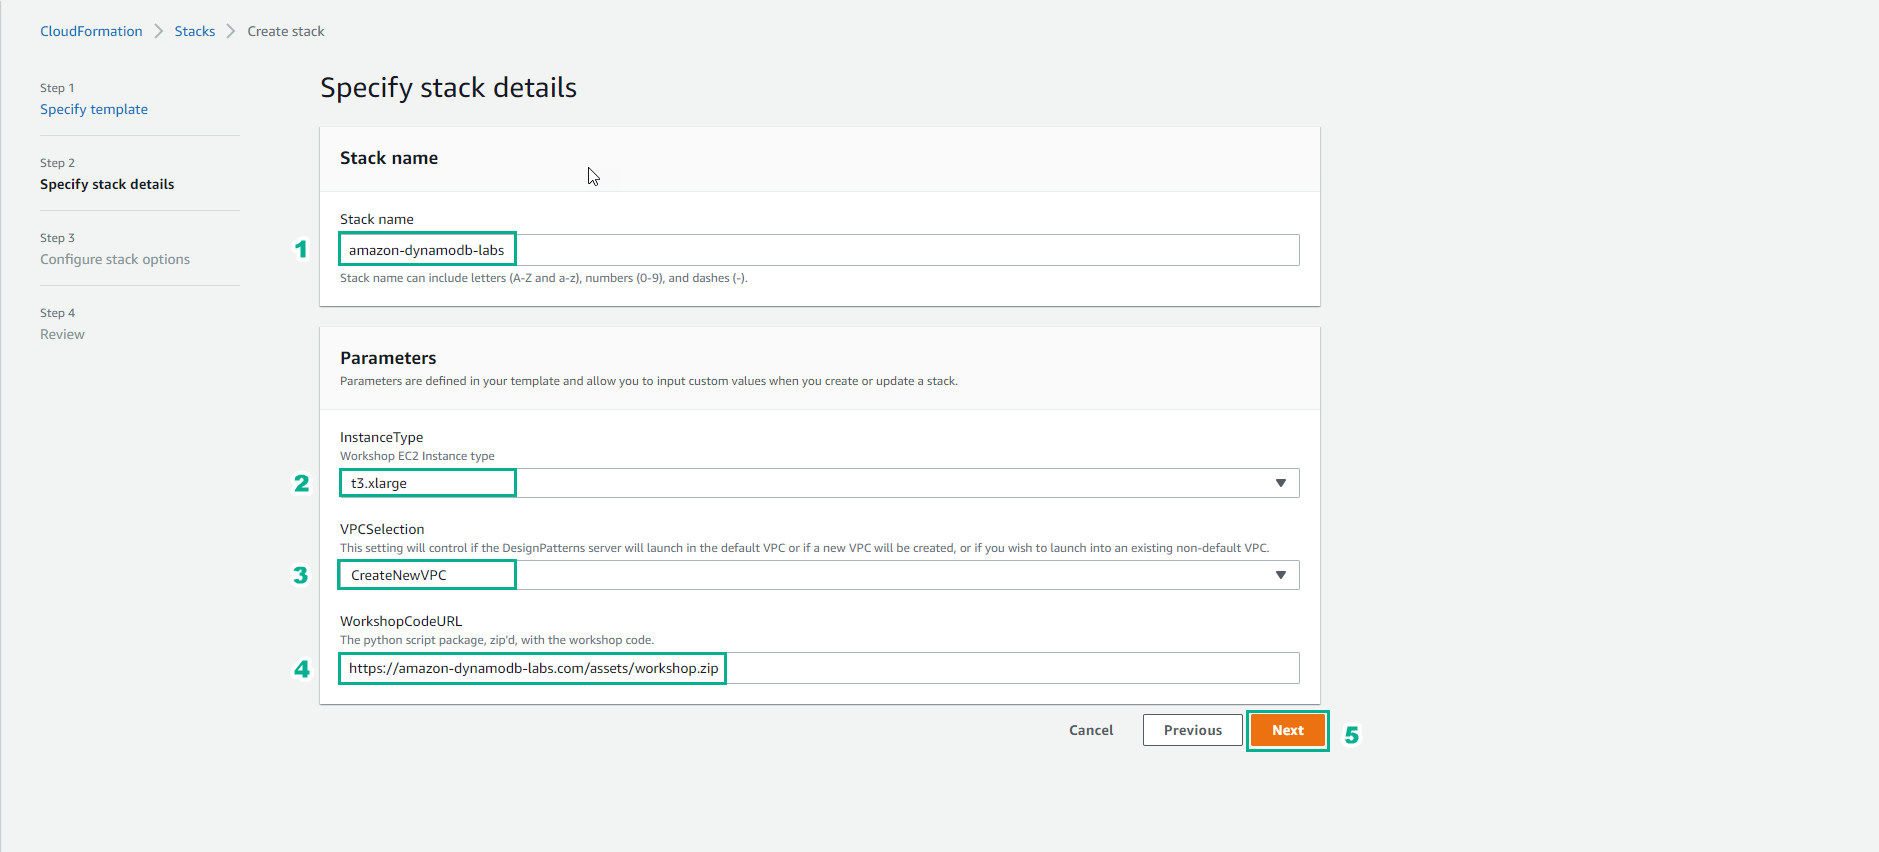
- In the Create stack interface
- Stack name, enter
amazon-dynamodb-labs - InstanceType, enter
t3.xlarge - VPCSelection, select CreateNewVPC
- WorkshopCodeURL, keep default value
- Select Next
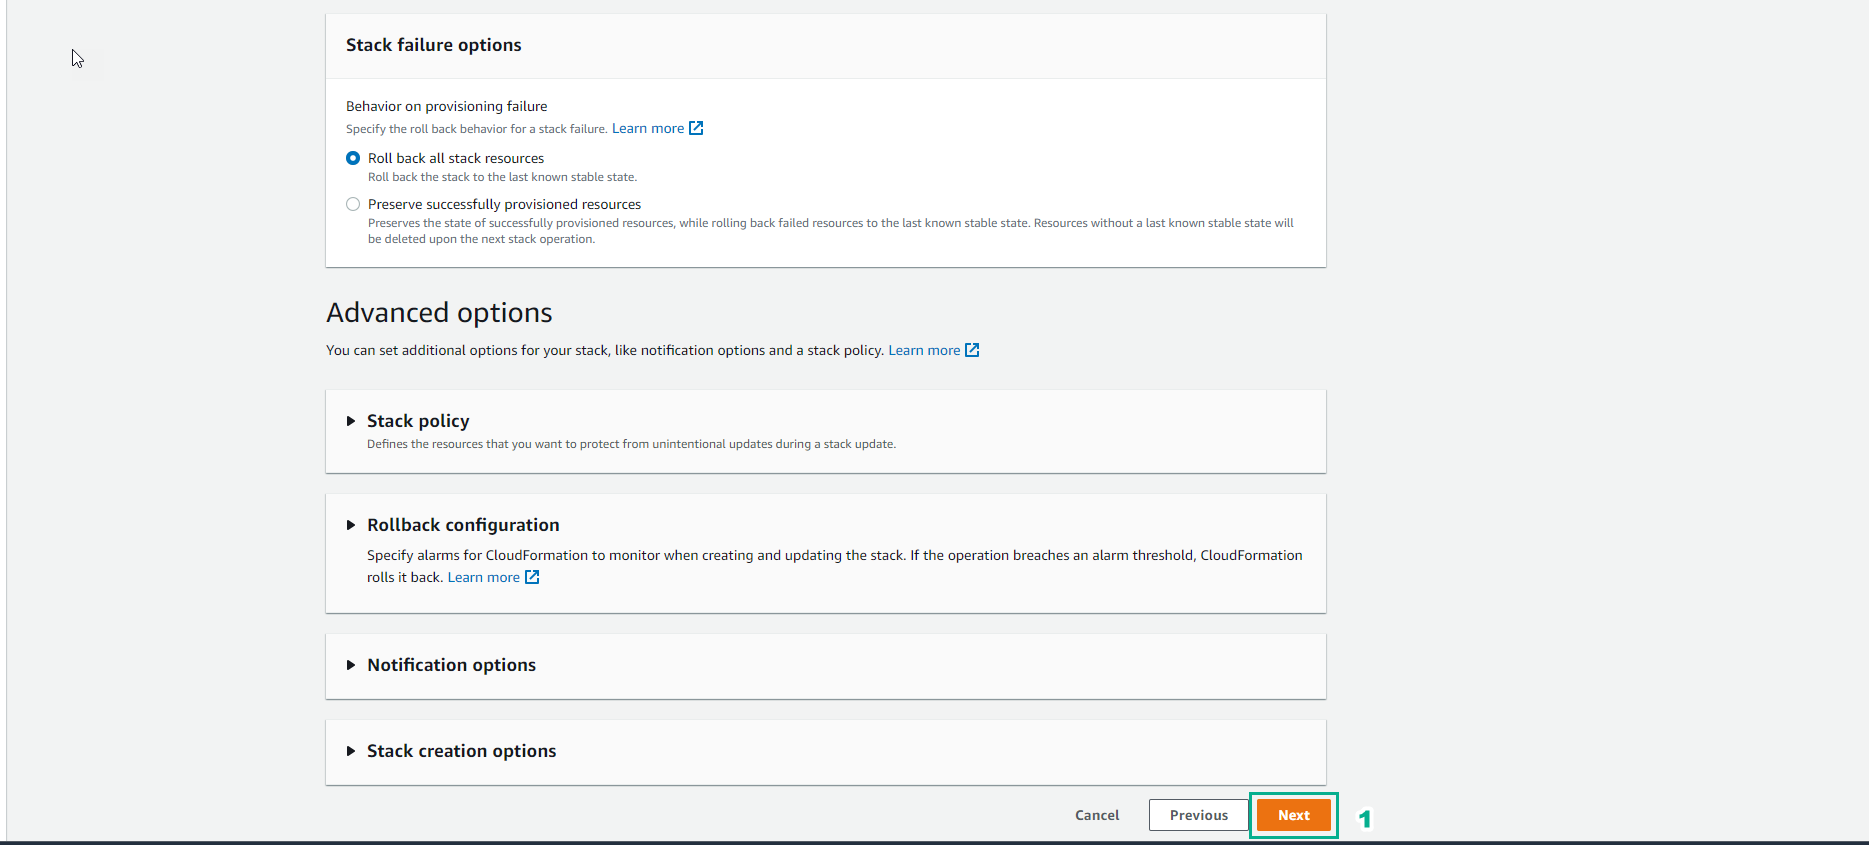
- Select Next
- In the Create stack interface
- Select I acknowledge that AWS CloudFormation might create IAM resources
- Select Create stack

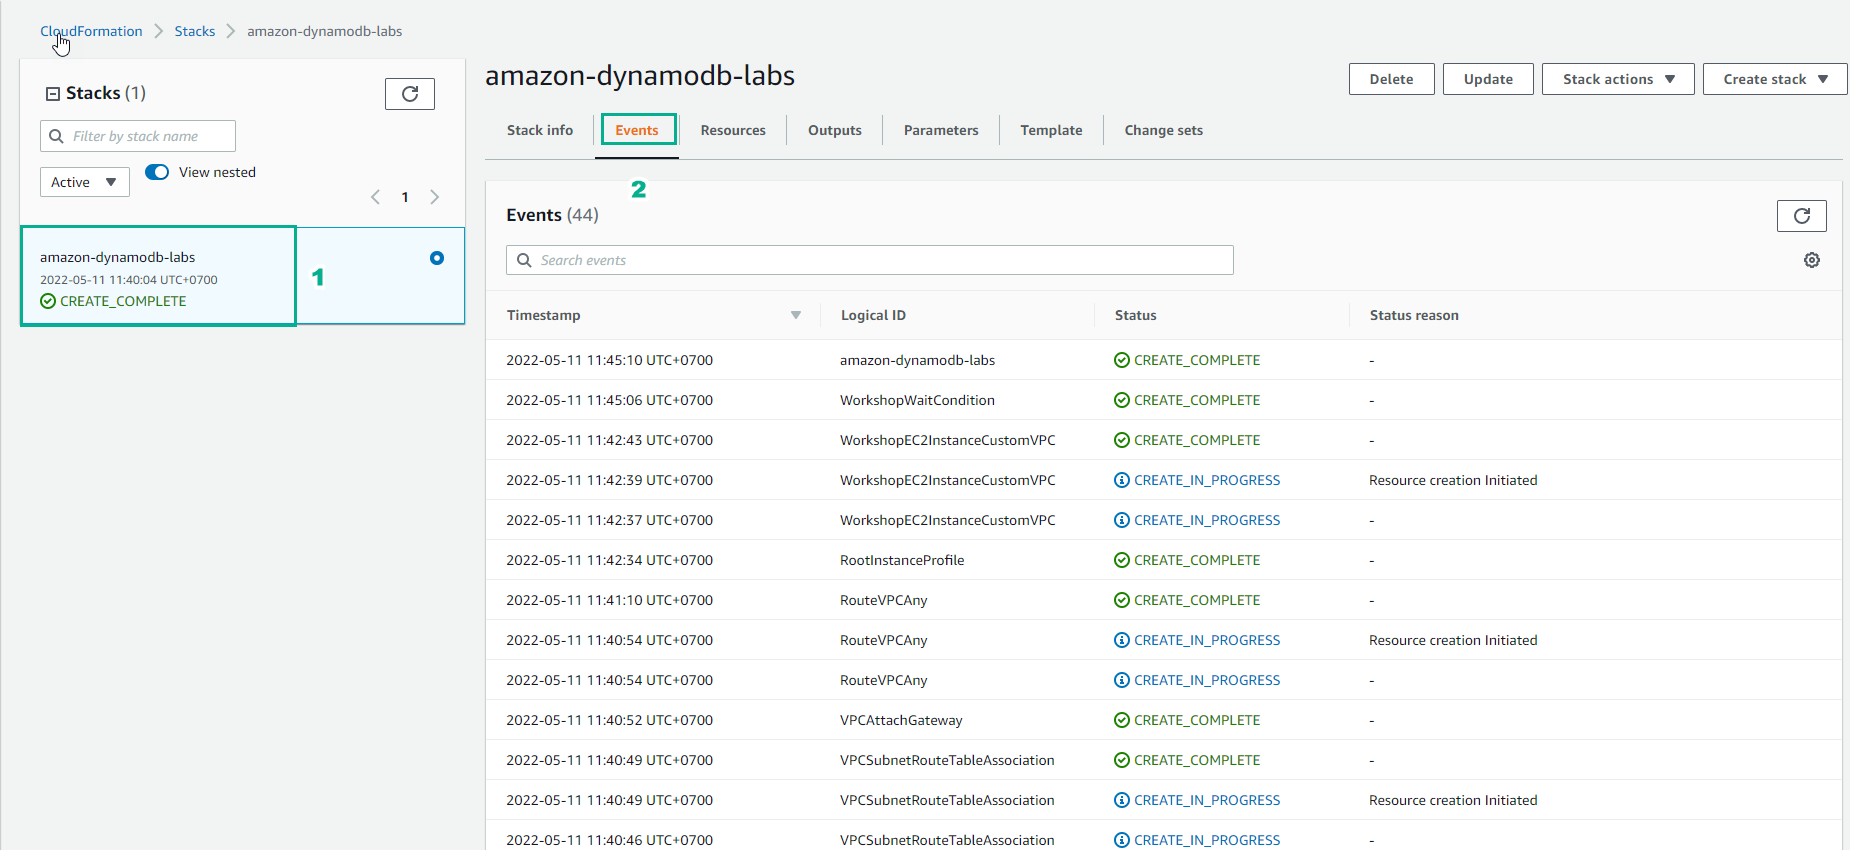
- After about 5 minutes, create the stack successfully. The Stack will create an EC2 Instance with an associated Role. It also creates additional Roles for the AWS Lambda function that will be used throughout this exercise.
- Select the stack just created
- Select Events
- See the stack creation process
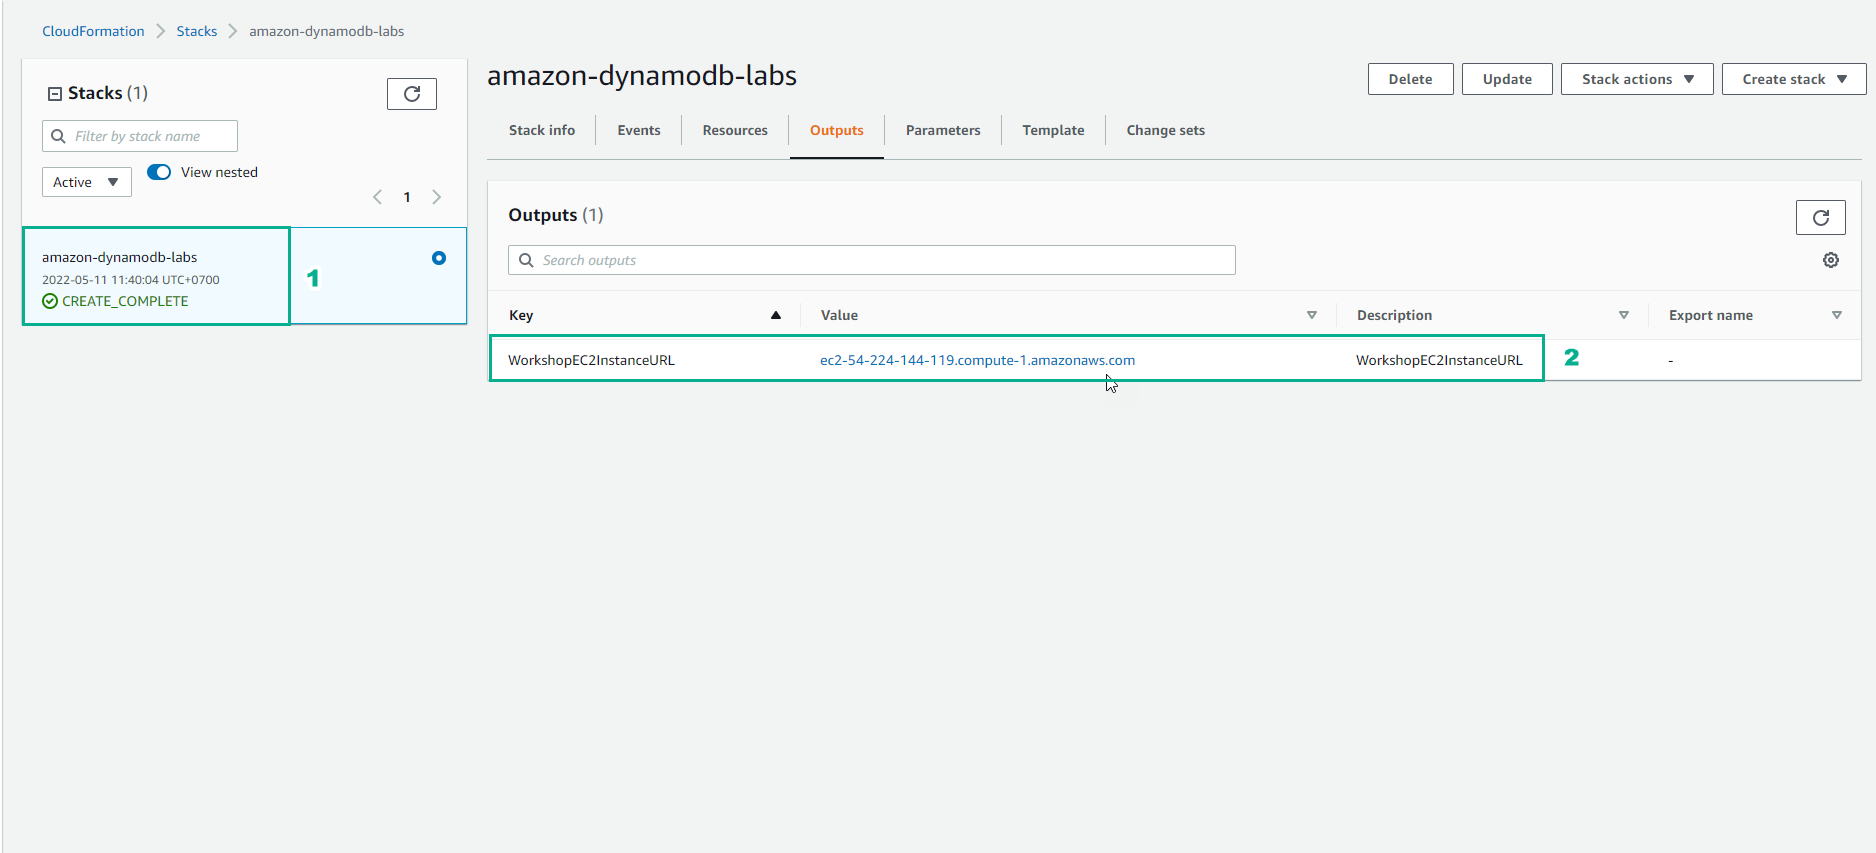
- In the amazon-dynamodb-labs interface
- Select Outputs
- See the output value as the ec2 instance used for the lab.
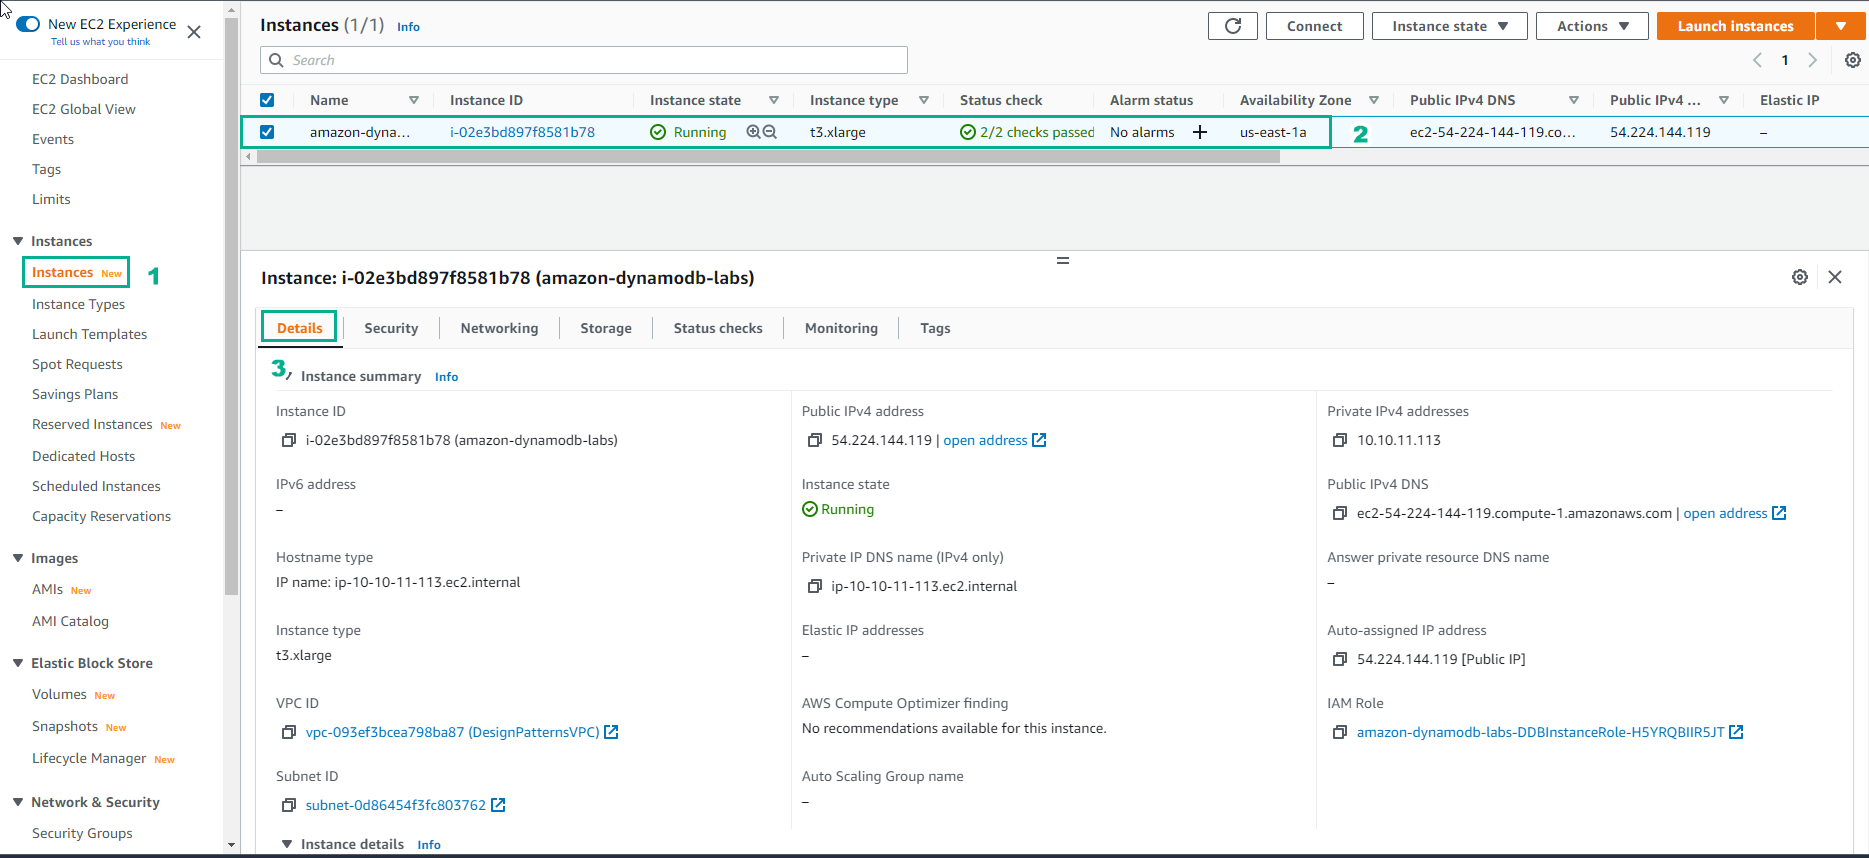
- Check ec2 instance initialize successfully
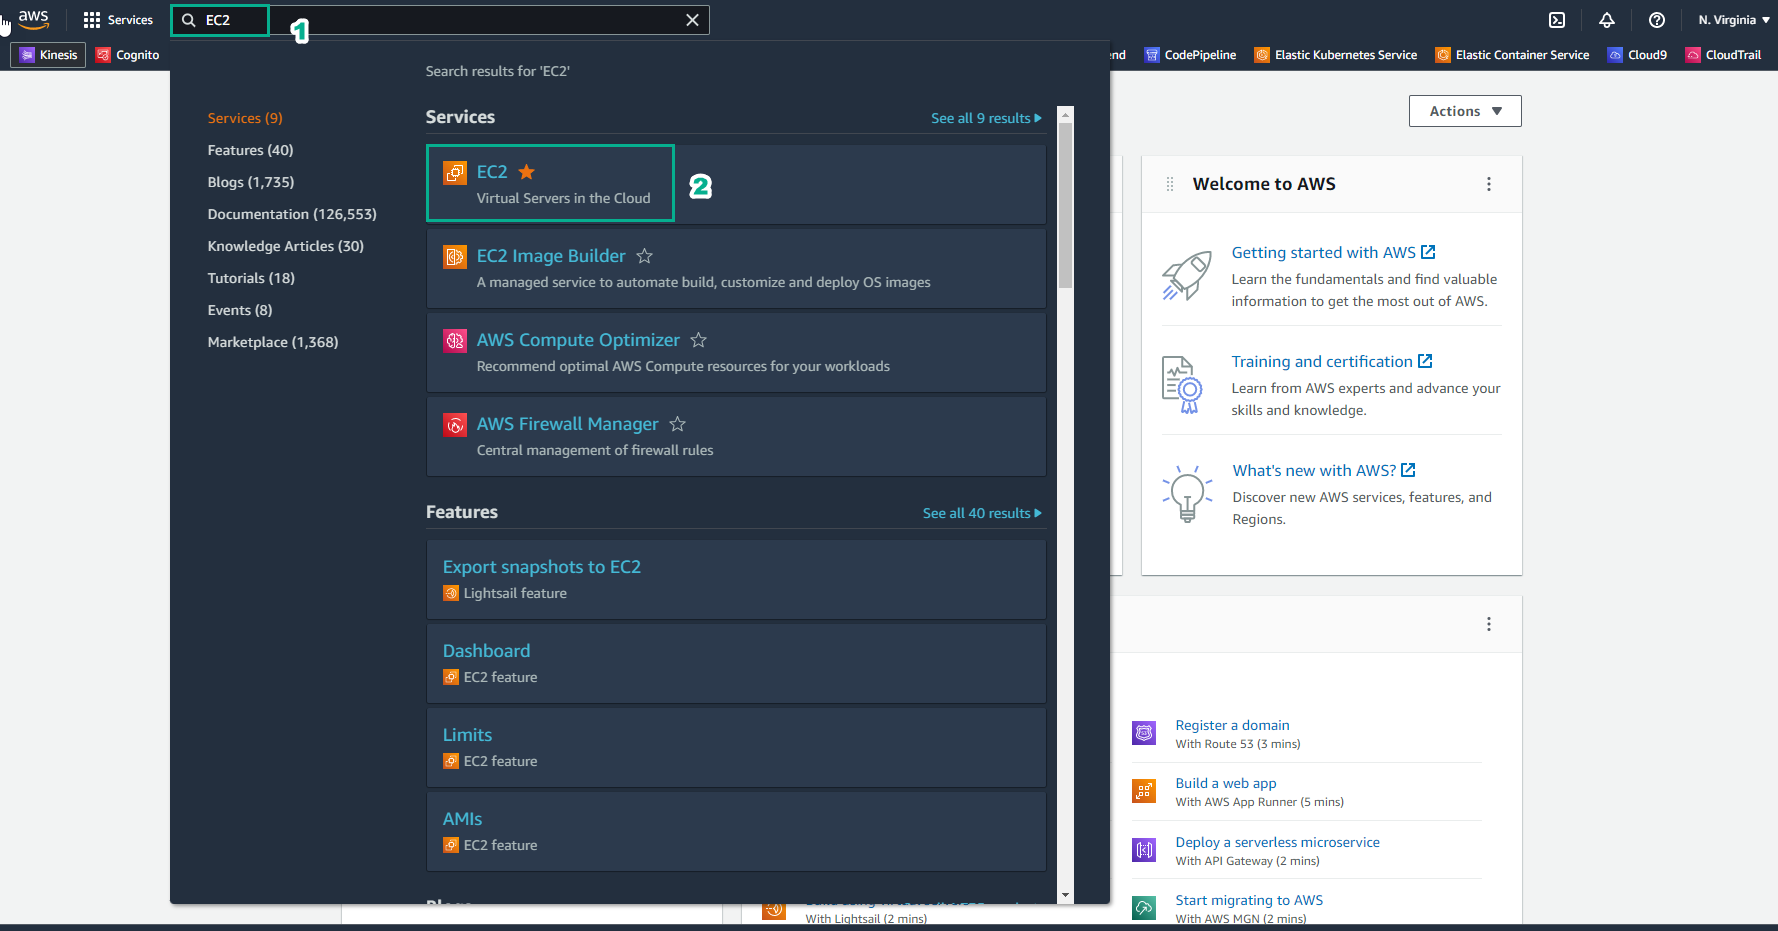
- Go to AWS Management Console
- Find EC2
- Select EC2
- In the EC2 interface
- Select Instances
- Select instance just created
- View instance details